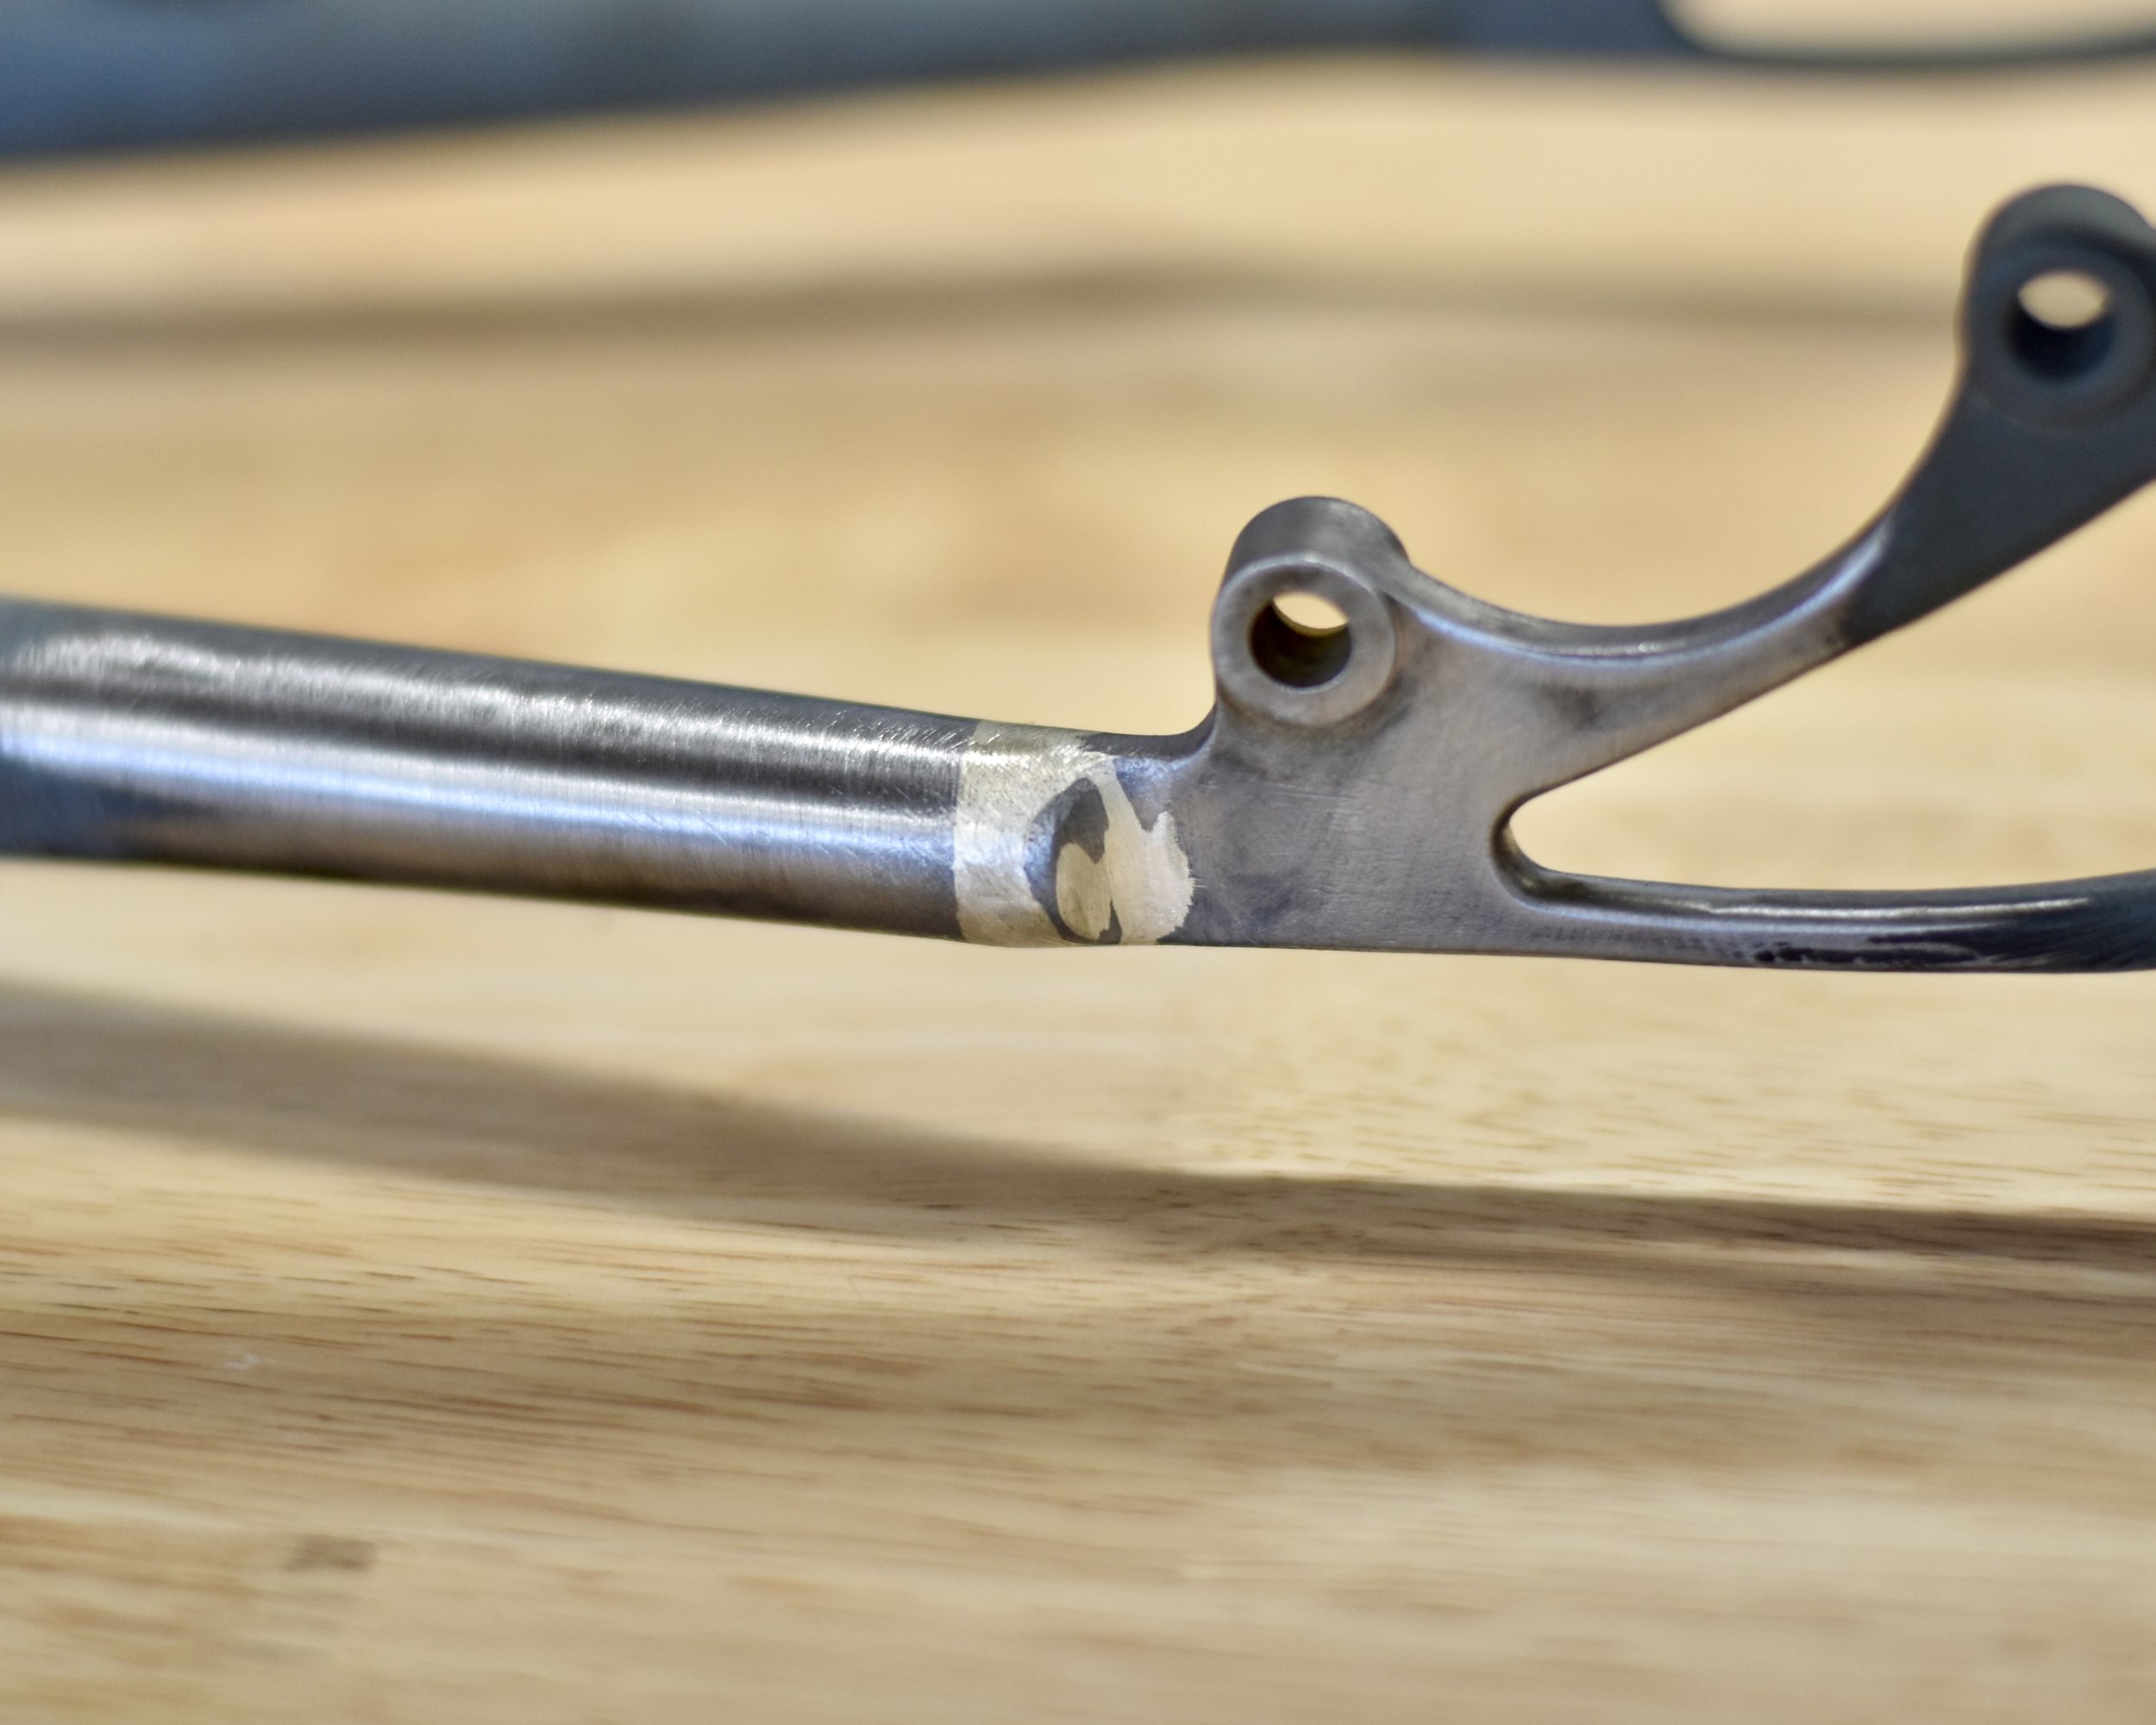
Custom Track Bike
This bike was super fun to build because of its simplicity… track bikes traditionally don’t run brakes or have gears. All we had to do was the layout and design, then build it! No troubleshooting weird bits and pieces, just making a pure bike in its simplest form. The owner of this bike wanted to have something similar to a couple bikes available in the production market, but wanted the upgrade to a tapered and integrated head tube. Also, a seriously burly set of forkends (track dropouts) to keep things stiff and centered up while riding fixed gear. Plus, when you get a custom frame you can tweak the numbers to be just what you want them to be!
The owner opted to keep the frame unfinished for the look of a raw steel bike. It’s not the most permanent finish, as clear coating it will preserve things for a while but they almost inevitably begin to crack and chip in time. The patina that can develop over the years can be quite lovely itself, so as long as you know what you’re getting into, it’s not undesirable for some folks.
We also decided to go with a top tube badge instead of a head tube badge, and we like the deviation… it may be a feature that appears on many bikes in the future! Also, settled in on an official serialization sequence with this bike; Month, year, order of frame within that month. We only built one frame this February, so this one is 0224001. It seems unlikely we will ever build more than 999 frames in any given month, so this seven digit system will be a nice way to keep track of where each bike sits in our custom build history.
Oh yeah, a Richard Sachs bottom bracket casting… because why not? One of our favorite east coast traditional builders, and an inspiration to always value the classic side of what custom bikes are.


Curtlo chainstay rescue
A regular client of ours sent us a message from the trail one day this past fall bemoaning that his beloved custom Curtlo had broken. It wasn’t made custom for him, as he was the second owner, but it was his favorite bike by a long stretch. That’s saying a lot because he has all sorts of exotic and custom steeds in his stable! A Curtlo is a pretty modest bike relative to some of the other things he has brought by the shop over the last couple of years.
Upon inspection, the damage was pretty obviously because moisture had accumulated at the back of the chainstay and allowed the tube to corrode right around the high stress point of the dropout tang. The bike had expansion/drainage holes in the back of the stay, but even so, this frame had enough exposure to allow moisture to do a number on it from the inside out. The stay wasn’t too rotted, so we decided the best fix was to clean the inside of the existing stay, remove the broken pieces from the dropout tang, and rebuild from there.
The course of action was to clean up the dropout after removing the broken end pieces of stay, and then key in a stainless post that would insert about 25mm into the existing stay. This is a tricky thing to do because if alignment is off by 1mm at the dropout, it could easily manifest as 7-9mm at the tire. Everything has to be just so with rear end alignment or stuff gets messy and ugly at the actually rolling point of the wheel.
Since we were keying in a post that was a couple millimeters smaller in diameter than the O.D. of the chainstay, the plan was to build up a fillet and then shape the tube to match the drive side stay as best as possible so the repair wouldn’t really be very noticeable unless it was specifically called out to someone.
All in all, things didn’t shape up to be 100% exactly symmetrical, but so close that few people would be able to notice anything was different unless told otherwise under a close inspection. Thankfully Doug Curtis’s frames are often powdercoated with basic solids so blending a paint match wasn’t too tough for the casual observer!
Full Custom Monster Cross
Drop bar dirt bikes are all the rage these days, but it’s not really anything new. It’s been going on for years, and the bicycle business is as prone to fashion as much as any other business, so it’s very much “in” right now. What has changed a ton over the years is the technology available to install on drop bar bikes… things that were generally reserved for mountain bikers only: hydraulic disc brakes, through axles, wide tires. As “gravel” bikes became mainstream, and now have become the new norm, all of the good tech has set deeply into the roots of what comprises a gravel bike.
The custom framebuilding world lost one of its oldest distributors of inexpensive tubes and frame components this year. Many people don’t know what goes into putting a frame together, but I will tell you… it’s A LOT. Each tube is selected for its characteristics. Each component is sourced for the desired aesthetic or functional purpose. No detail is left unthought by the mind that is about to craft the frame. Every bike starts with a first thought. This one began when I purchased a closeout “matched” tube set when the aforementioned distributor went out of business. It was crazy cheap… like 90% off cheap. Like doesn’t matter what I’m going to do with it cheap. The only thing I needed were dropouts and braze-ons, and I had a ready-to-ride frame.
I originally thought of building a hardtail mountain bike to to complement my big, hefty, full-suspension trail rig. Then it dawned on me I would need to get a different seat tube to accommodate the geometry I would want for such a bike, and I was too insistent on starting the build right away. I gave some thought about what kind of monster I could put together if I created a drop-bar bike capable of clearing huge 2.5 tires… or maybe even bigger. And what if that bike could run 27.5” wheels or 29” wheels. And what if you could run it is a singlespeed or a 1x drivetrain? I wanted to have a bike that could be as at home on rooty singletrack as it was on gravel forest service double track. I didn’t want one of those goofy looking “gravel” front suspension forks, but I did want some cush… and grip, I wanted tons of traction.
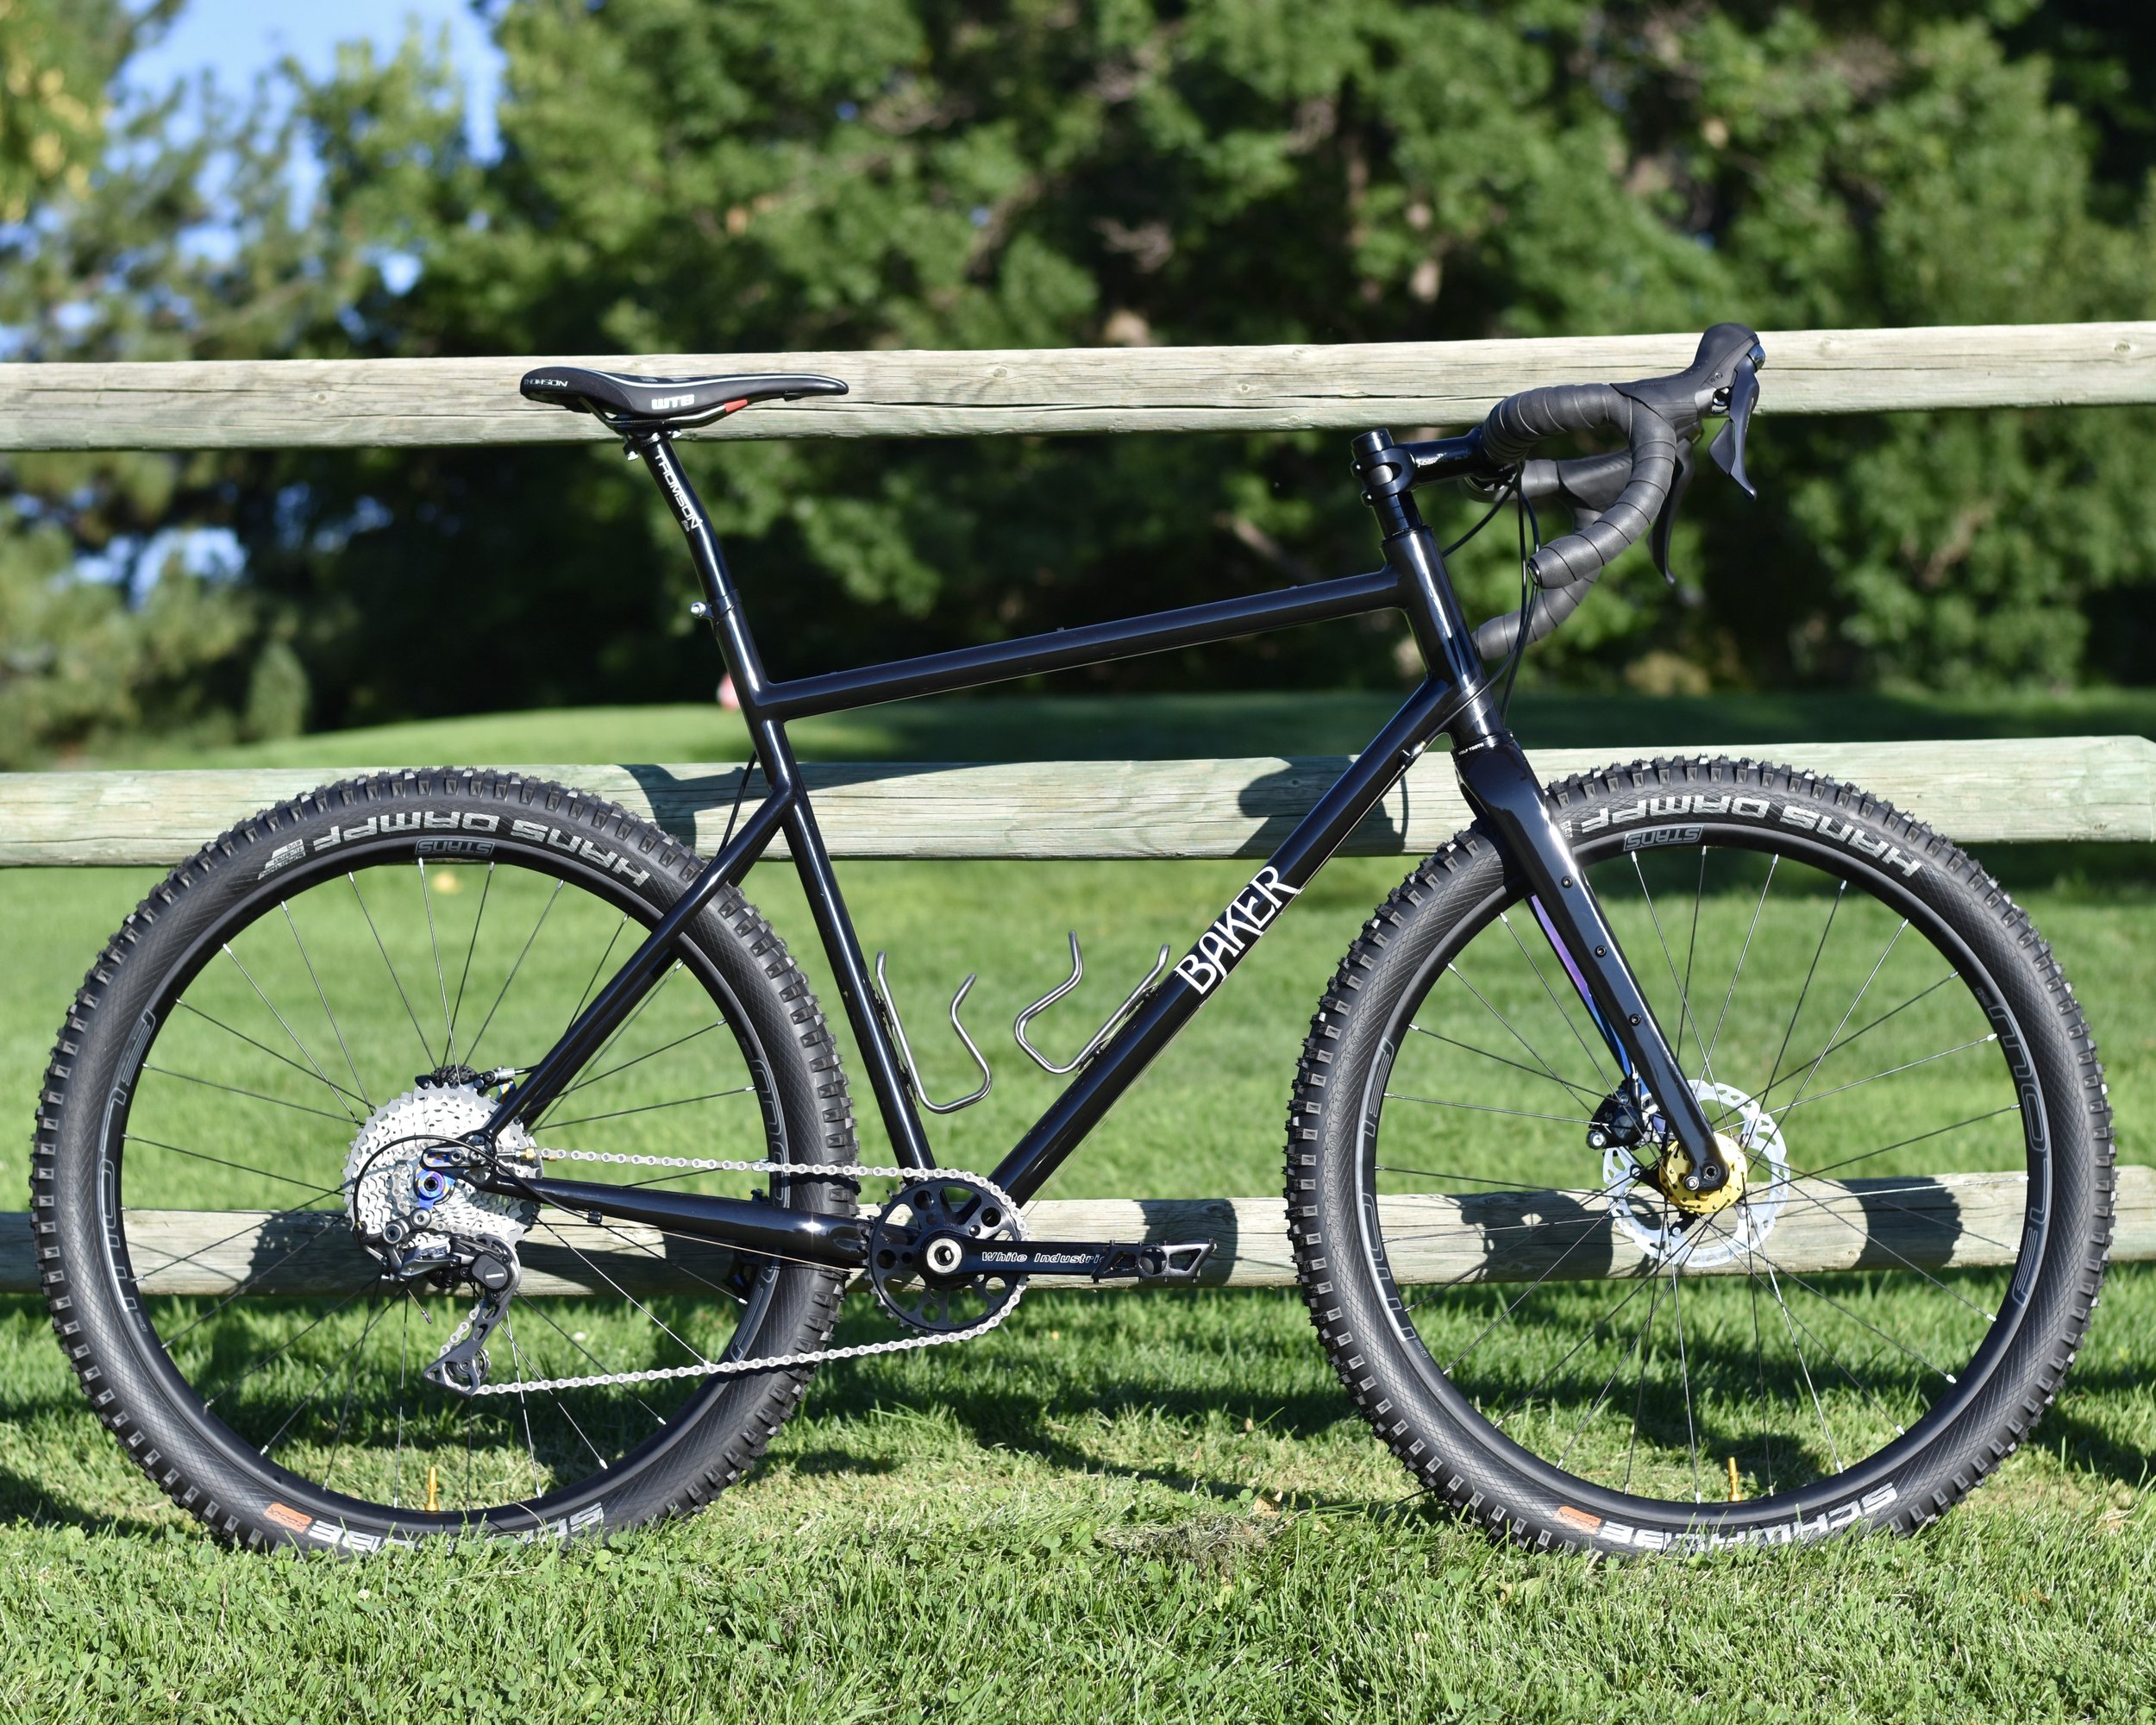
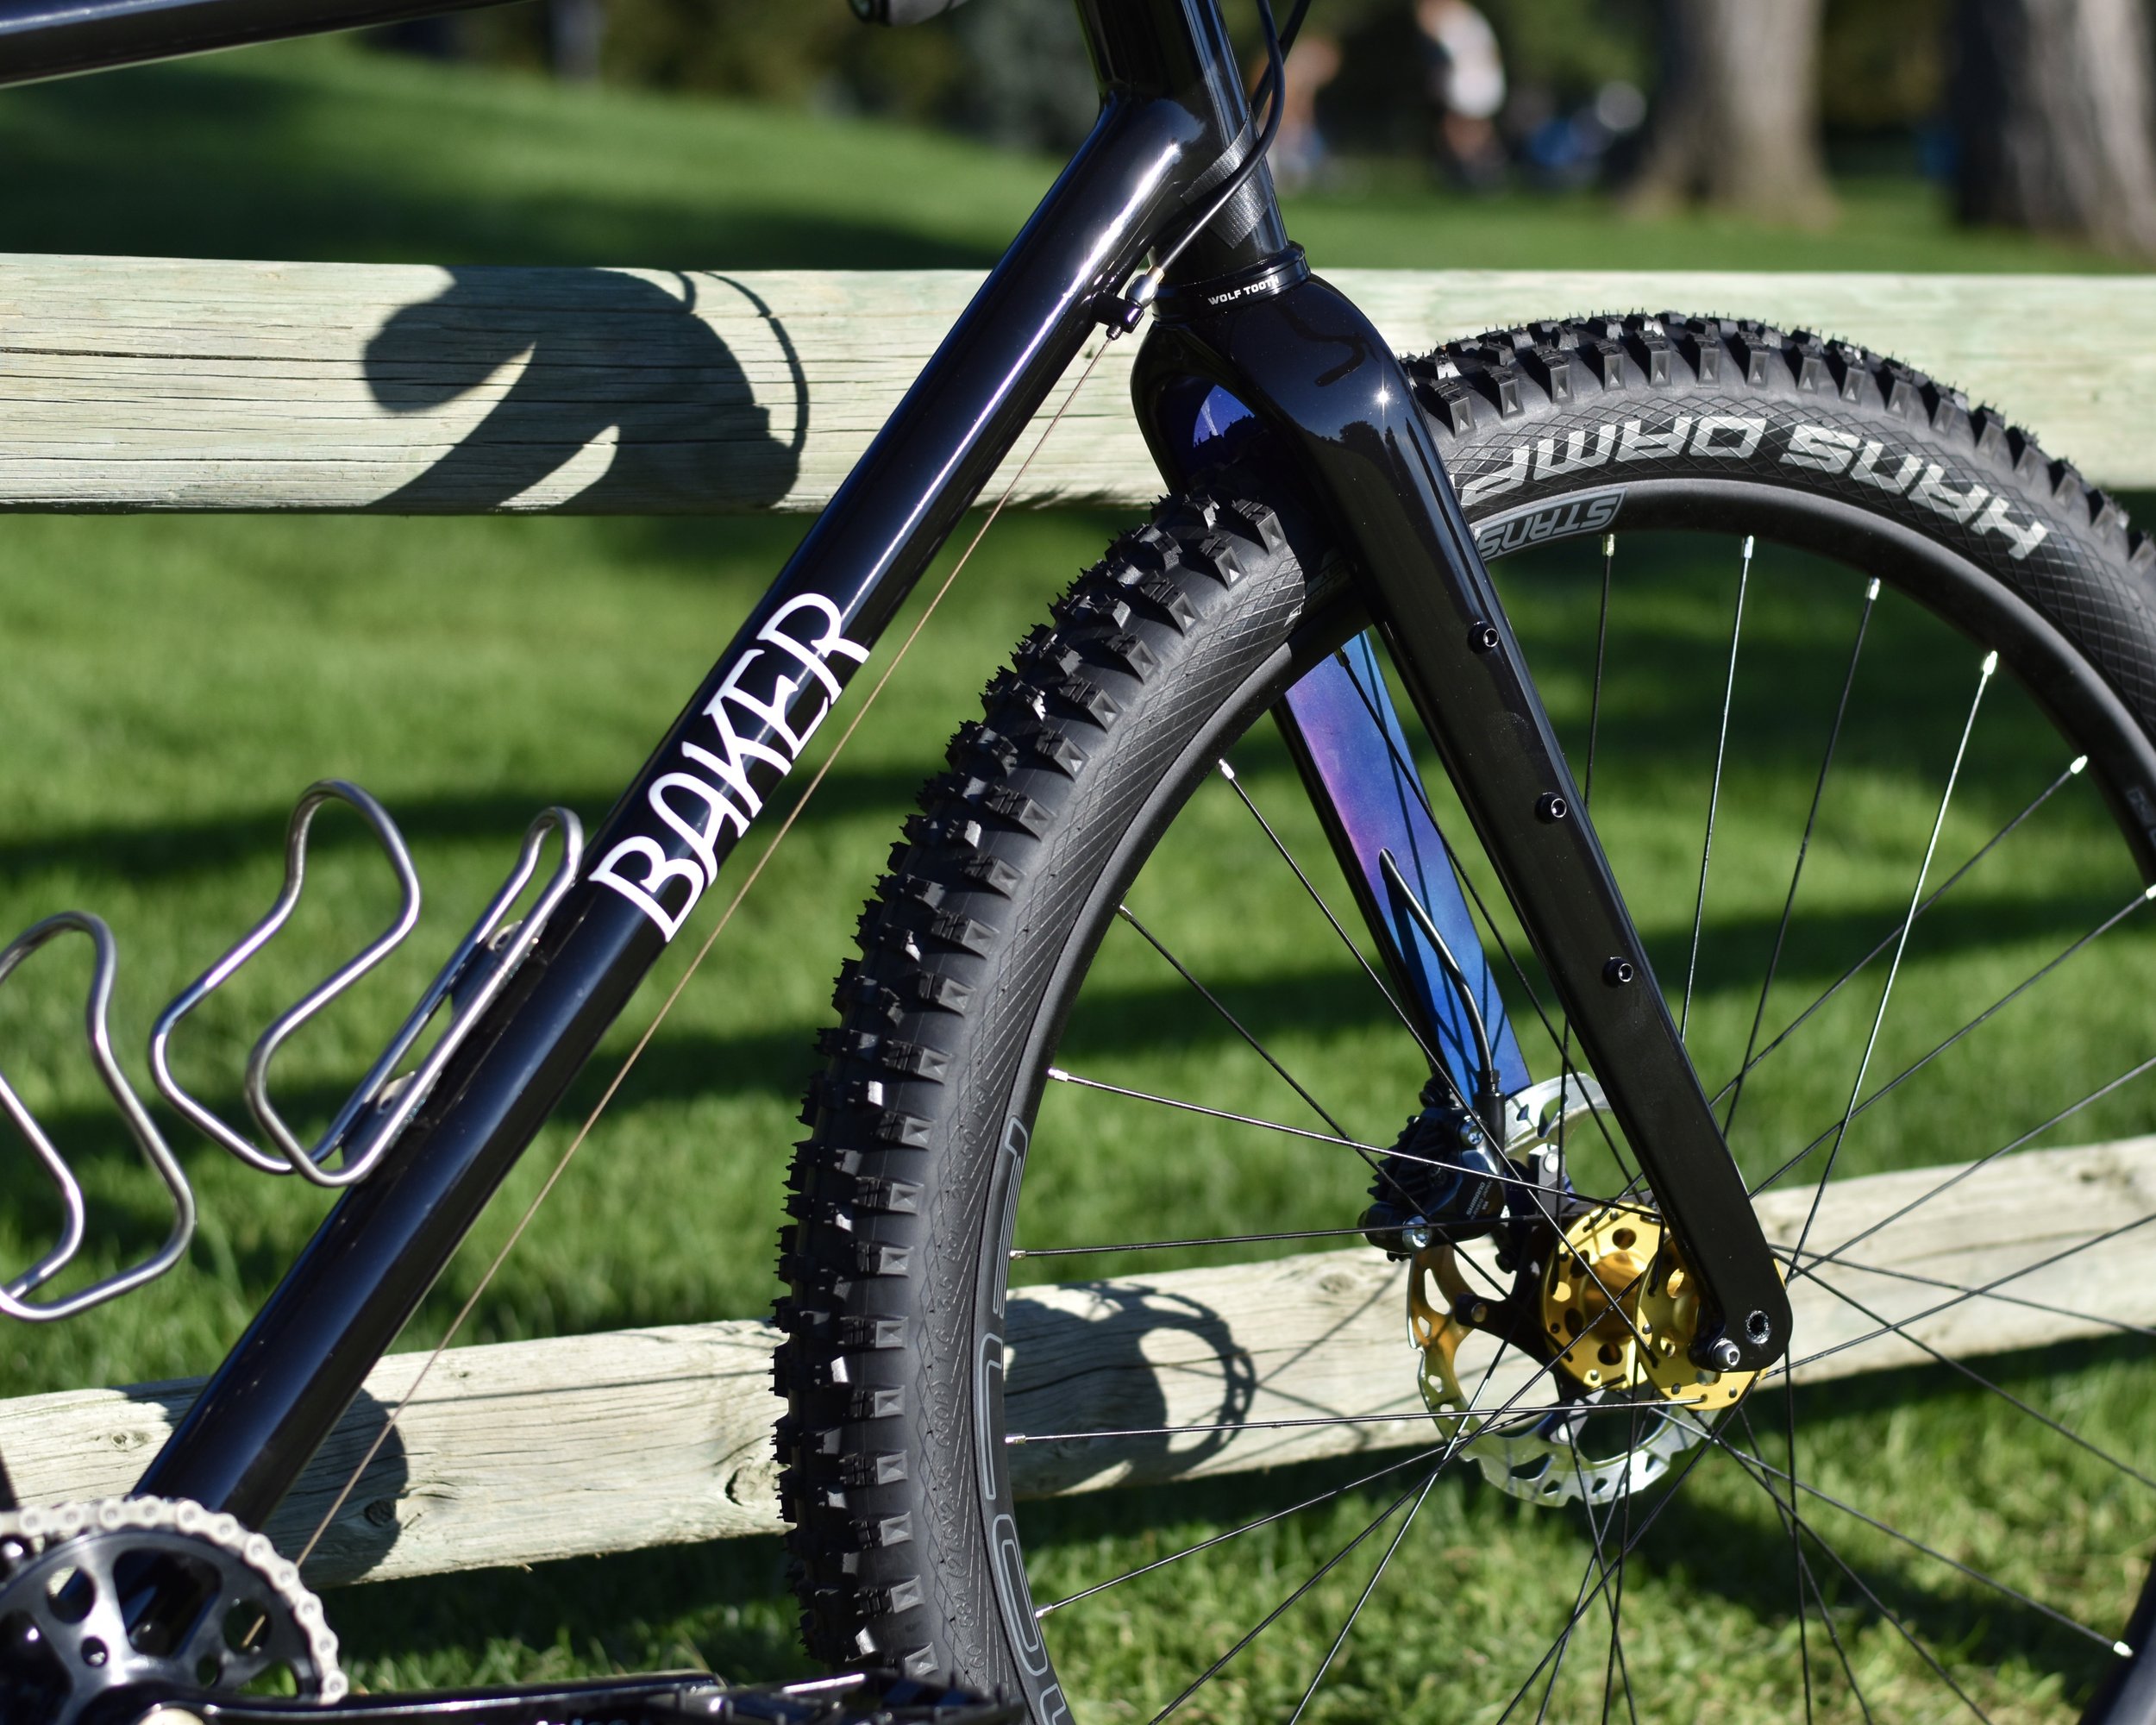
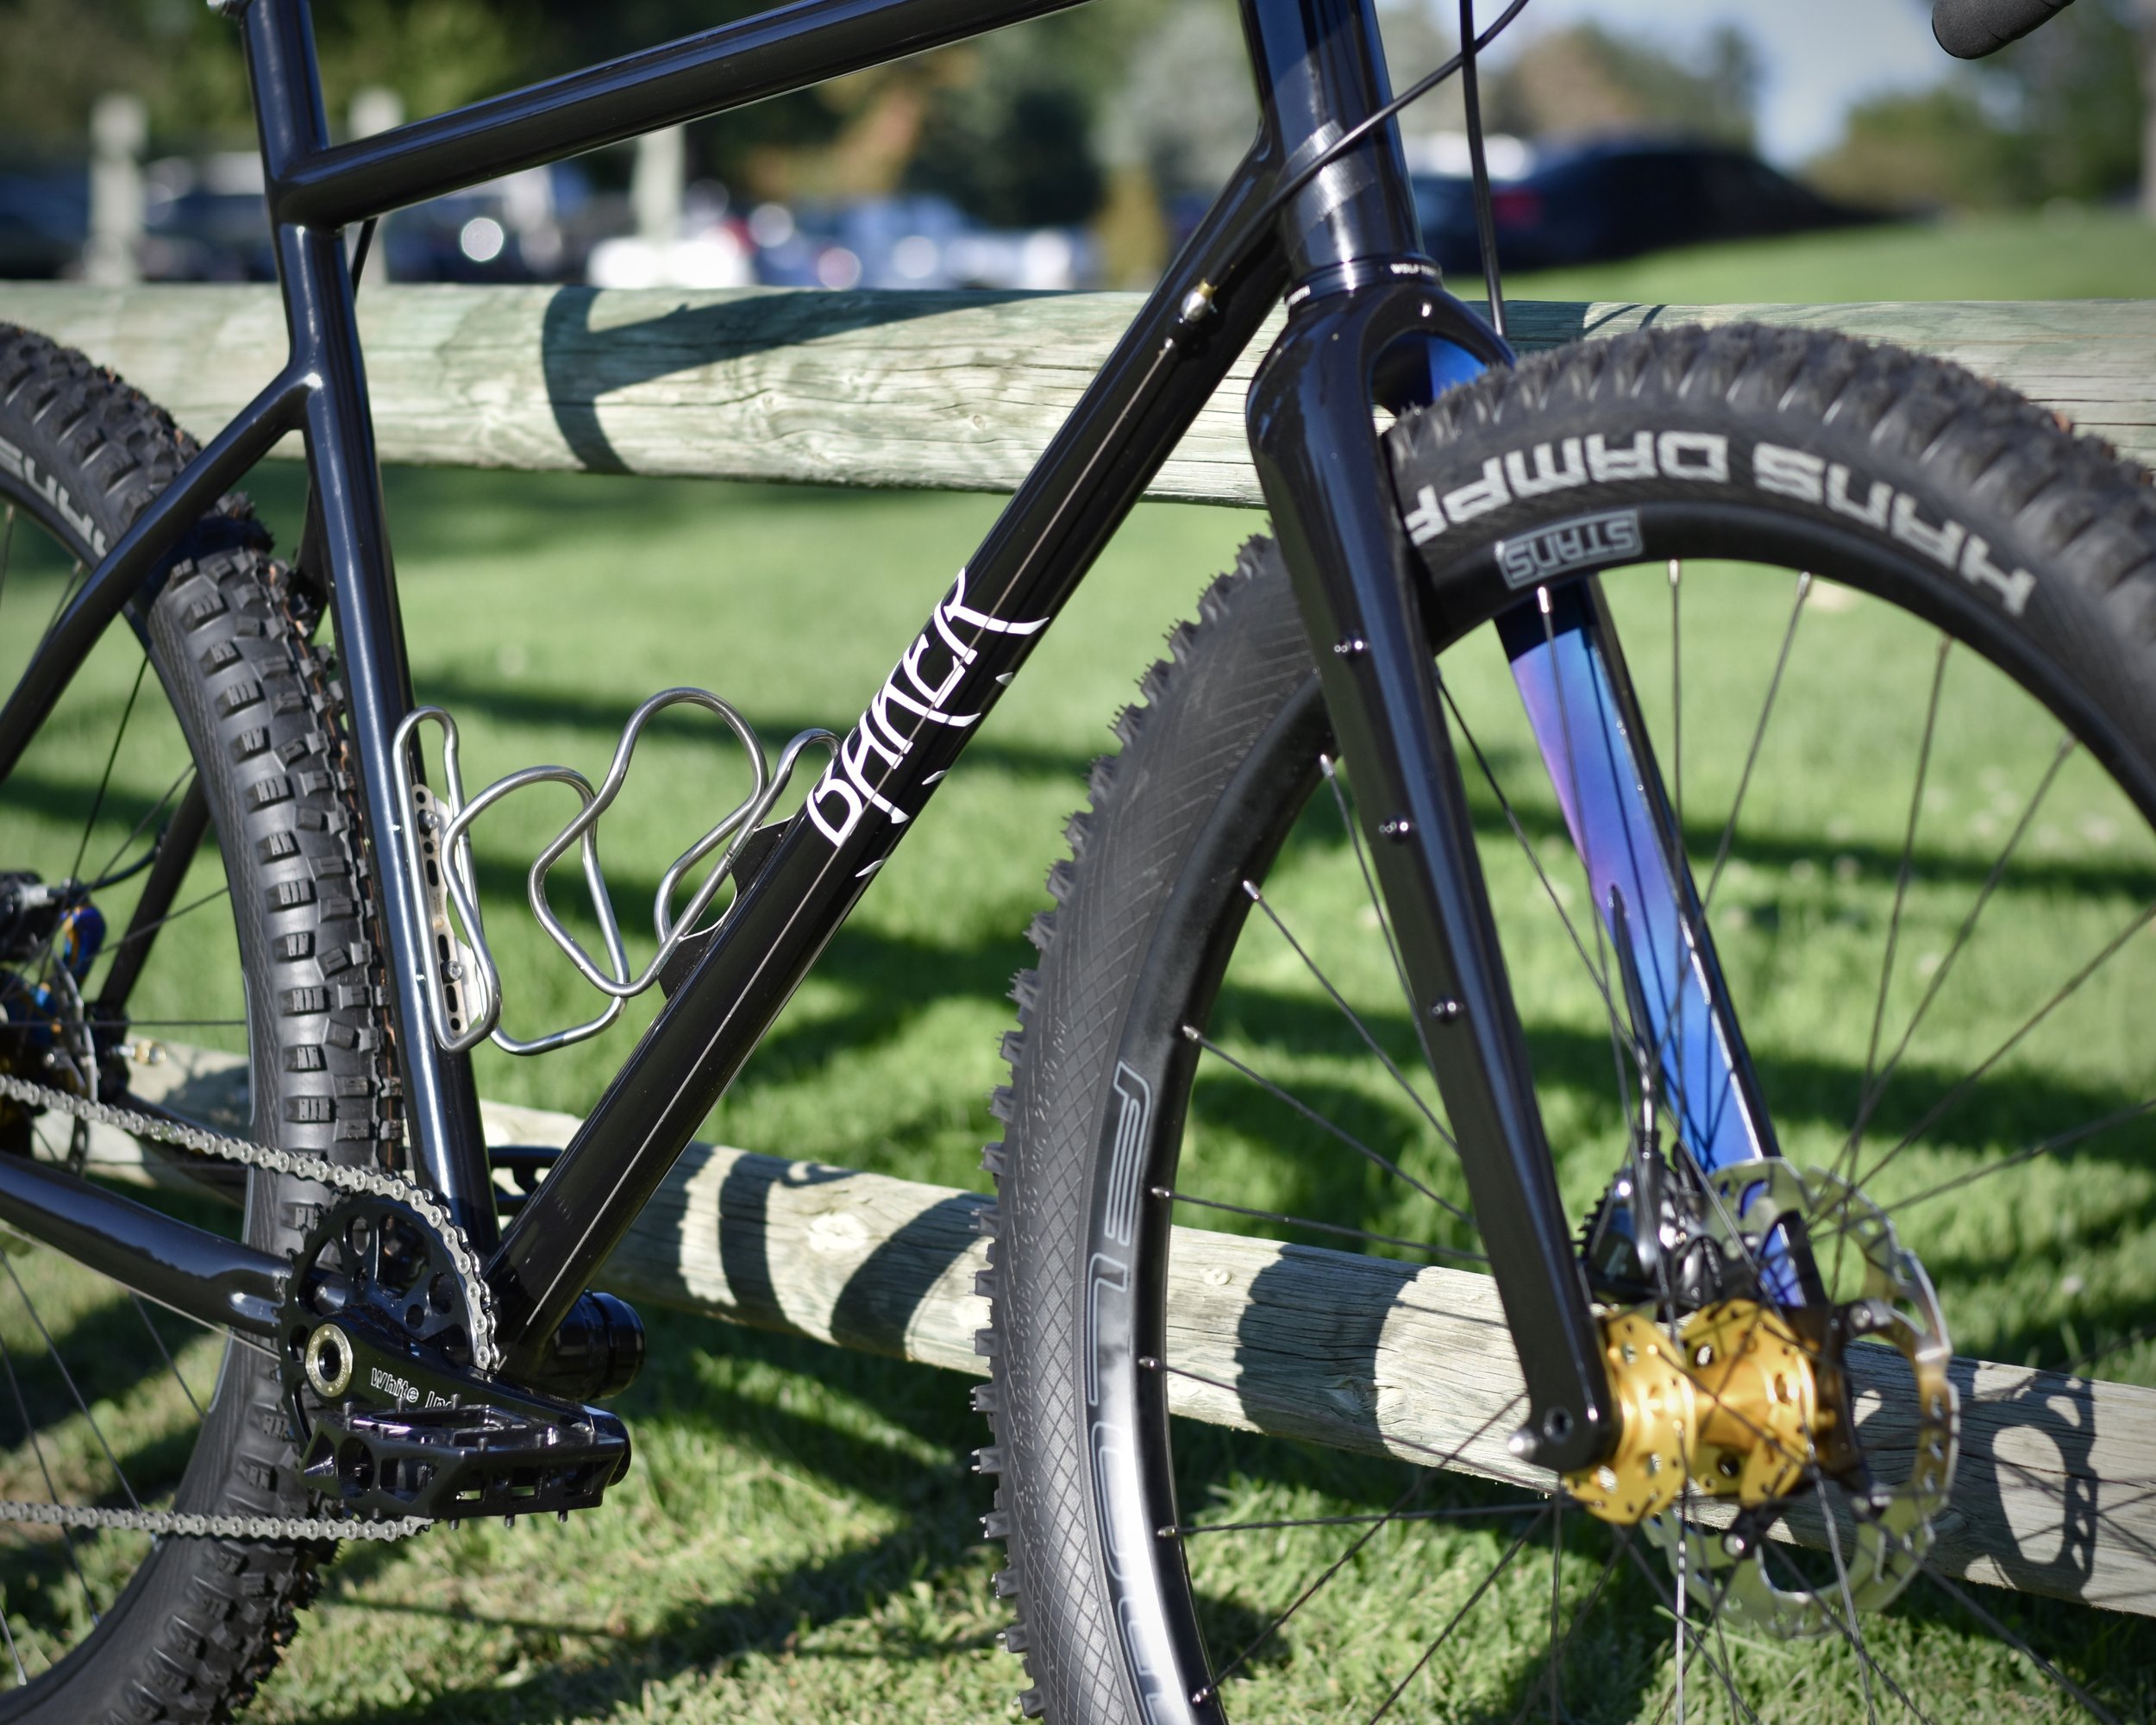
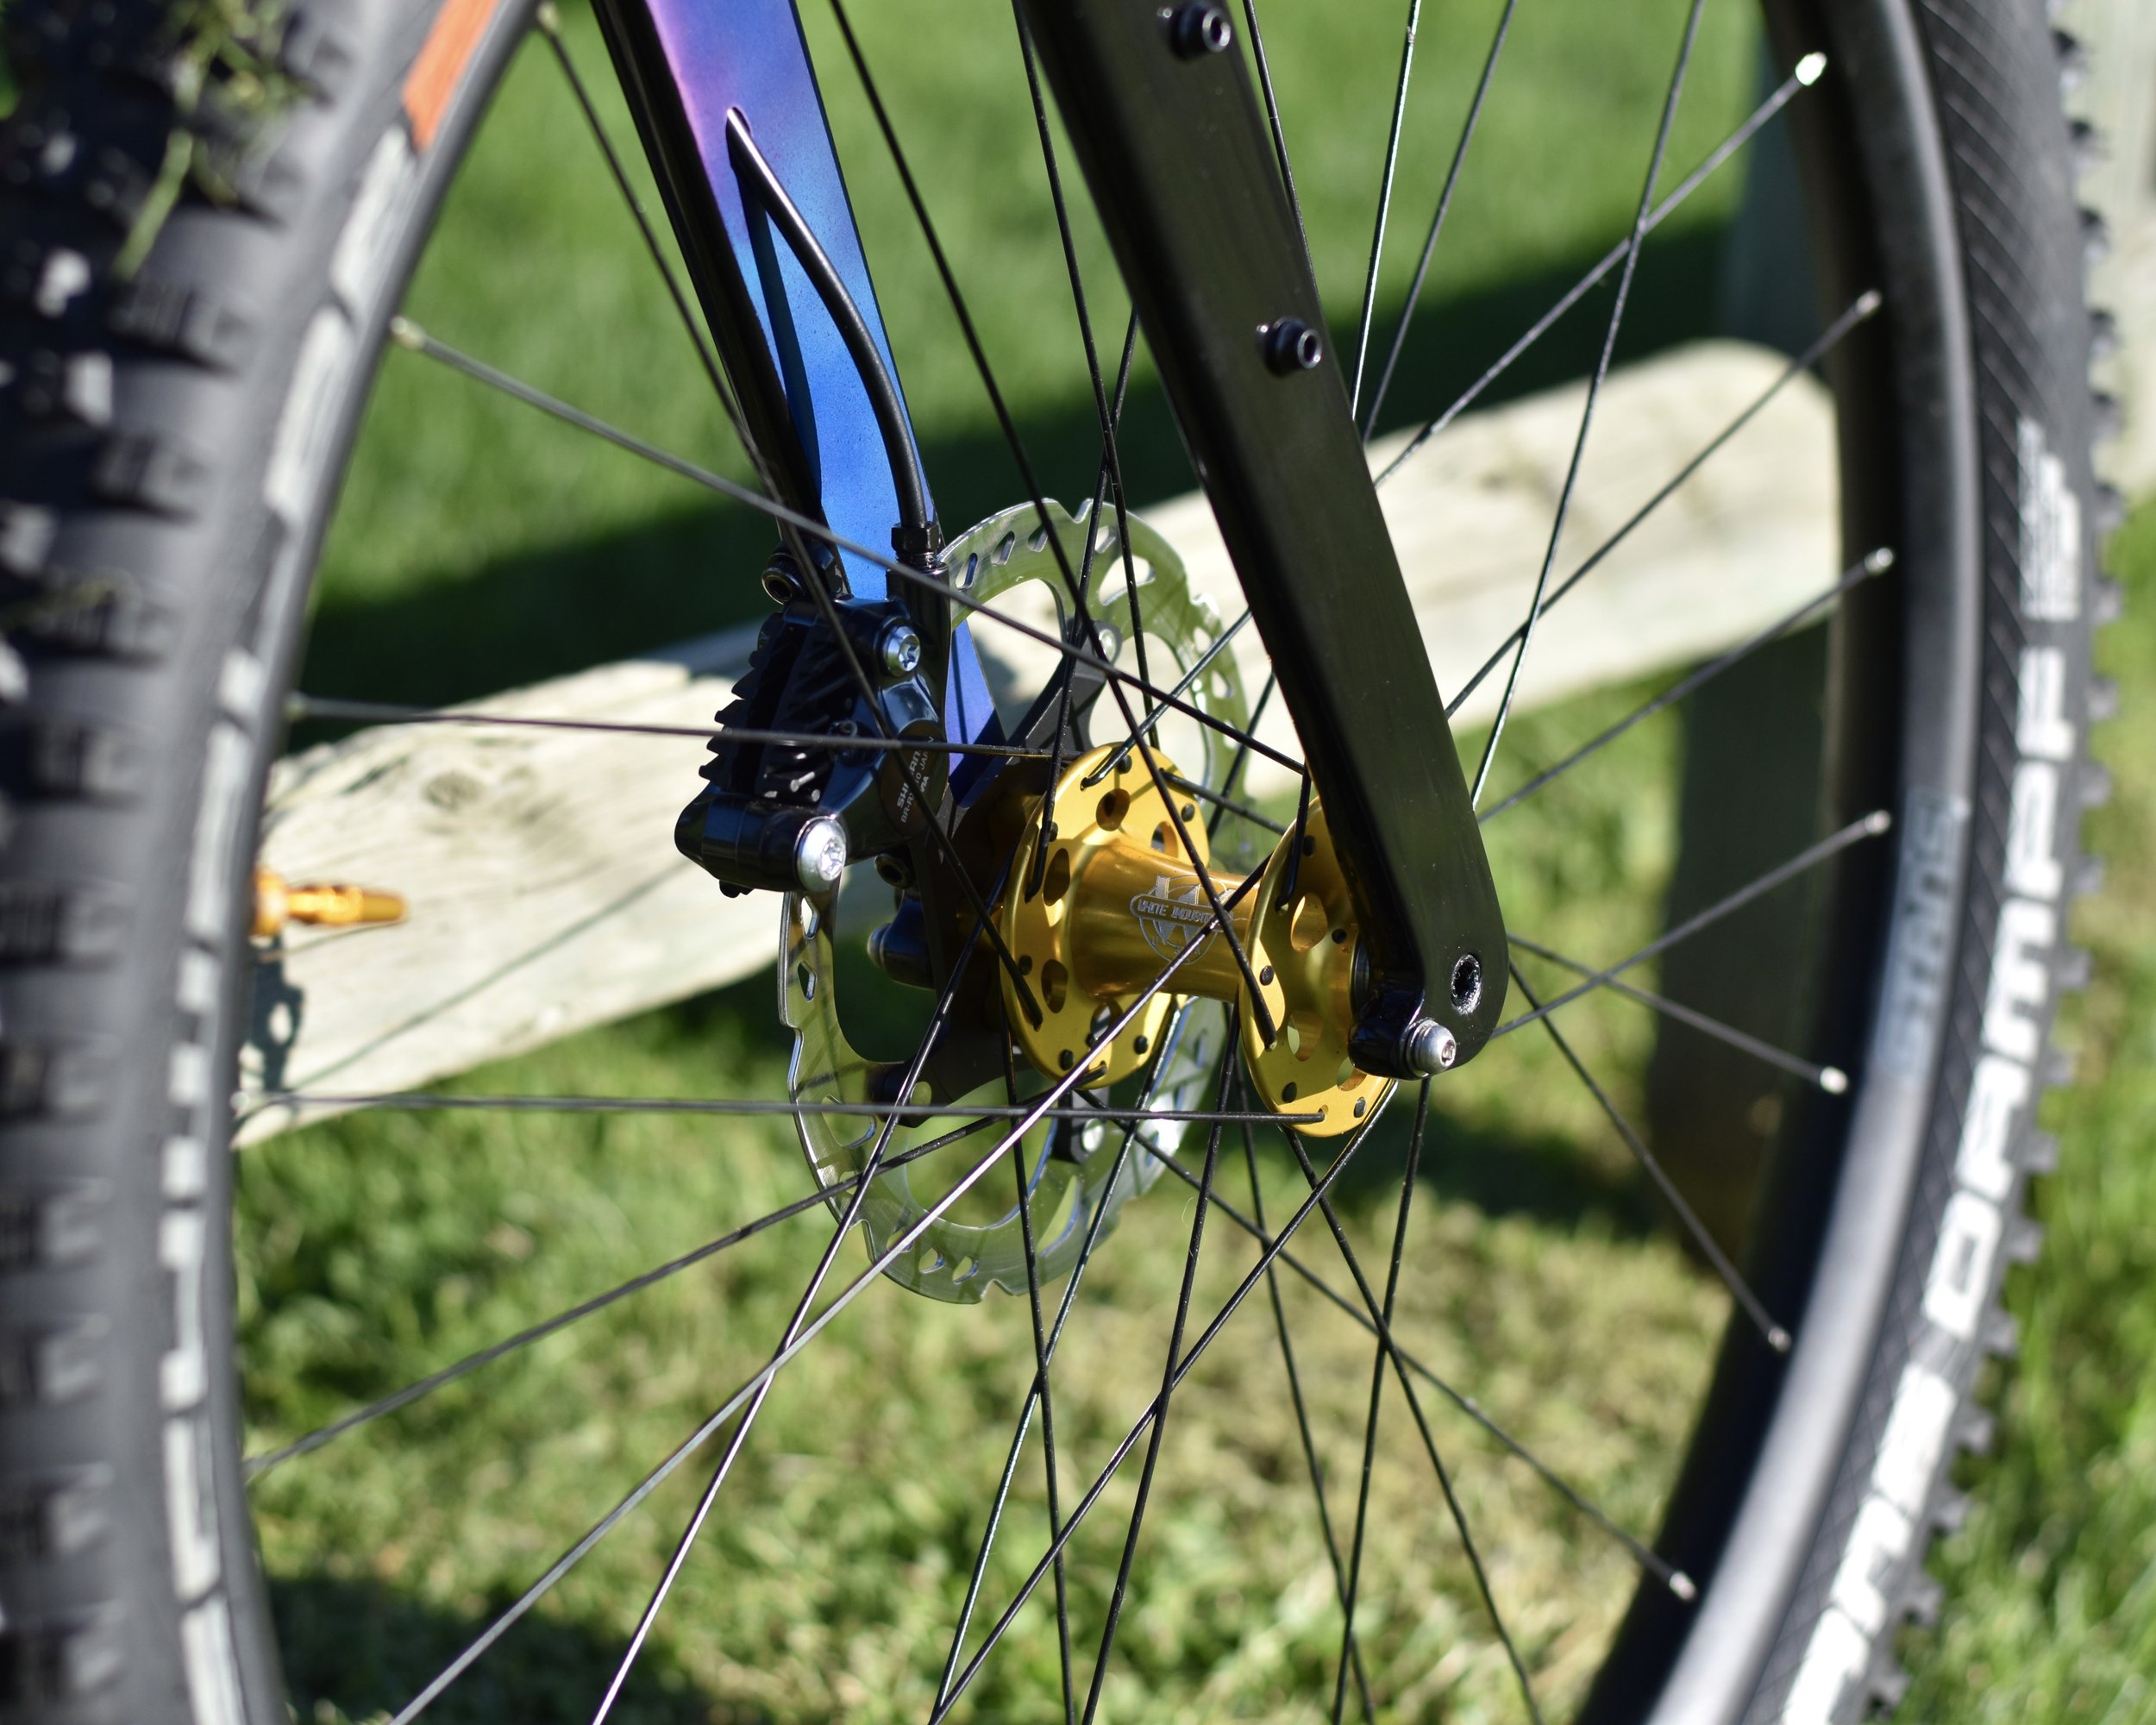
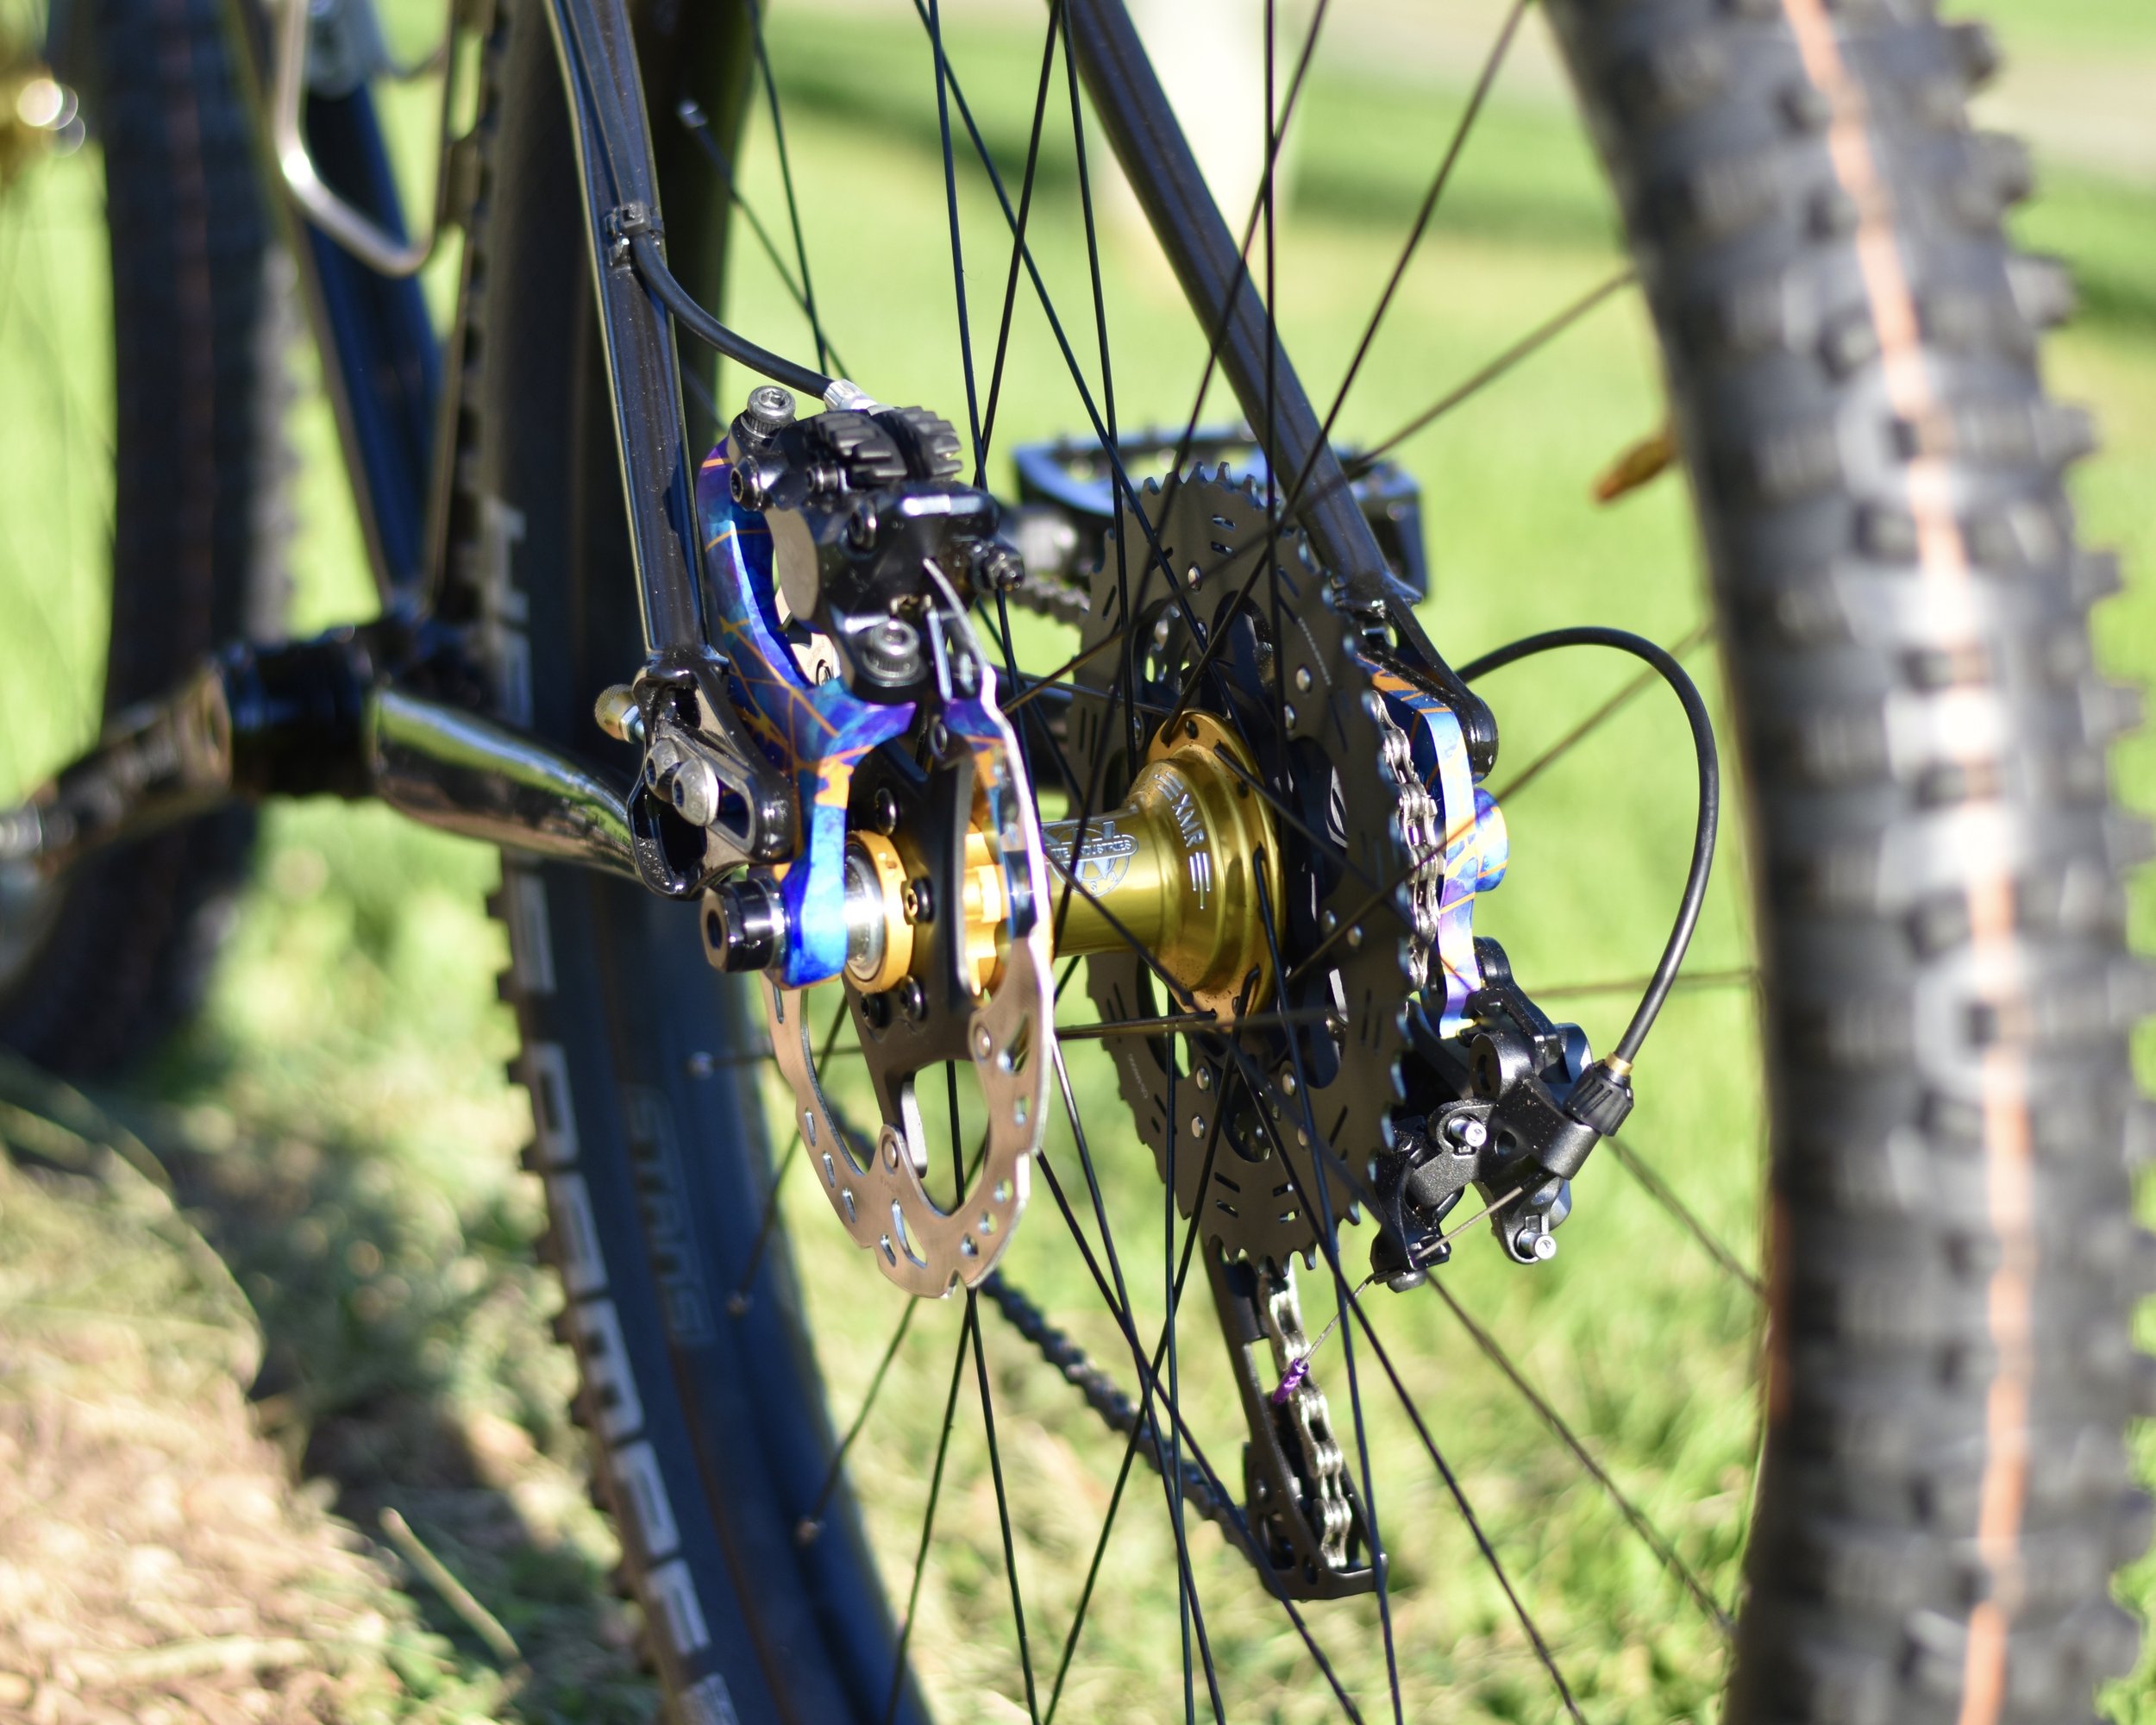
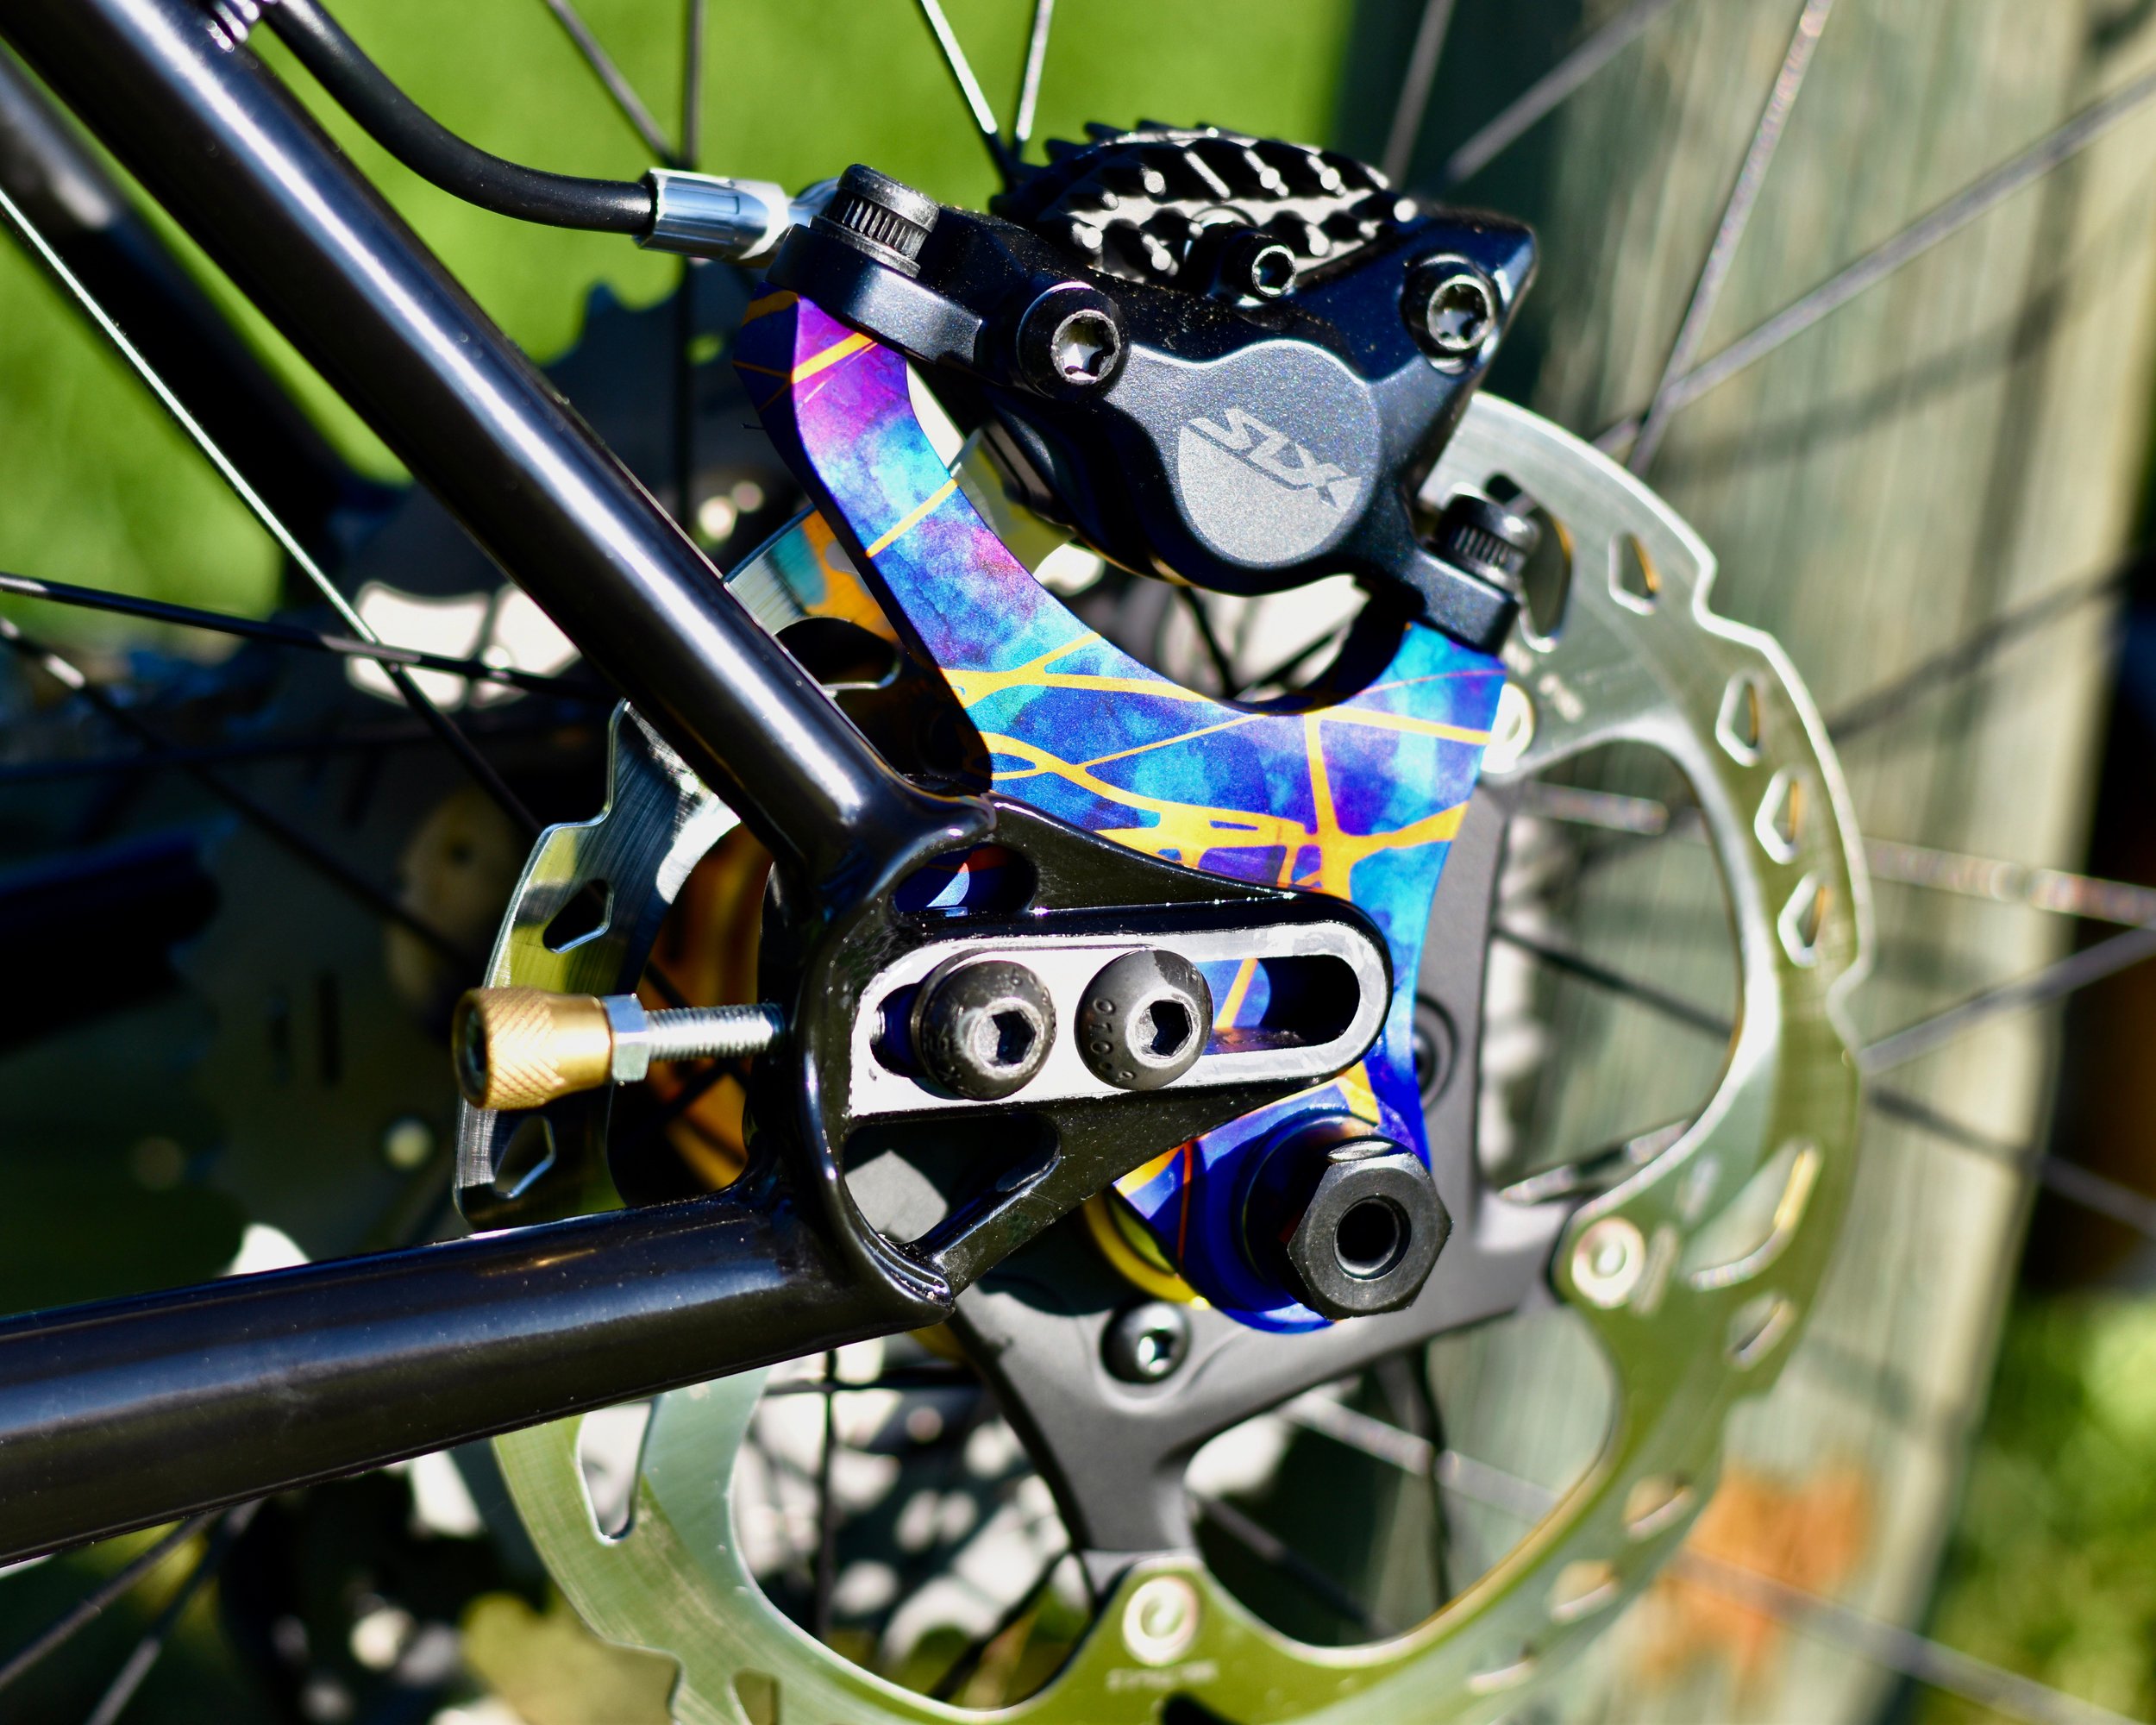
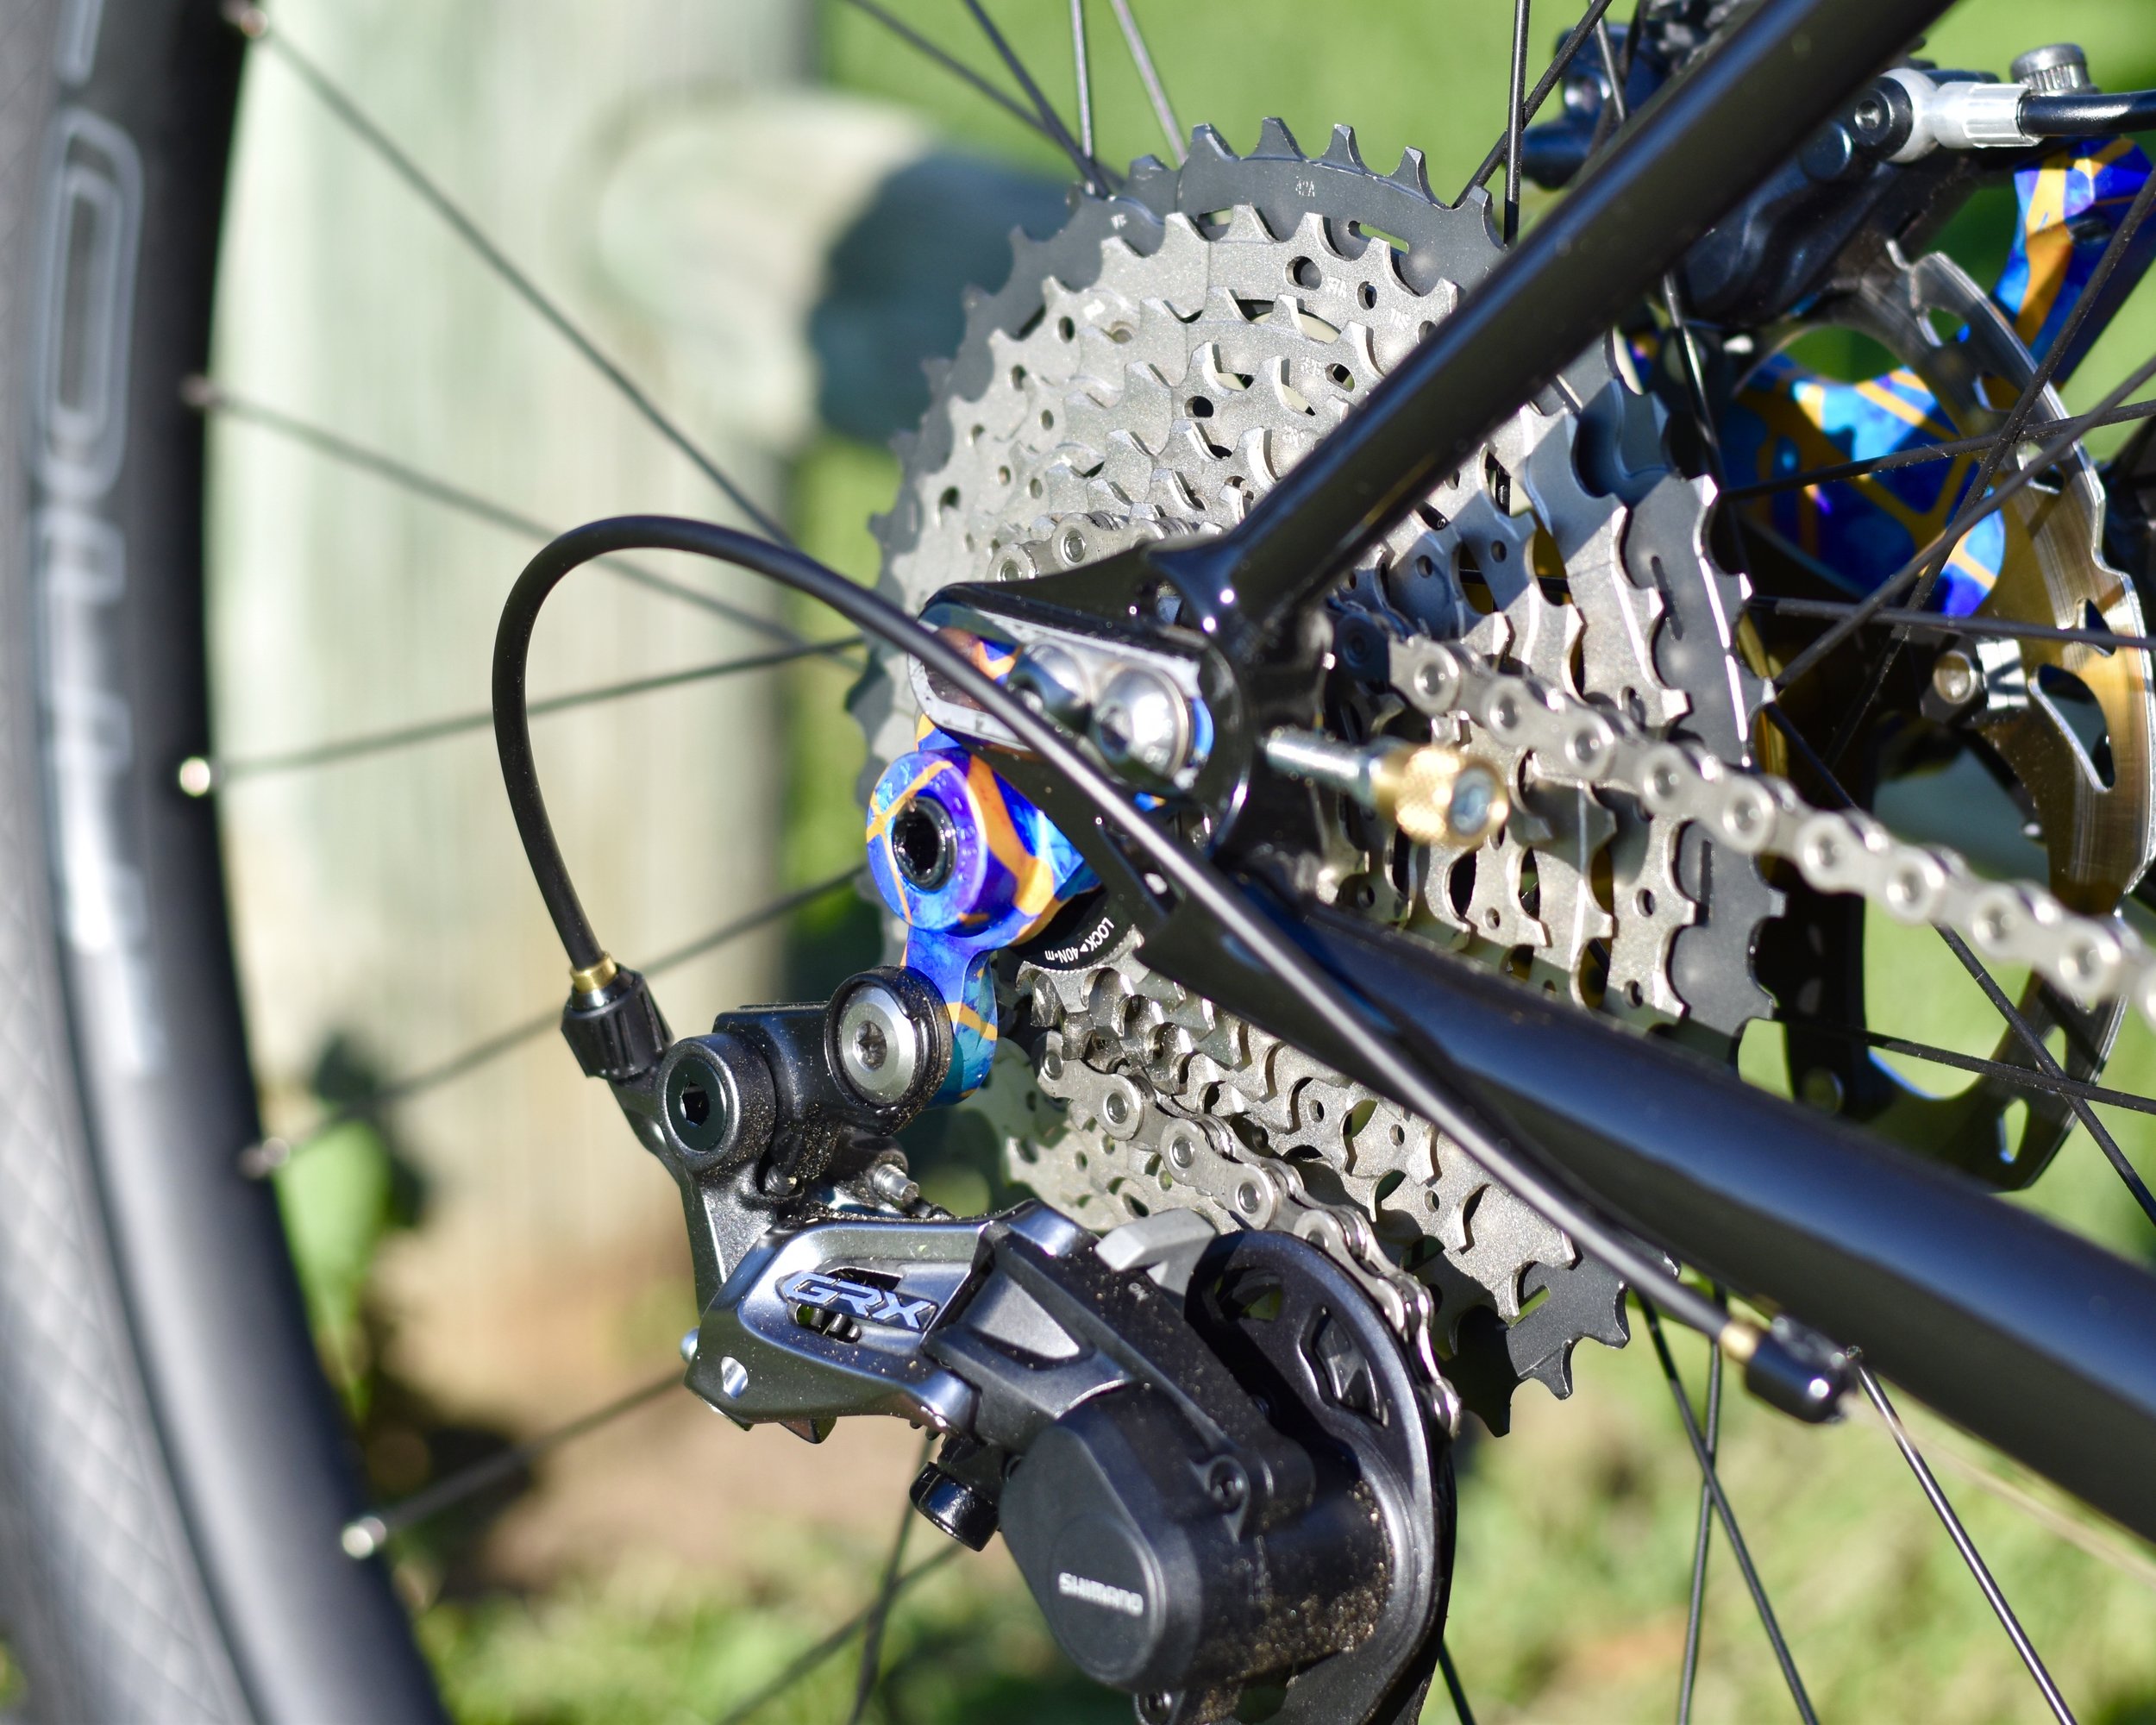
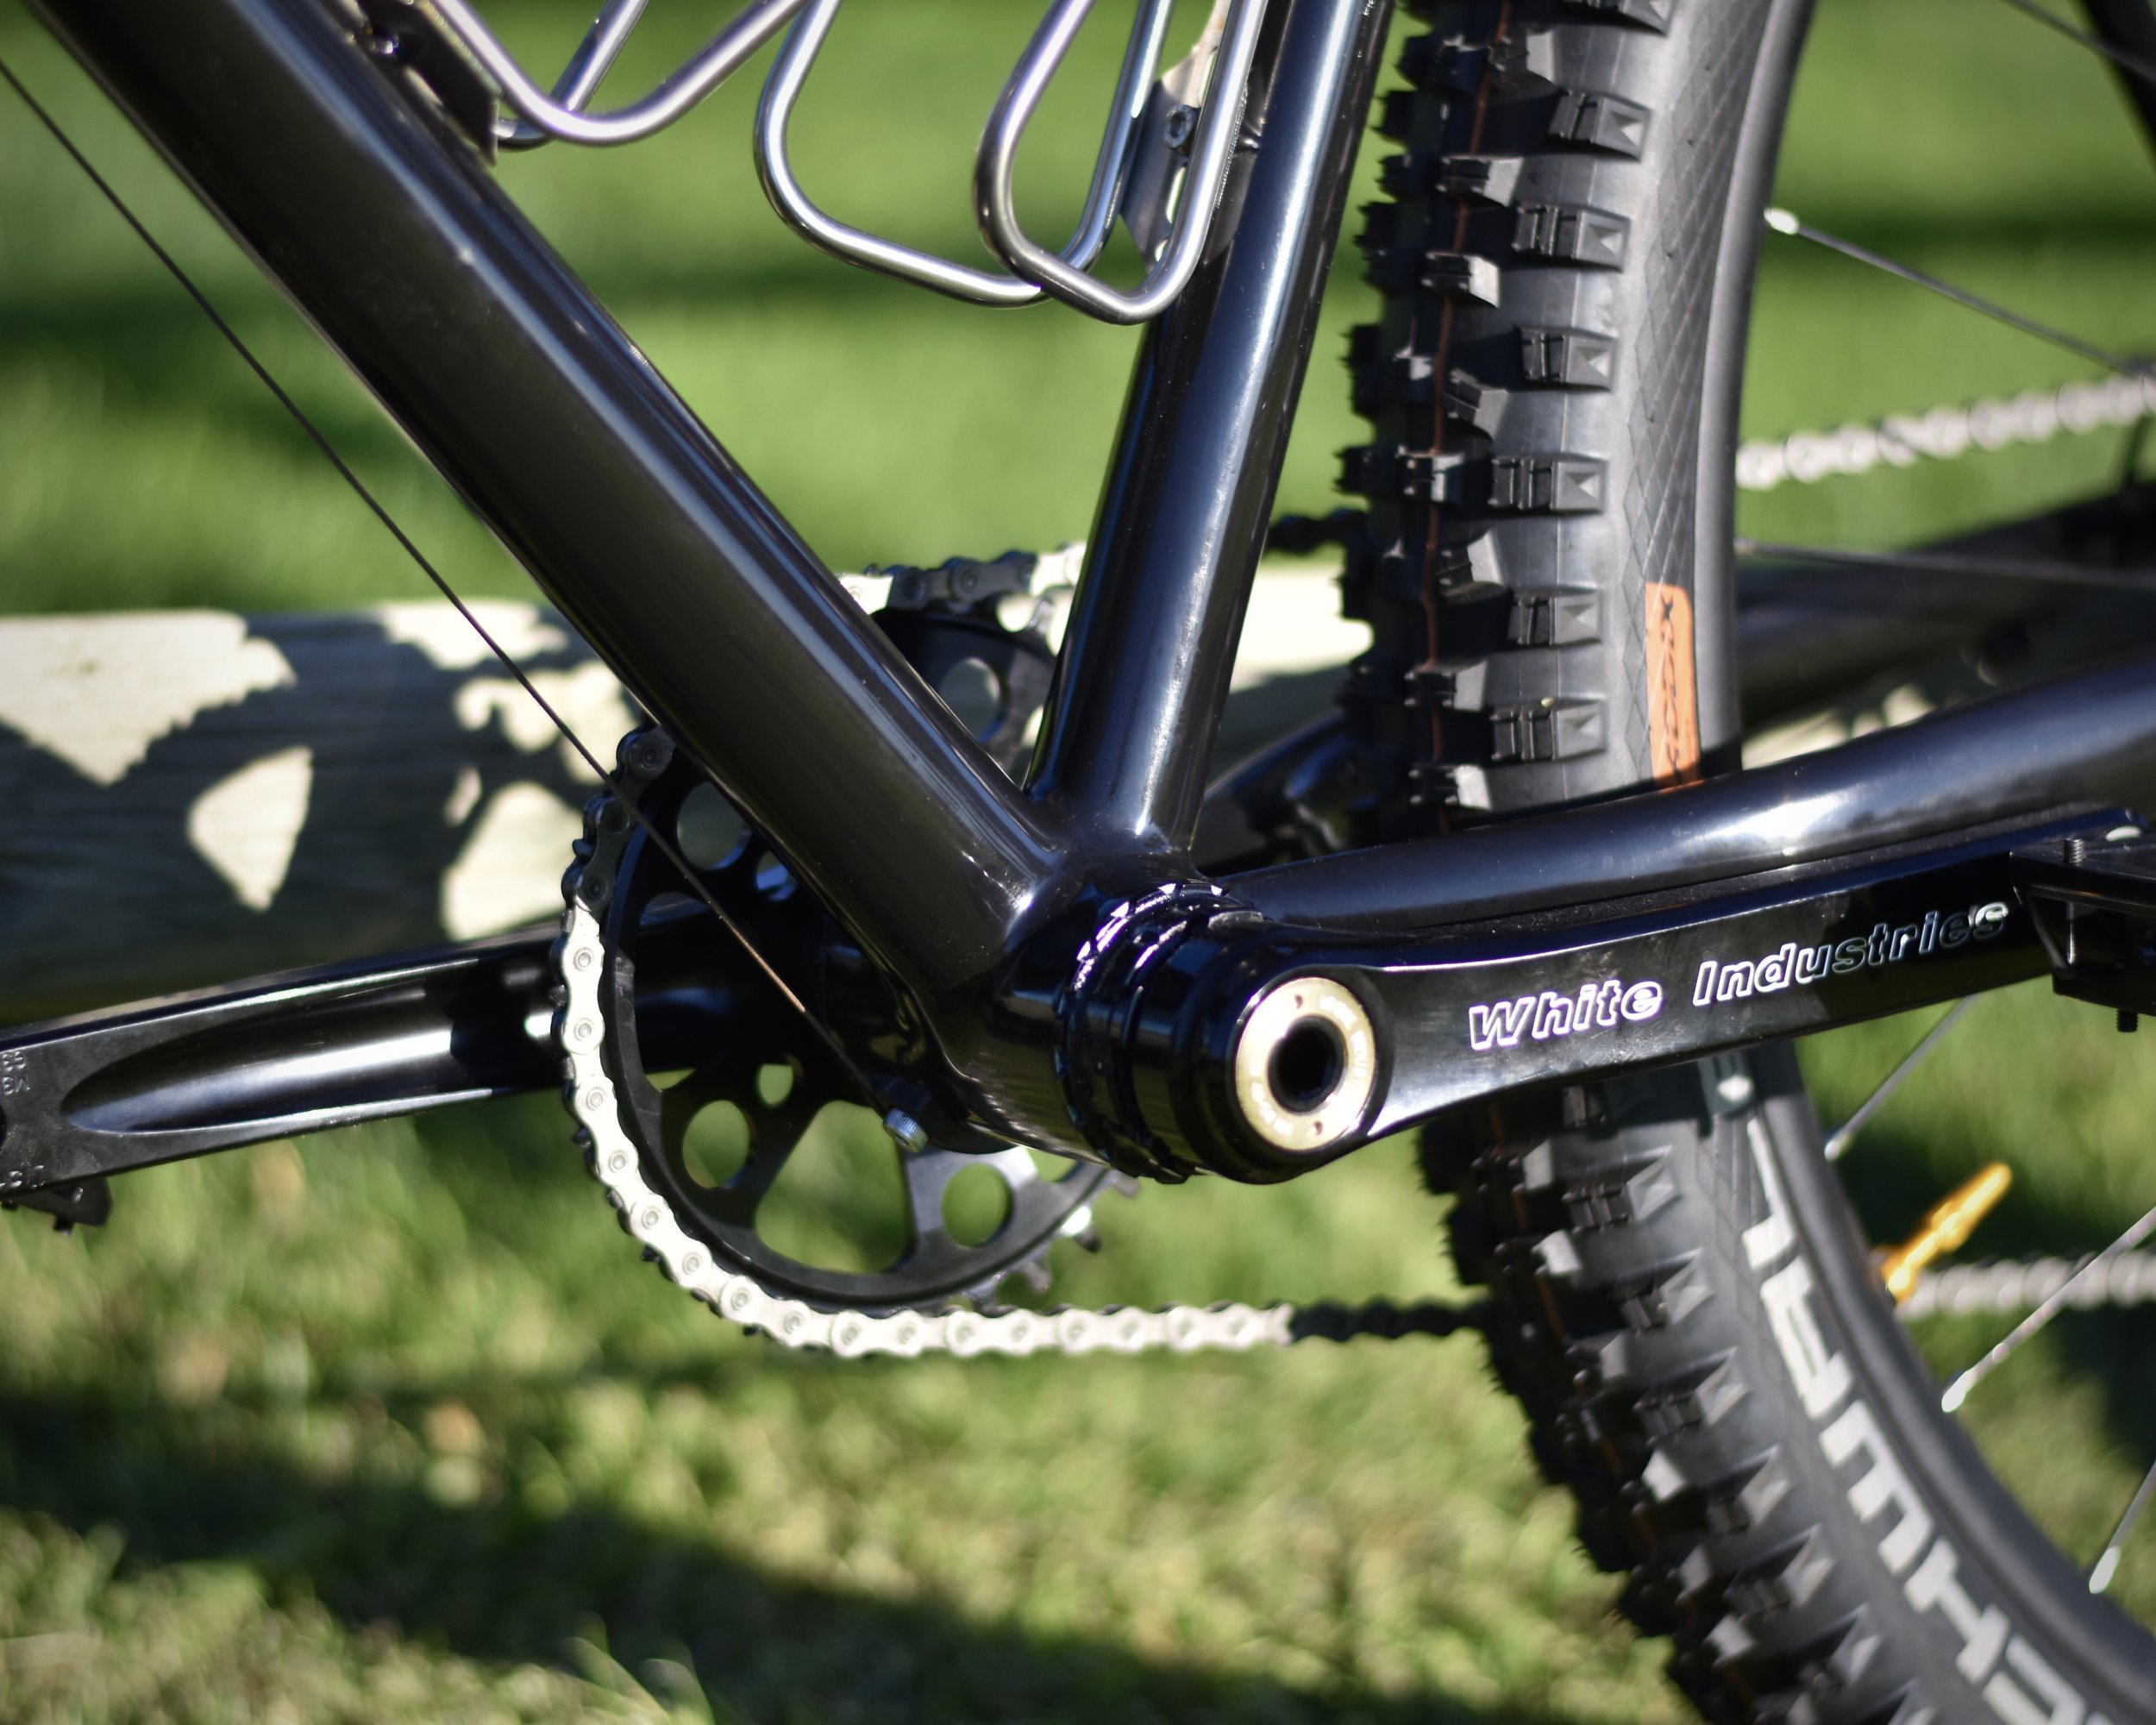
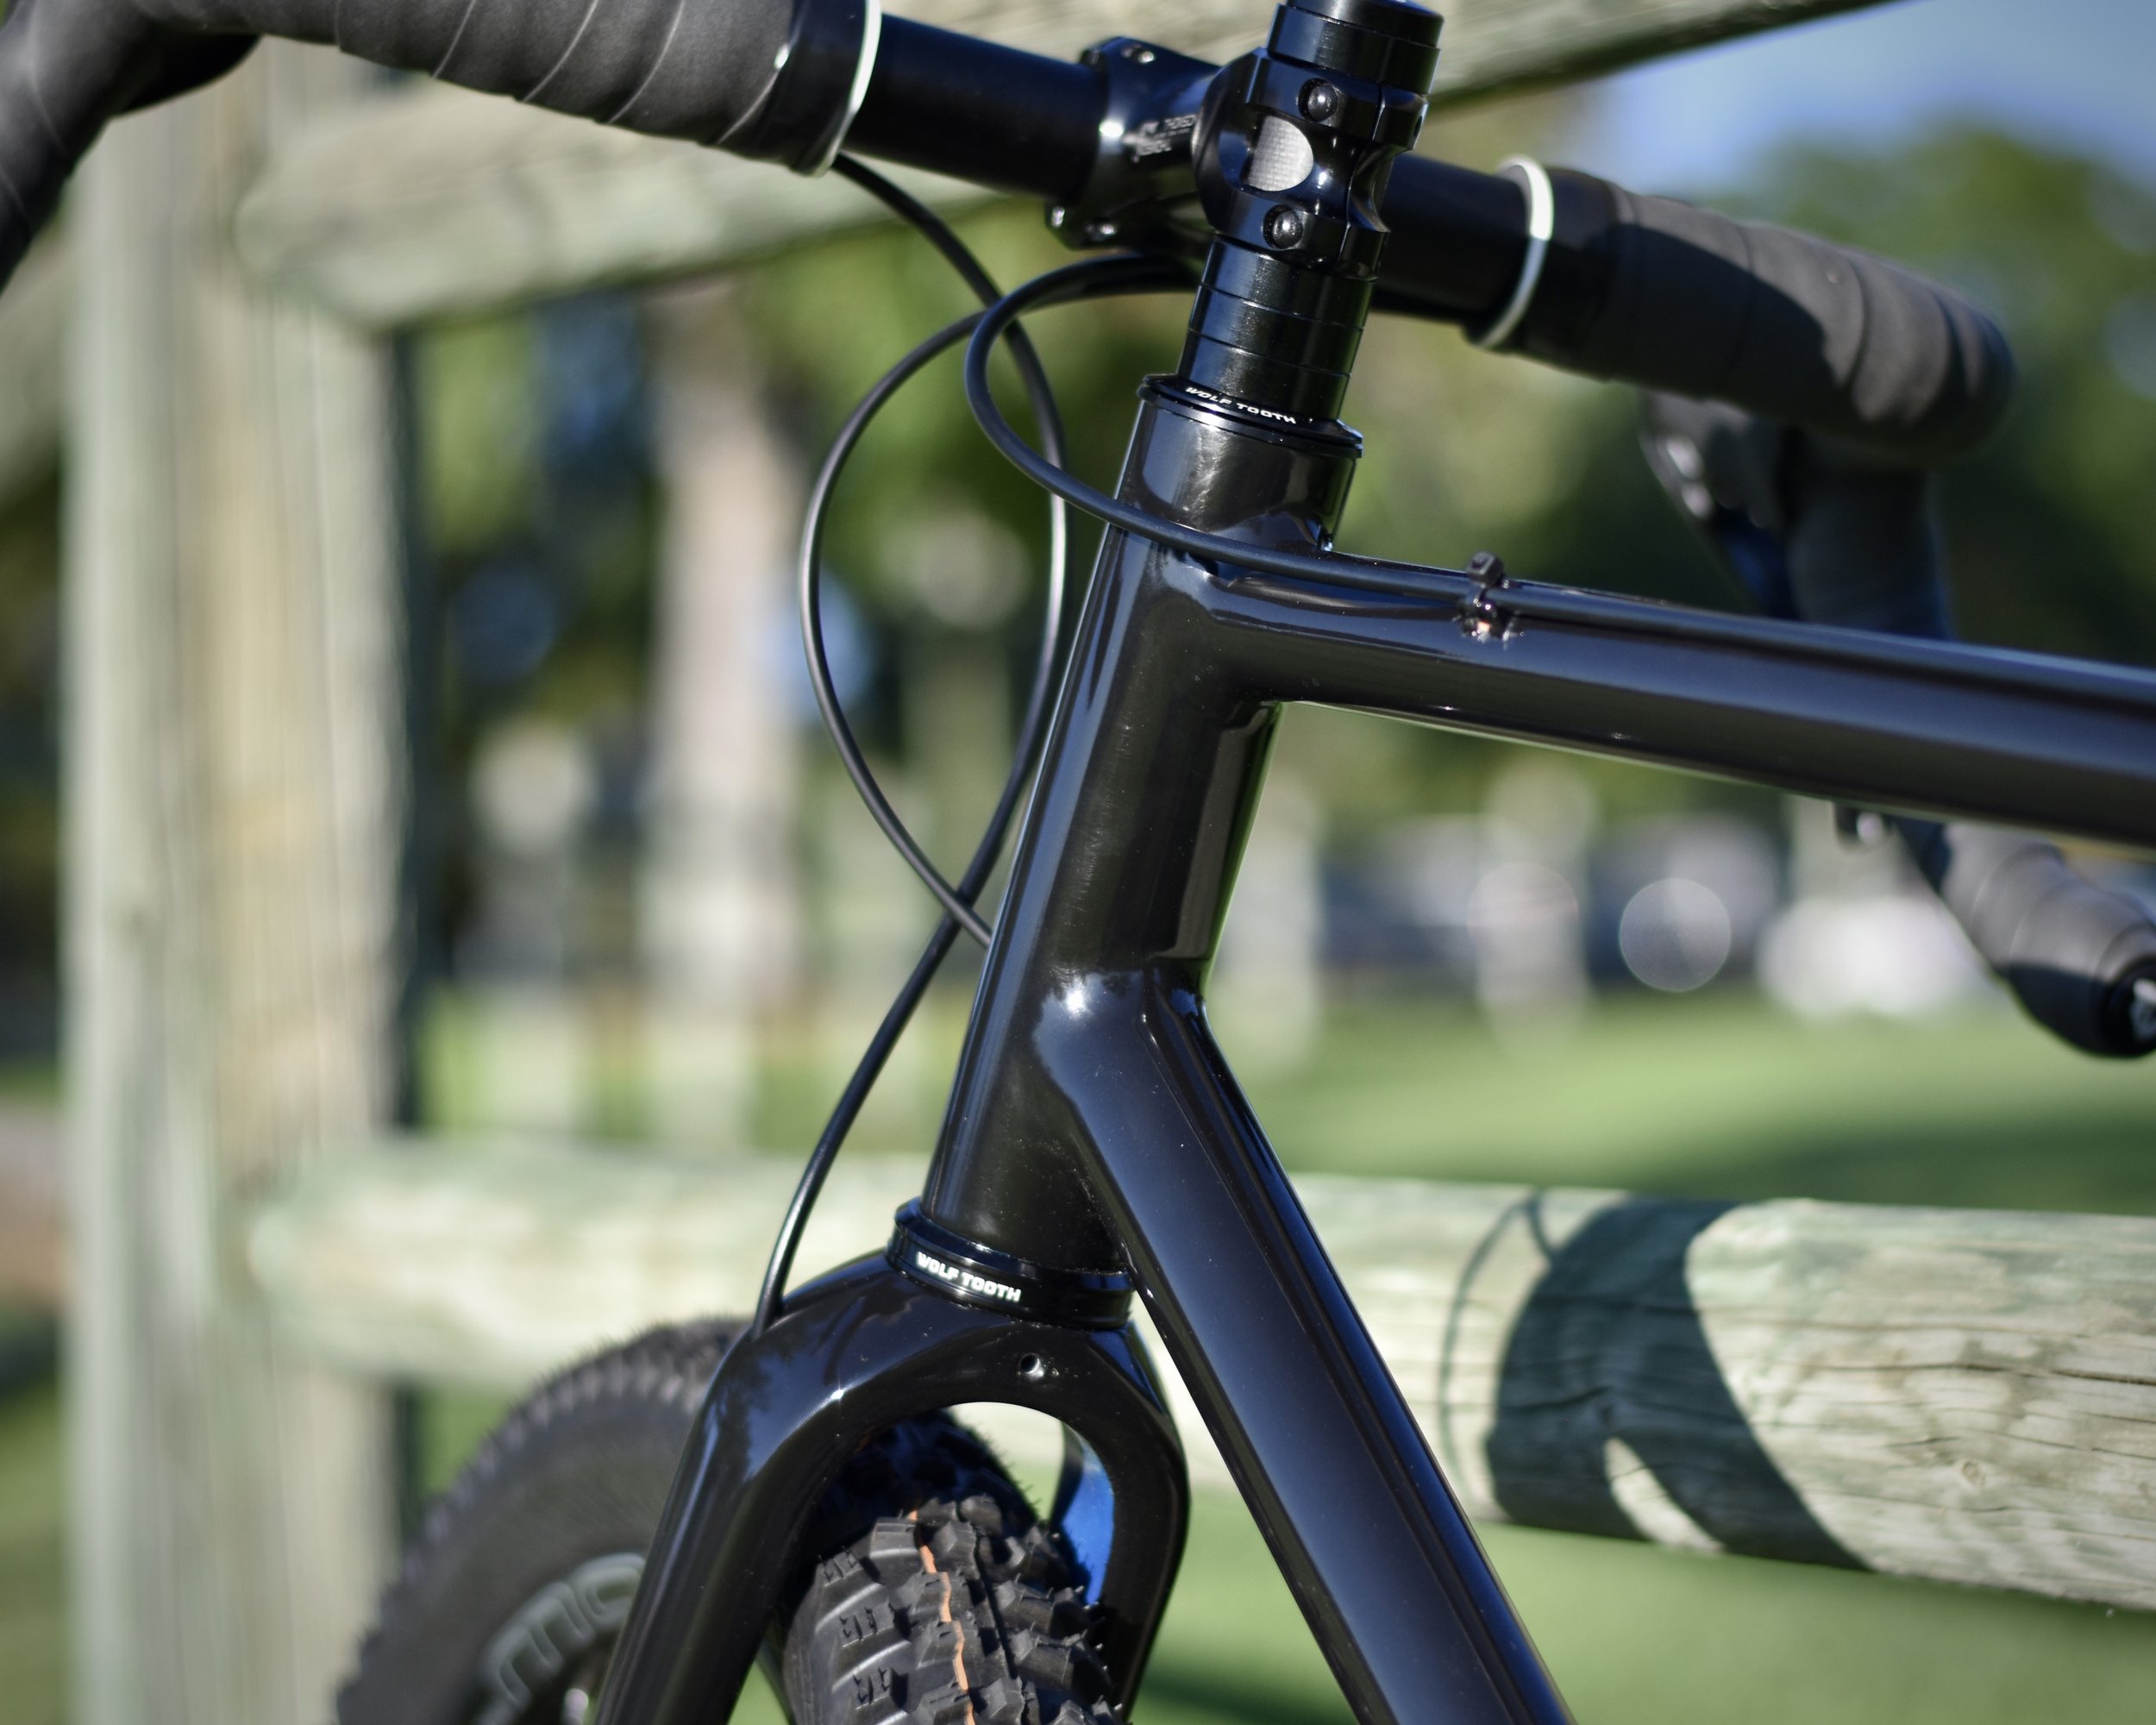
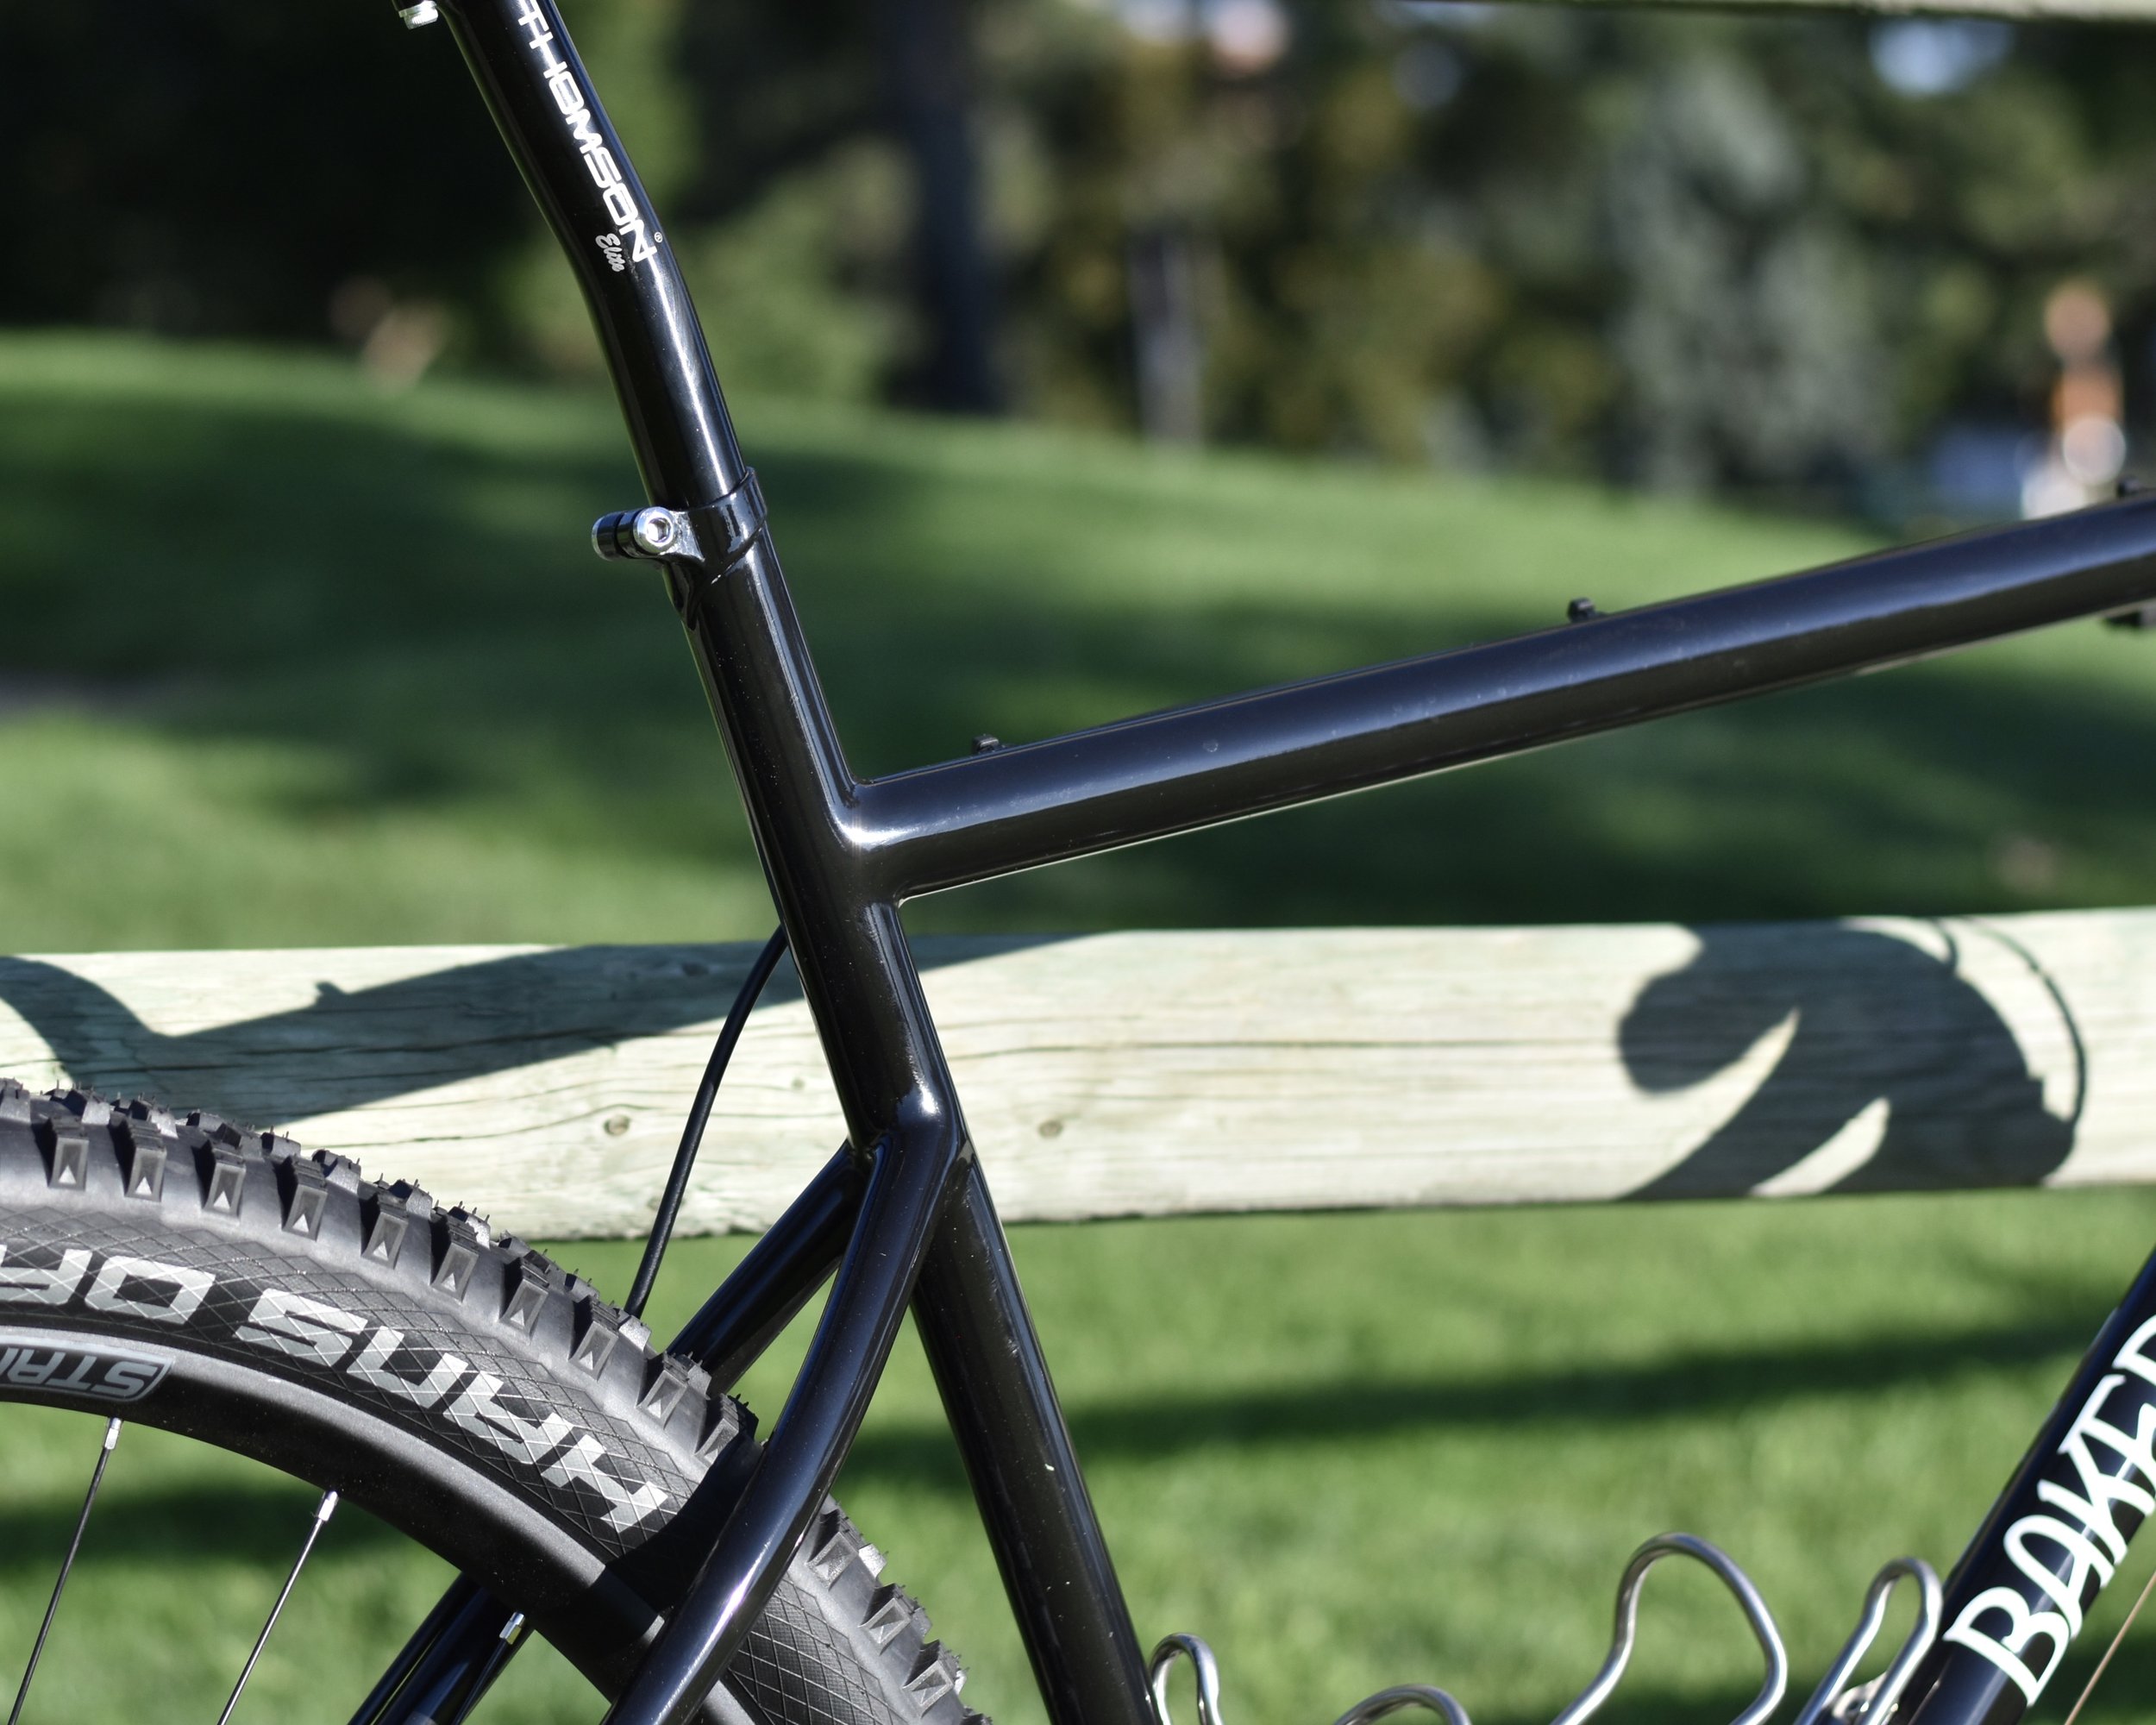
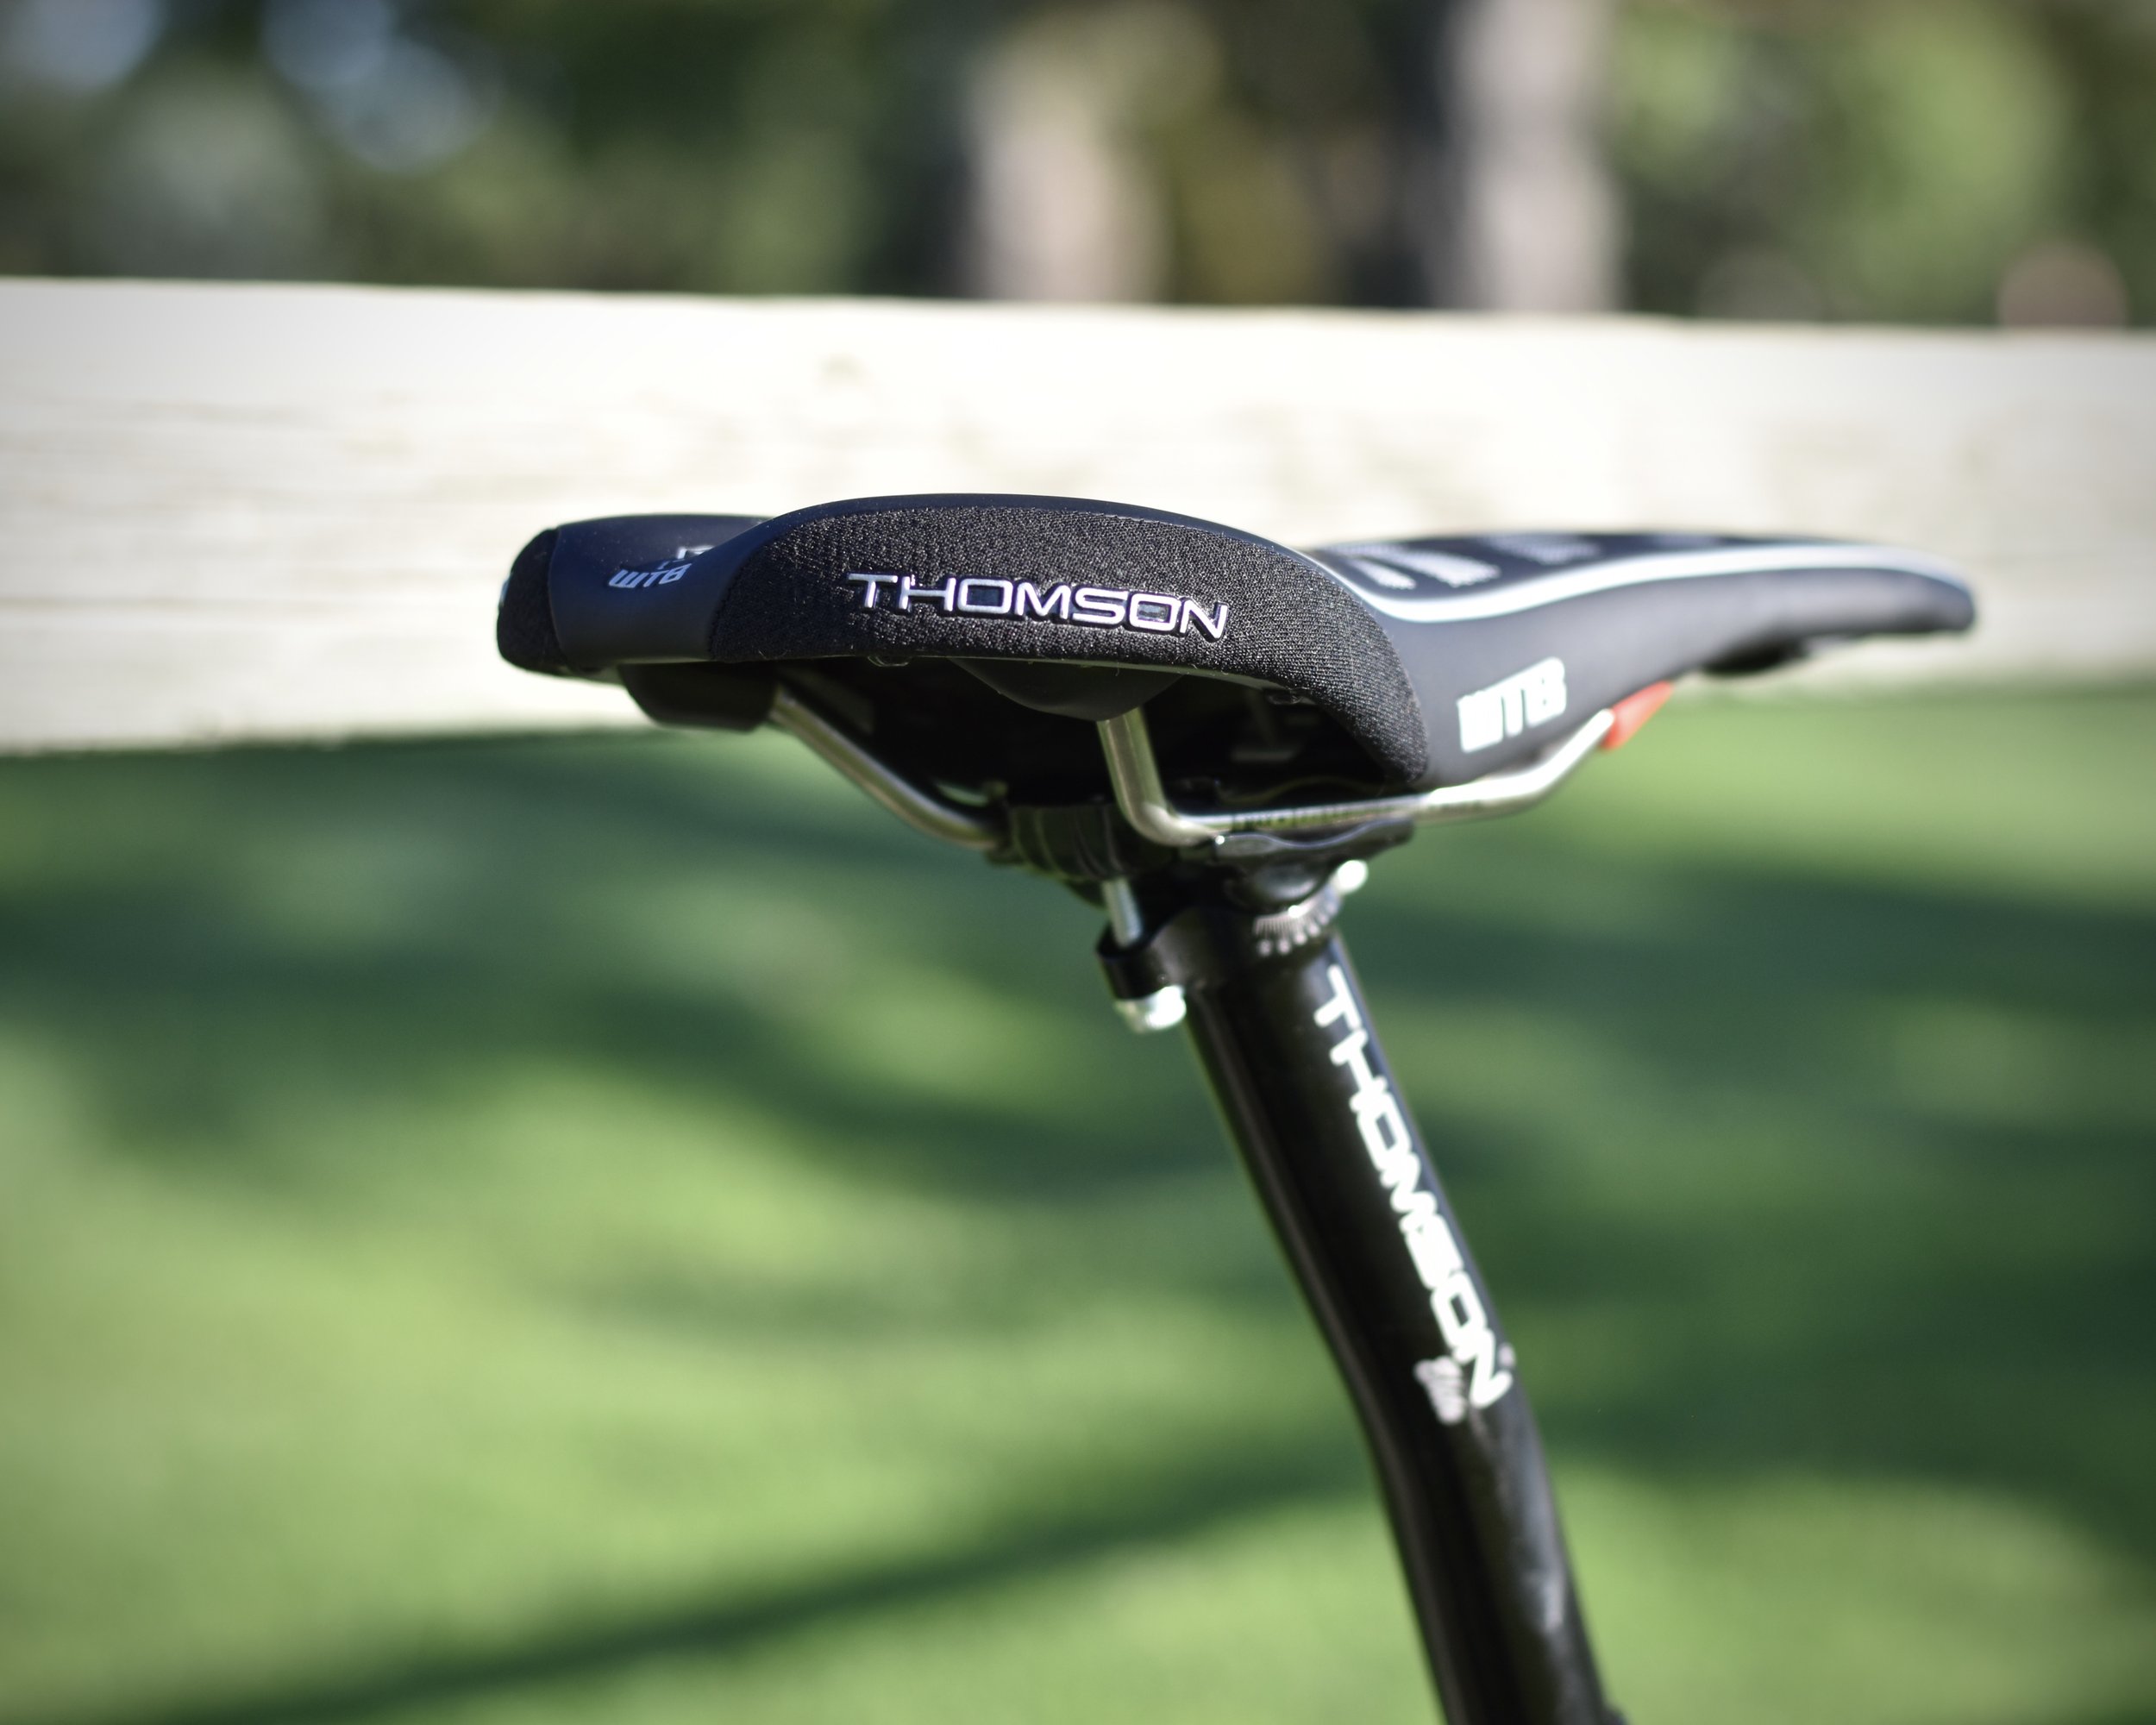
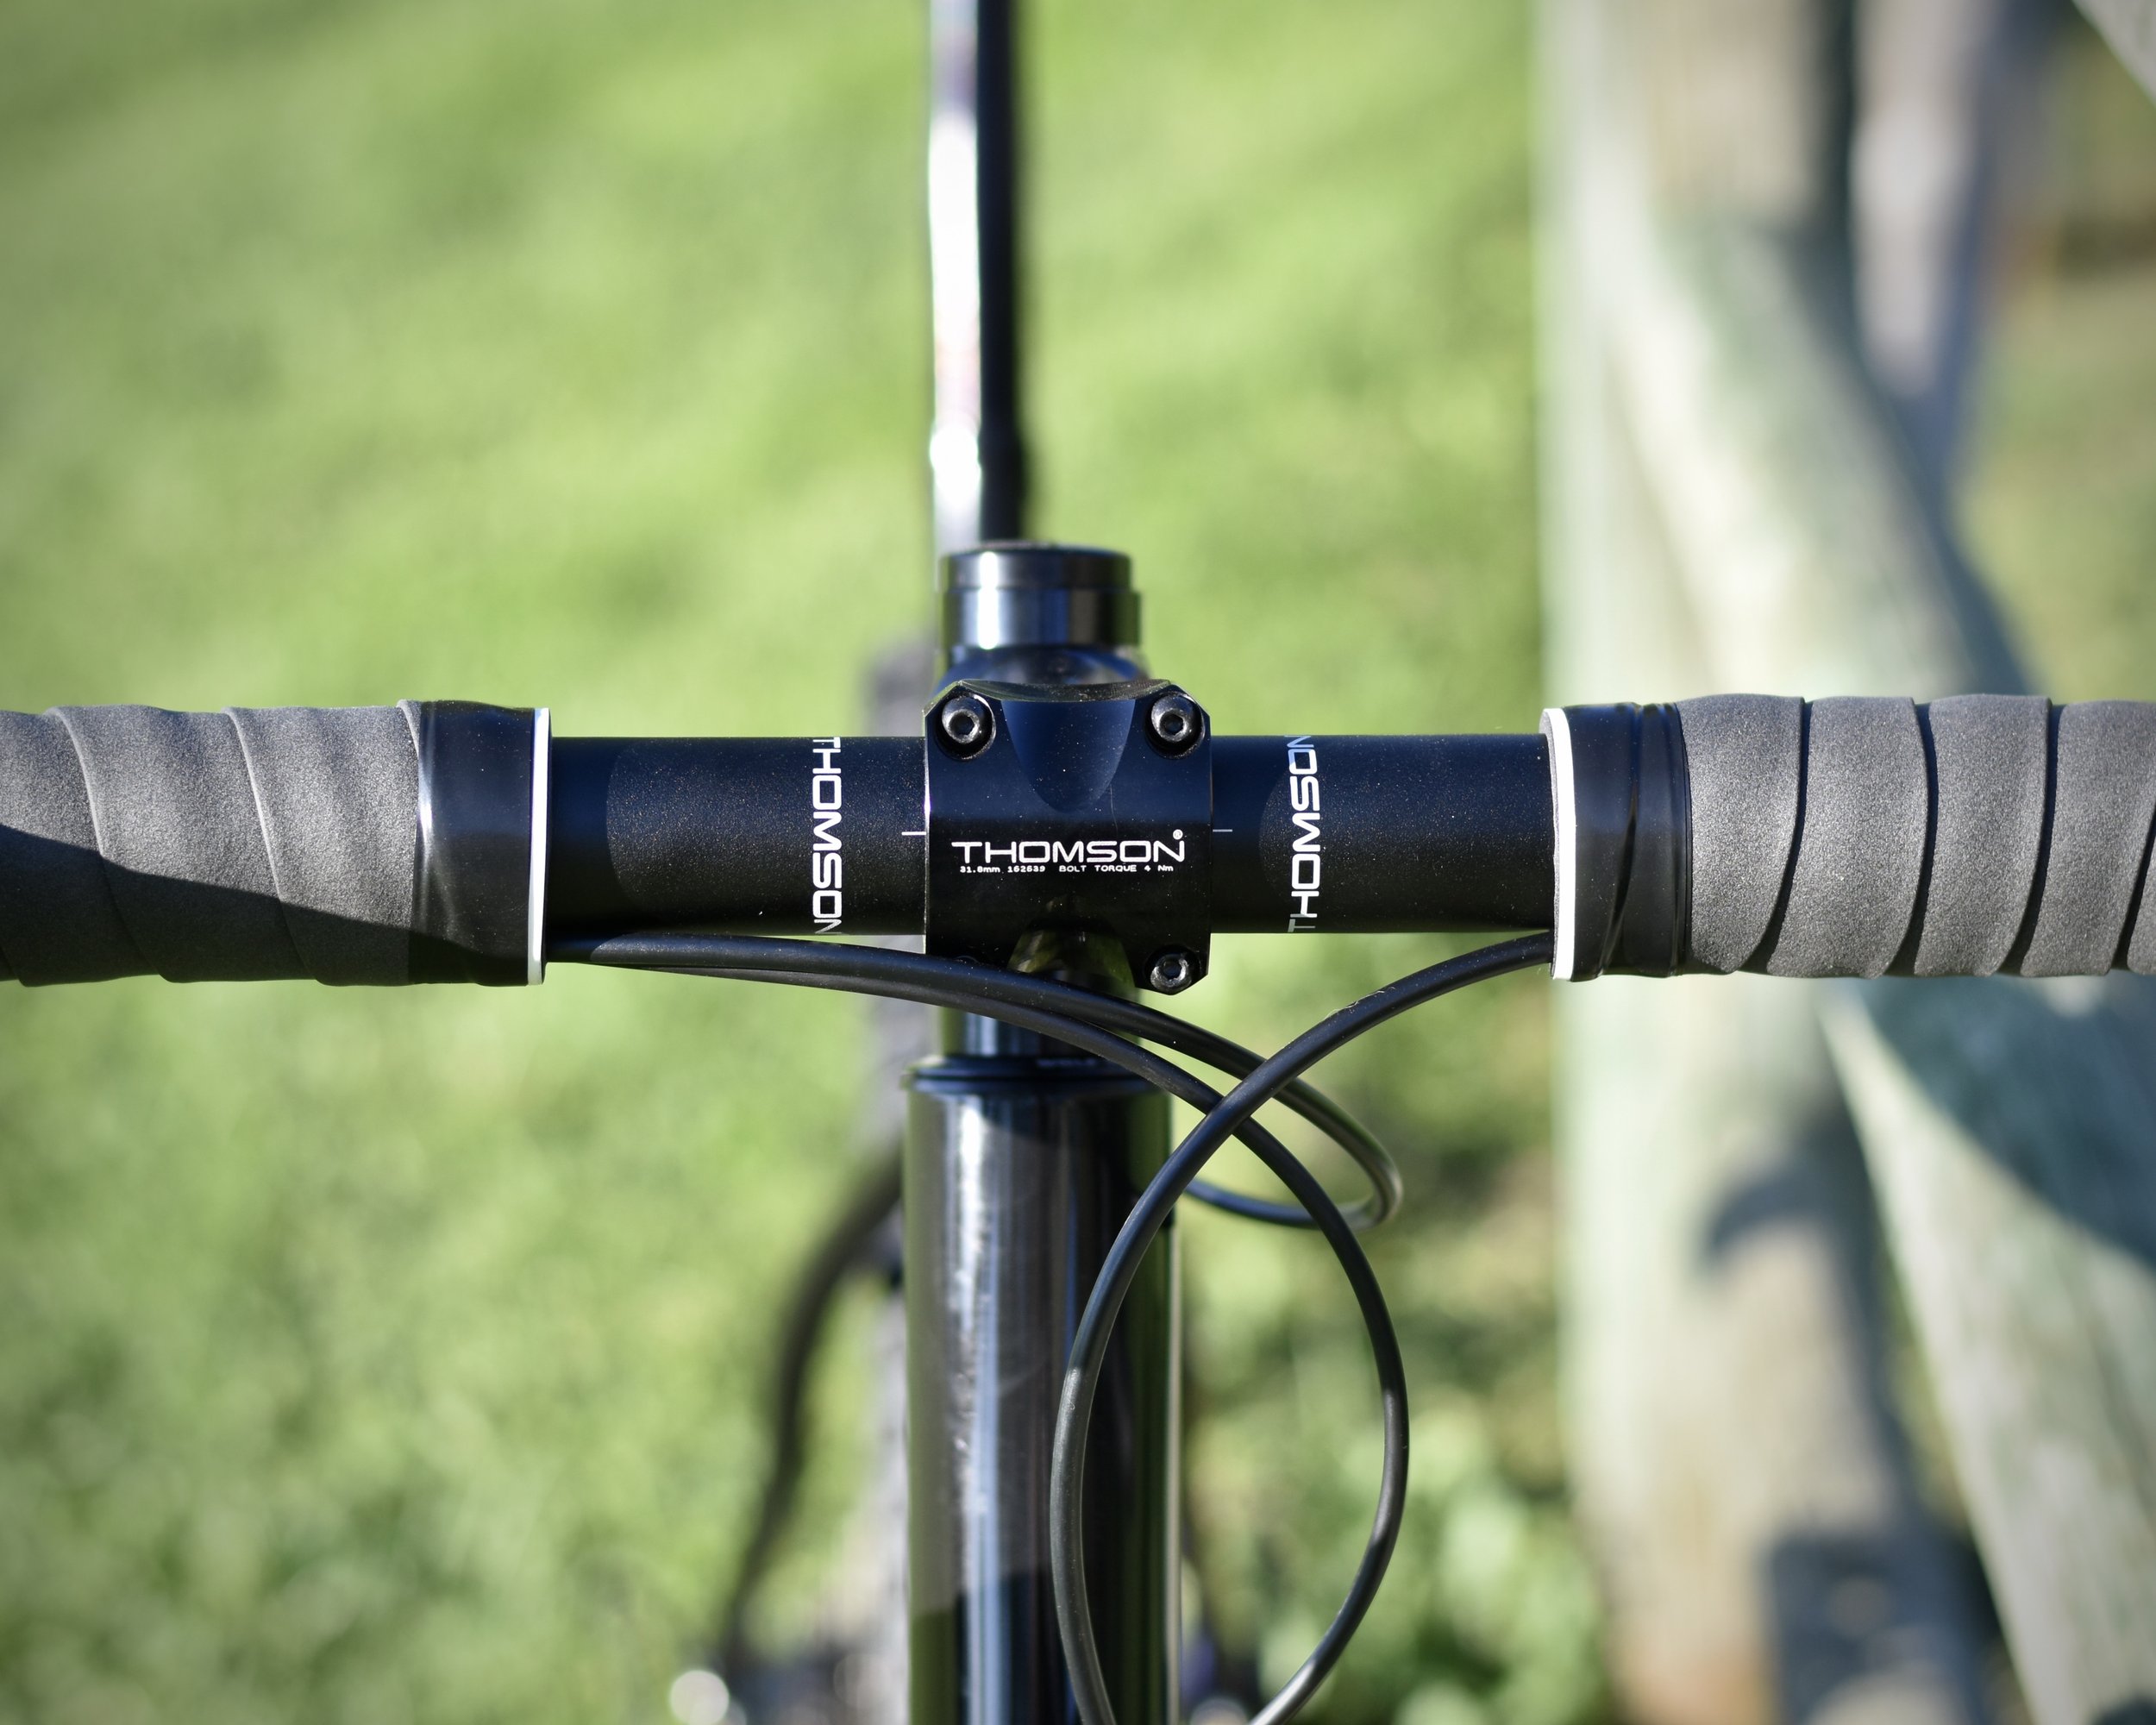
So was born this beast of a bike. A fillet-brazed, 4130 CroMo gravel bike currently running 27.5x2.35” tires. The frame will accept wider, but I would need a different fork to go larger in the front. Custom anodized (i outsourced this process) Paragon sliders to tie in the White Industries hubs. The inside of the fork paint-matched to the anodization on the rear to tie the colors together. 1x11 GRX drivetrain. Everything you want in a mountain bike, but on a “road” bike. The love child of Beauty and the Beast… before he turned predictably handsome and banally pedestrian at the end.
This is a fitting build to a tube set that was otherwise bound to be orphaned elsewhere in a different ending. I’m glad I got a hold of it and gave it a loving home.
Hardrock Custom Complete
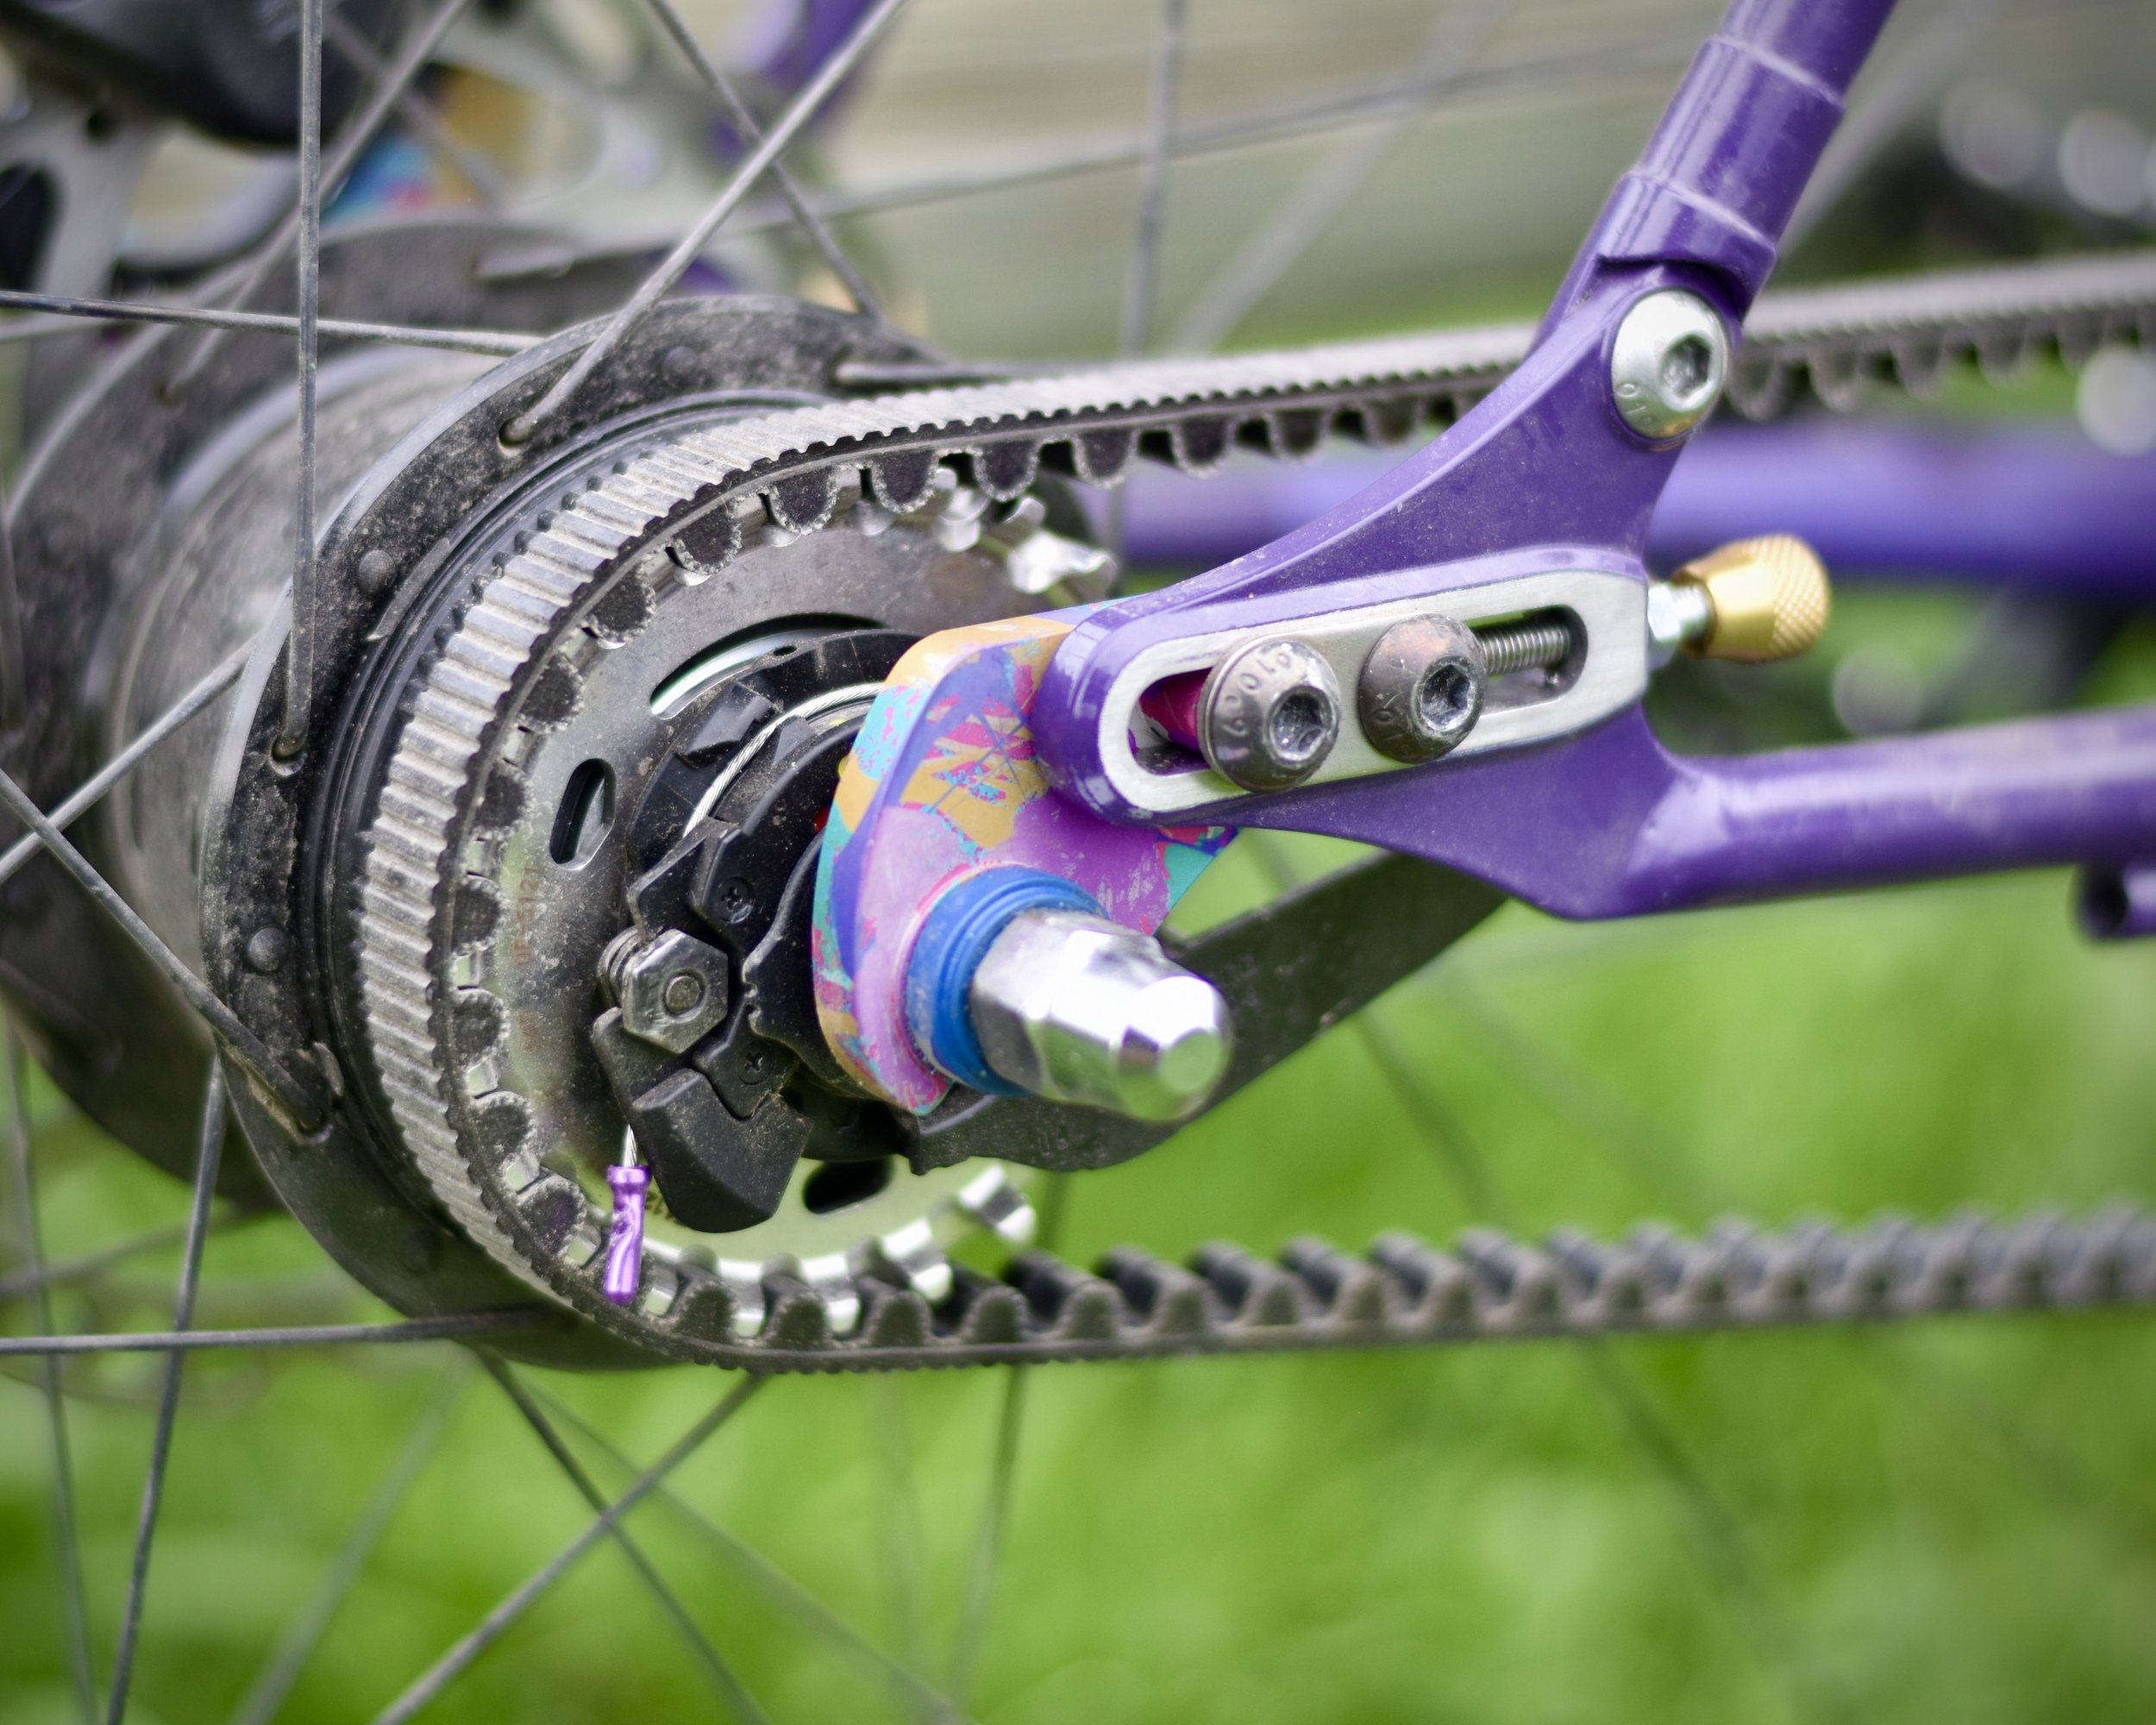
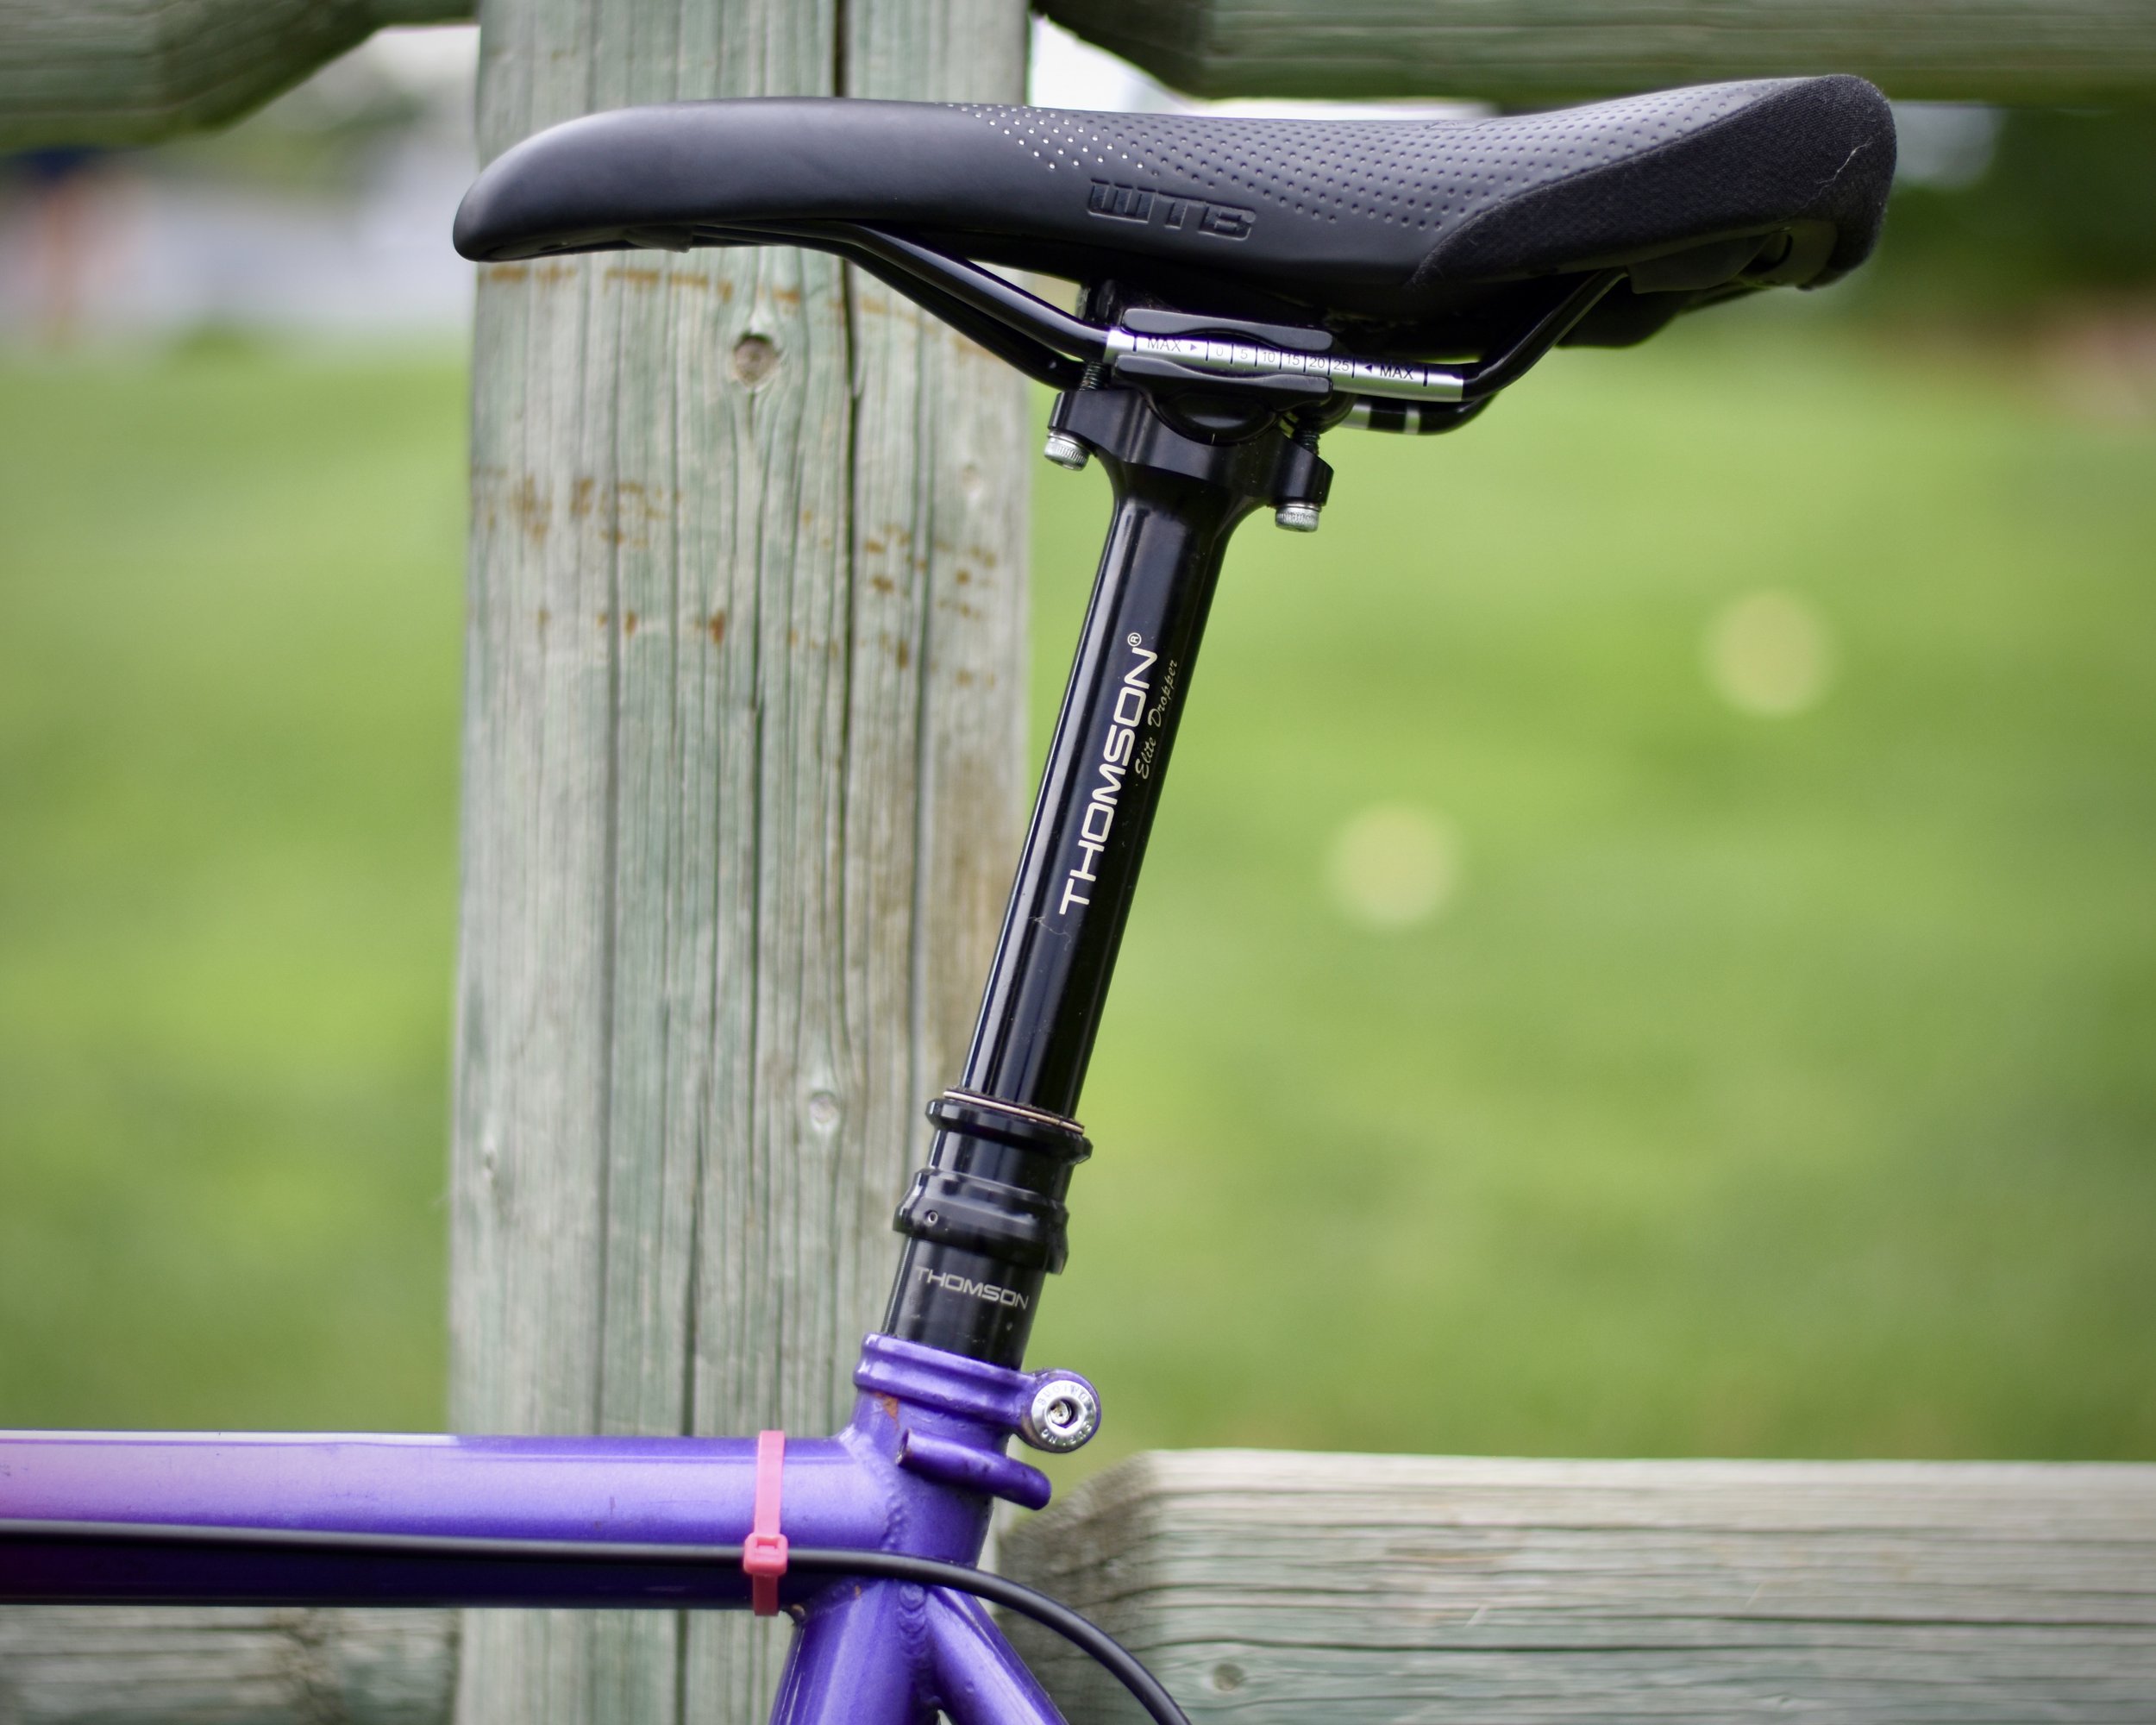
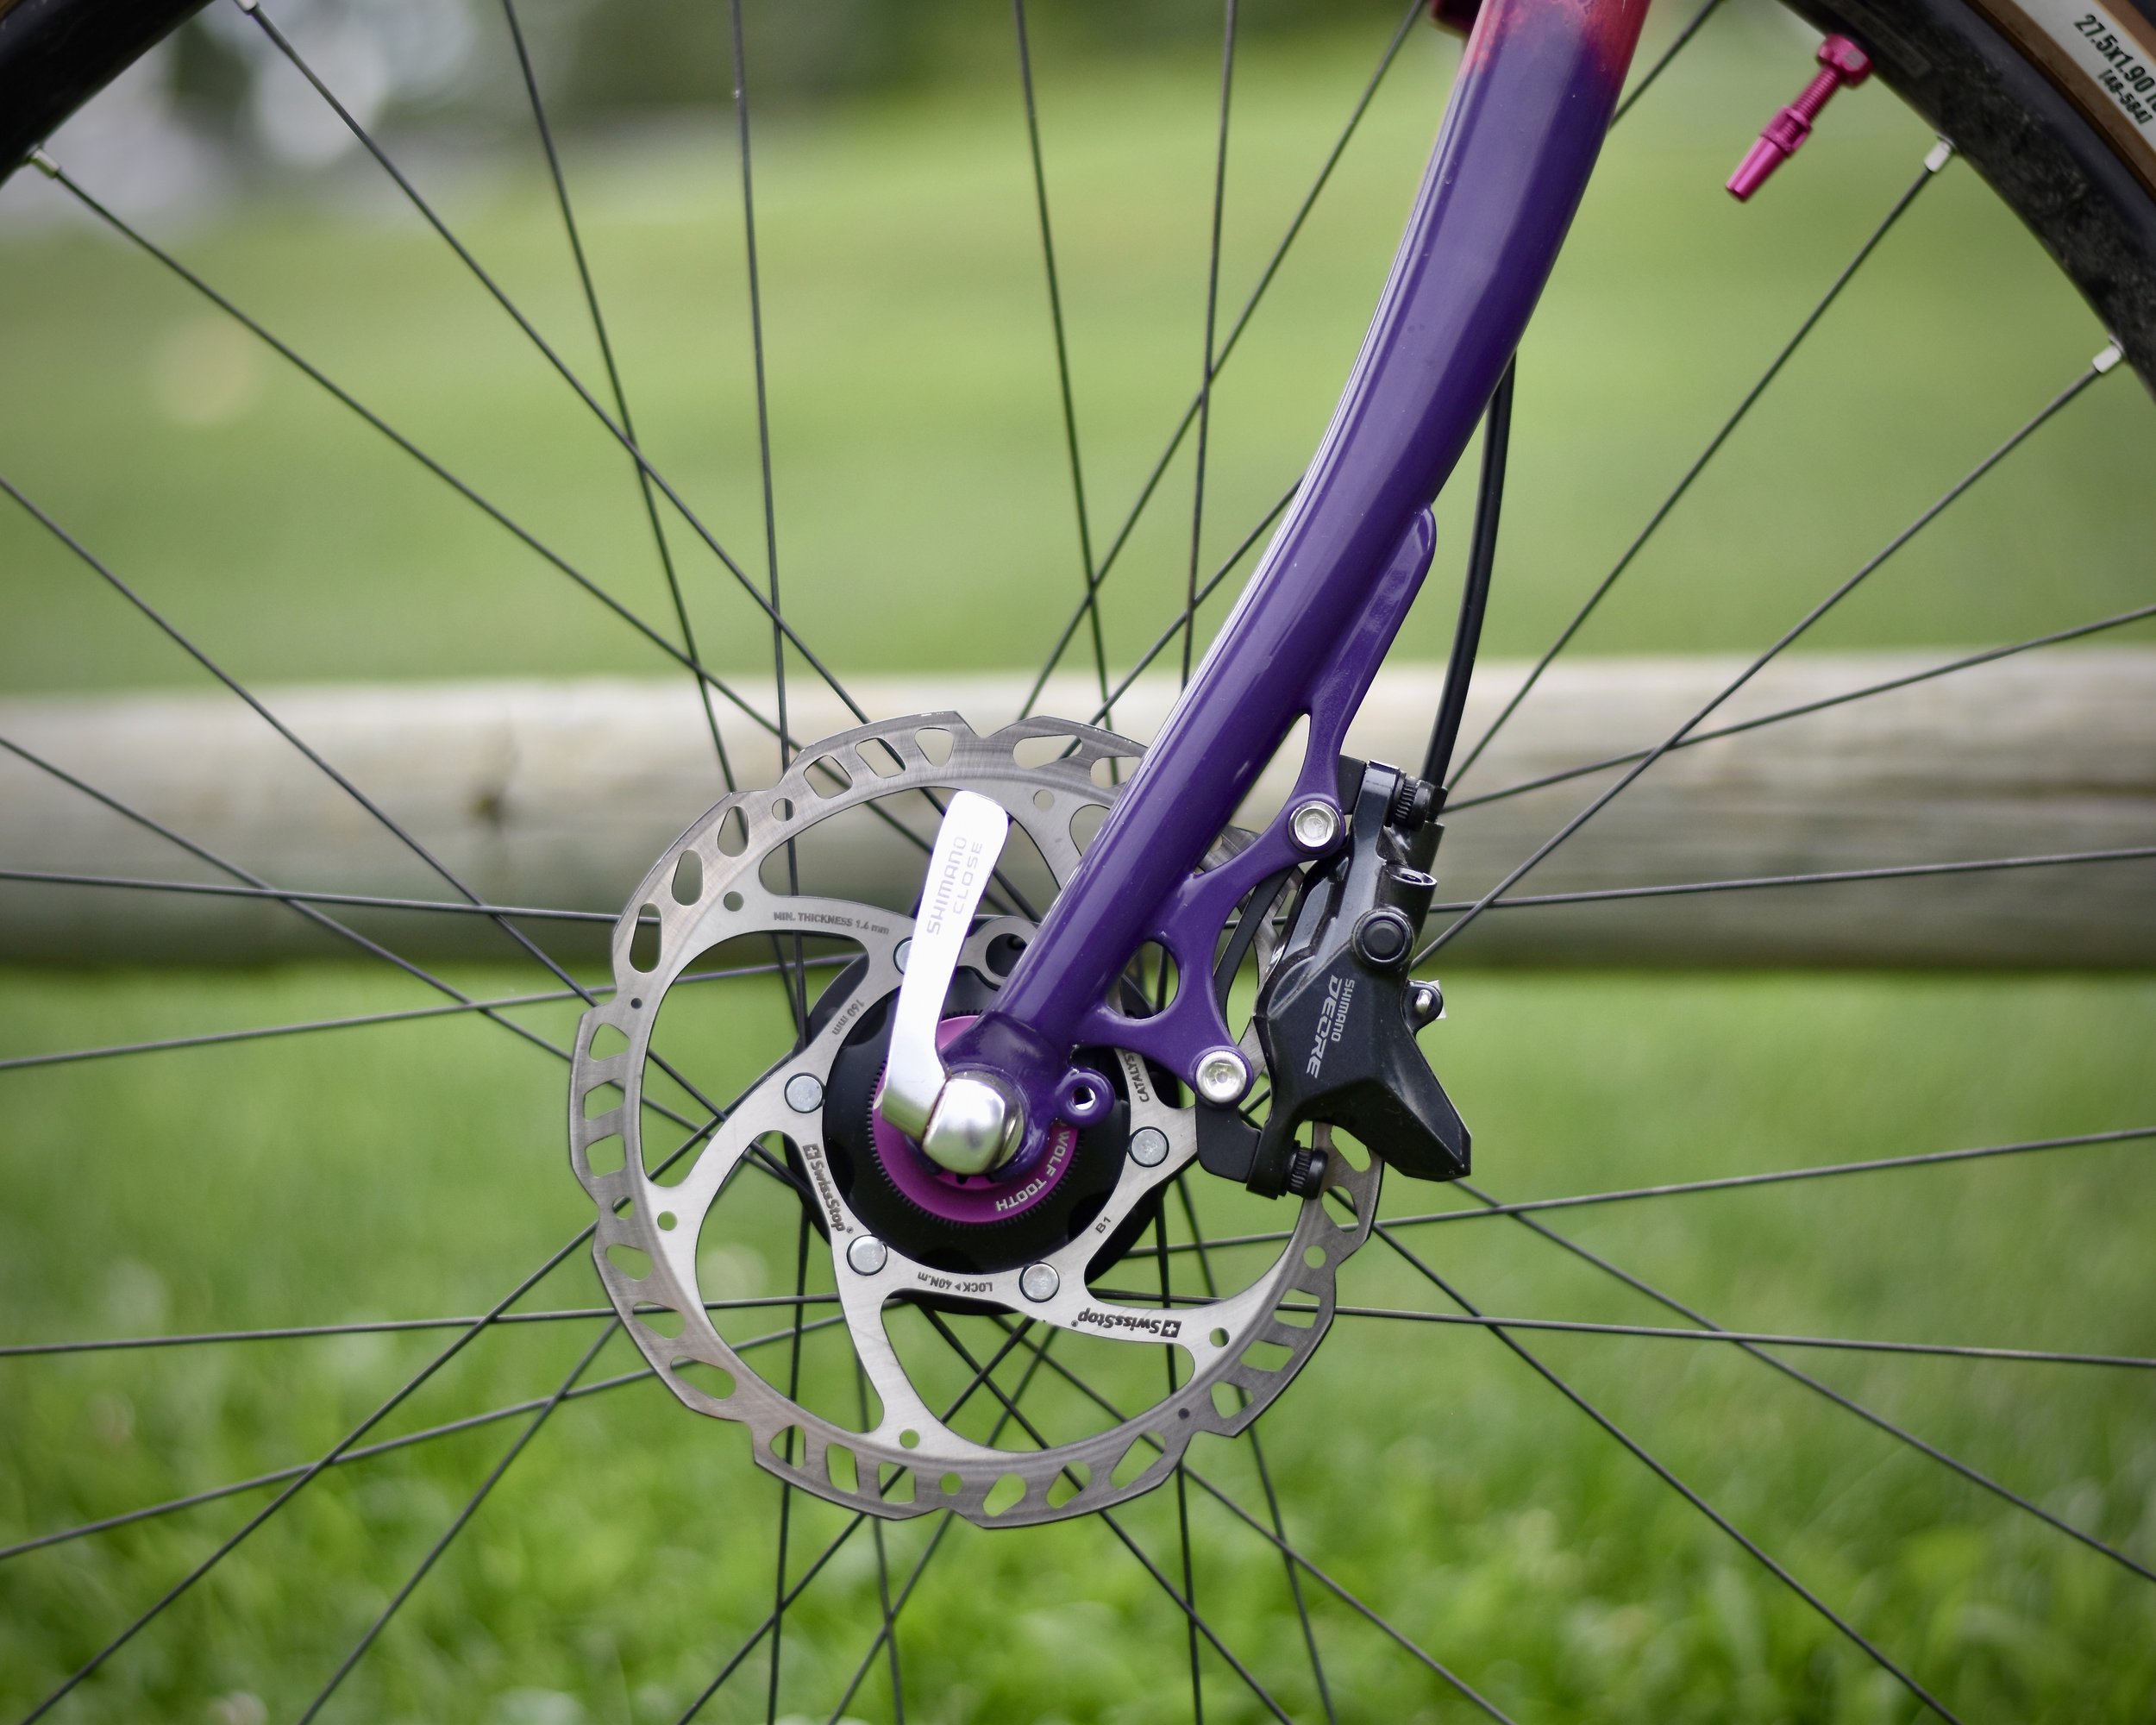
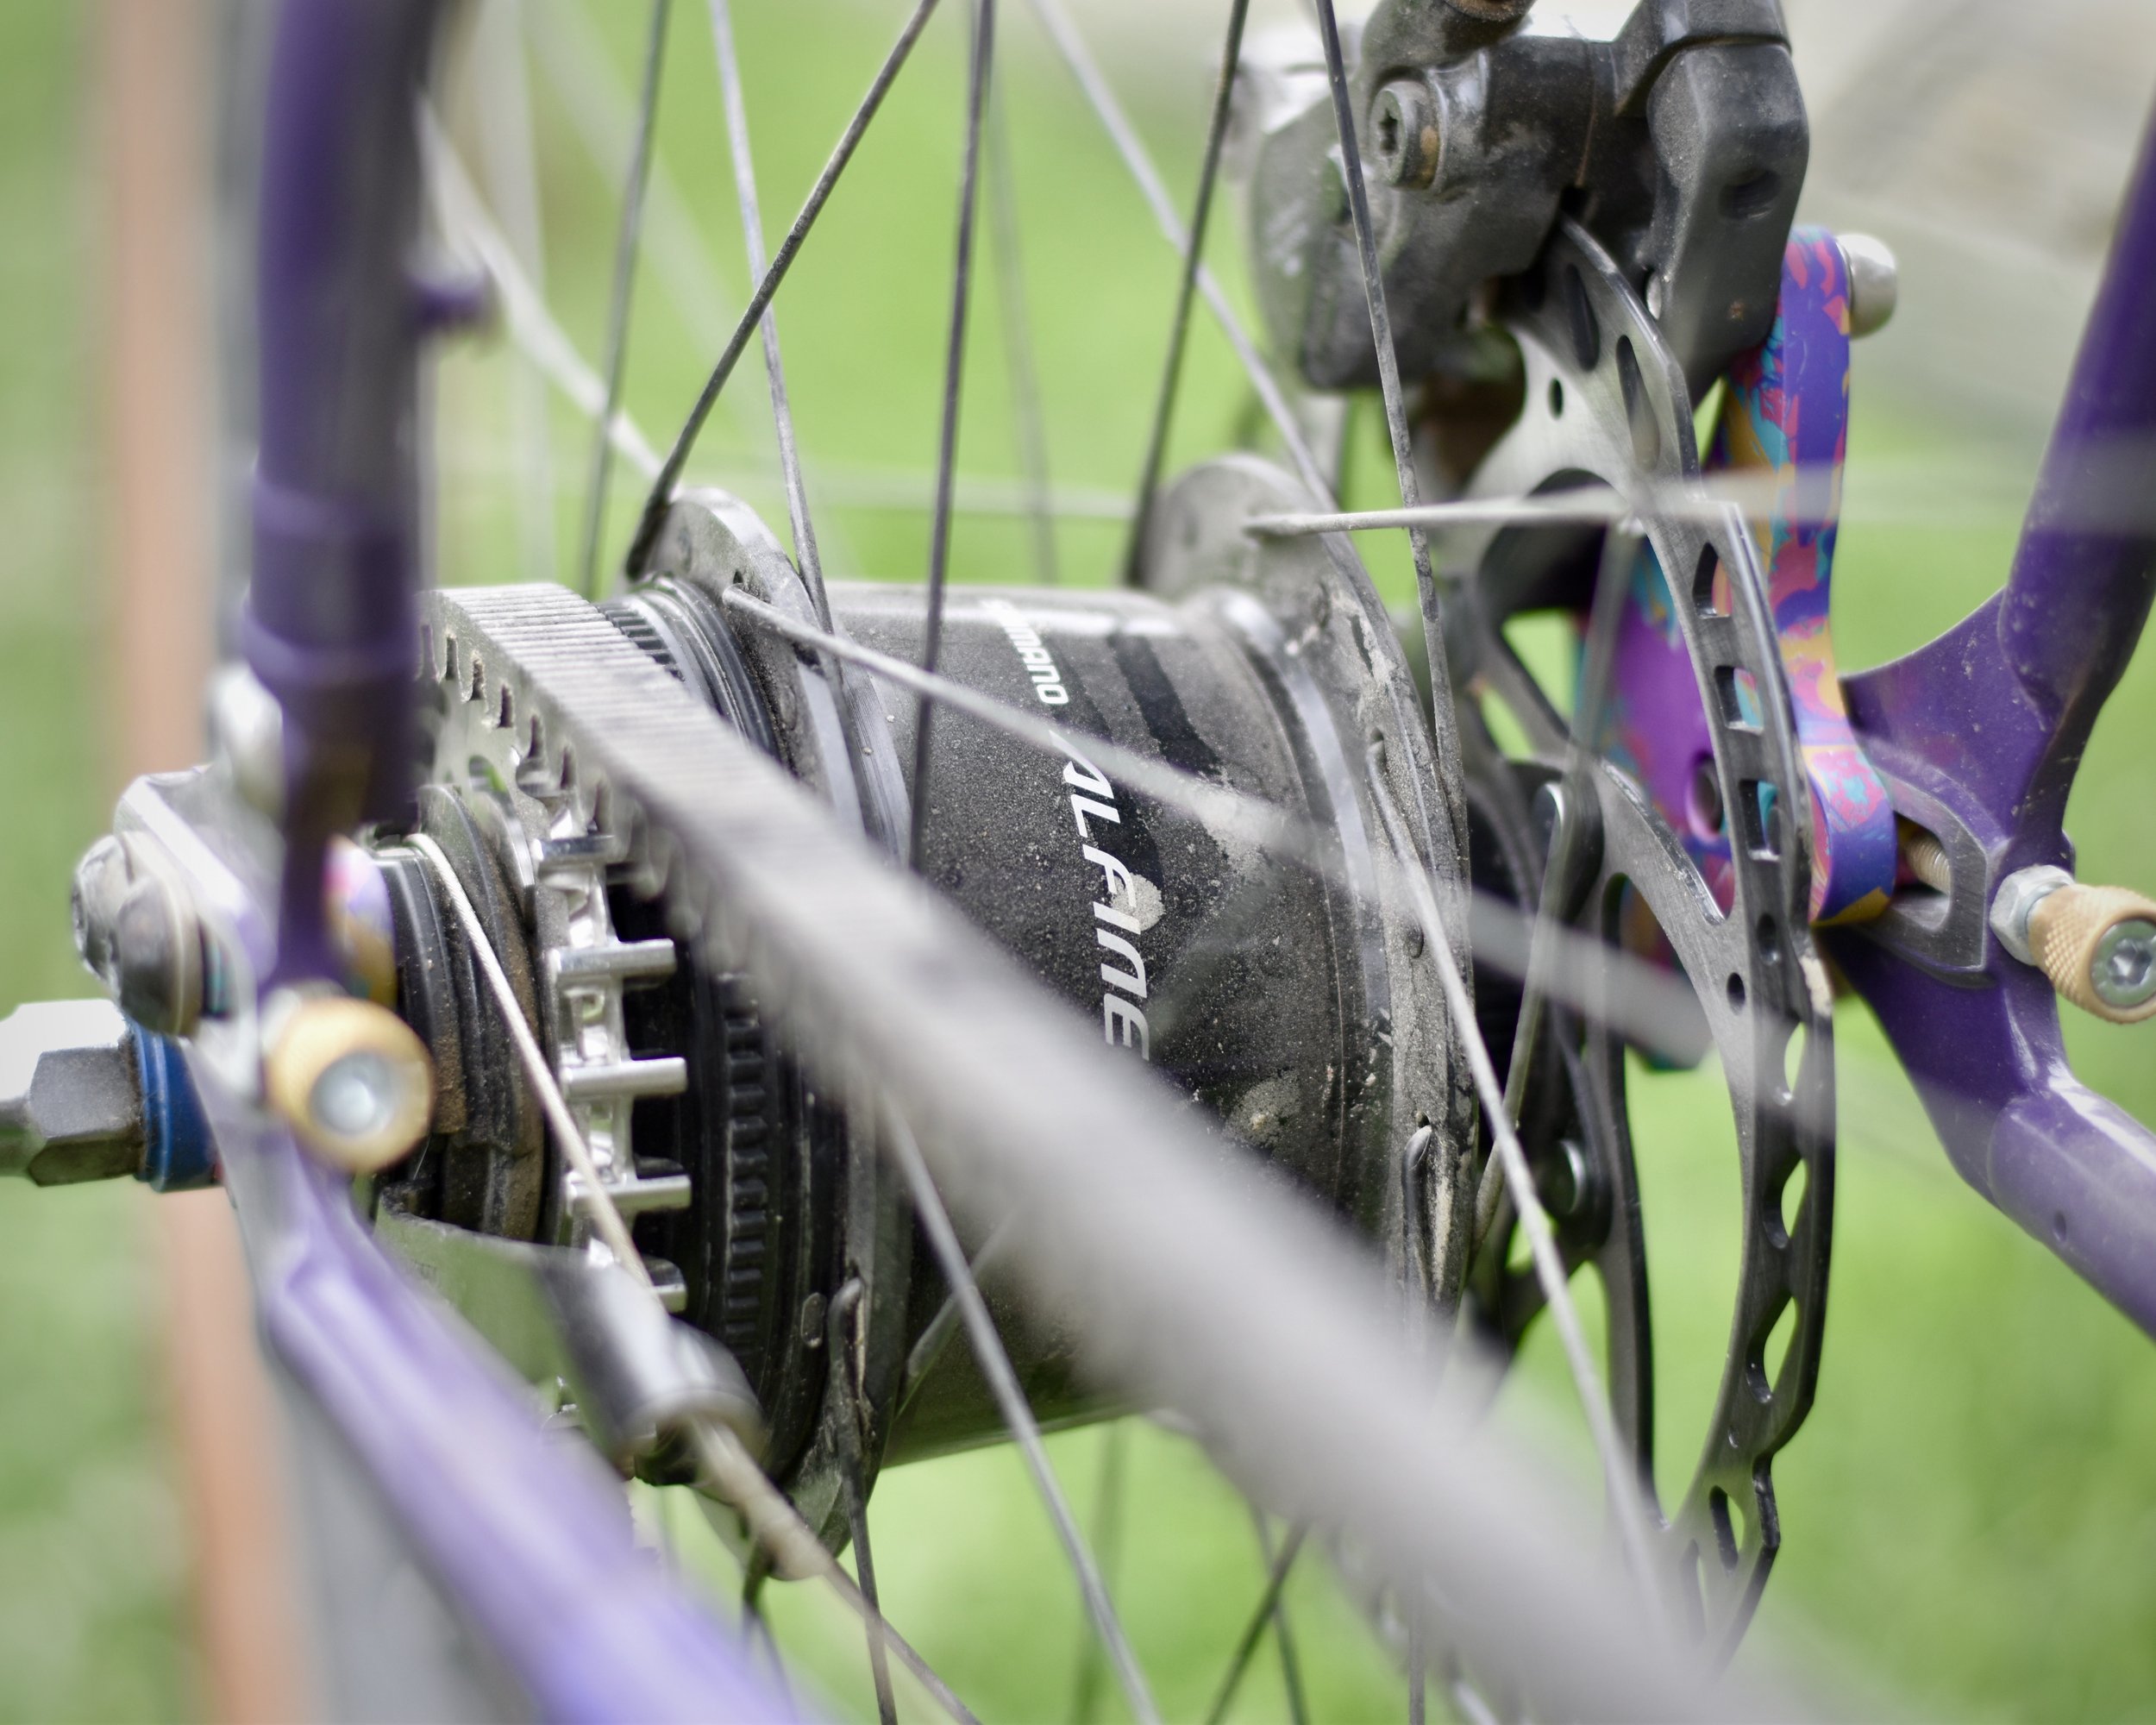
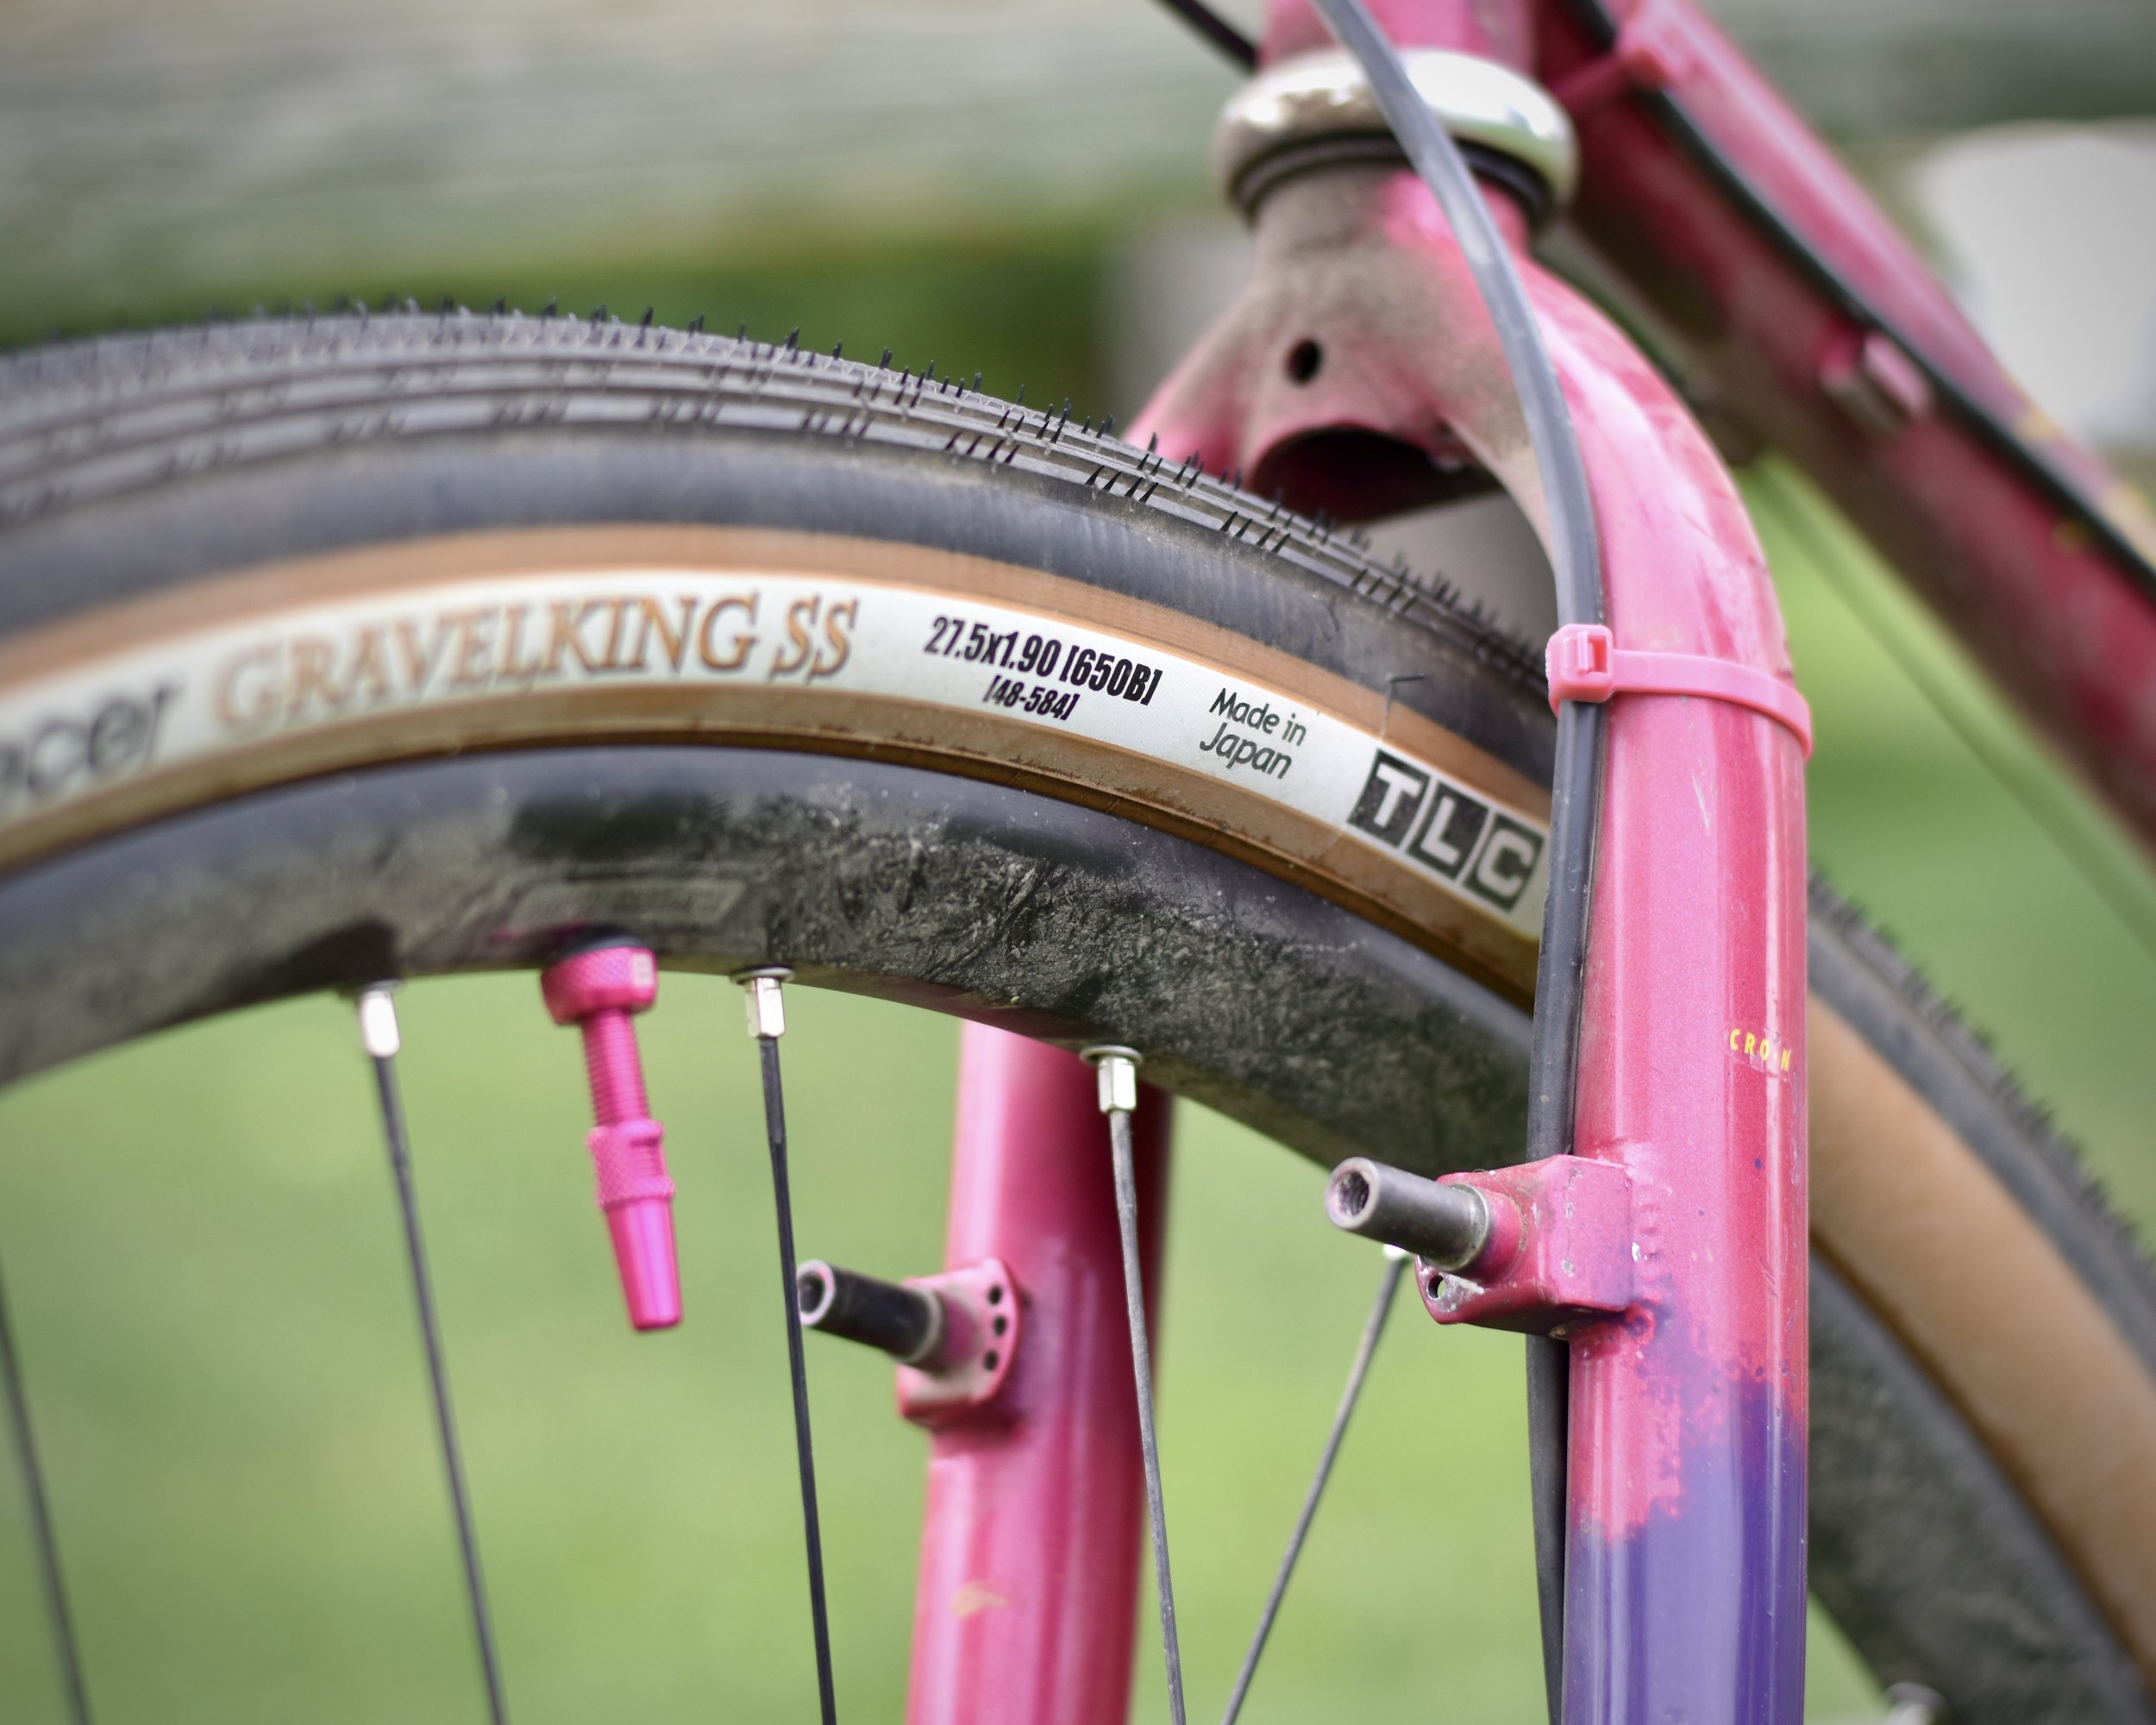
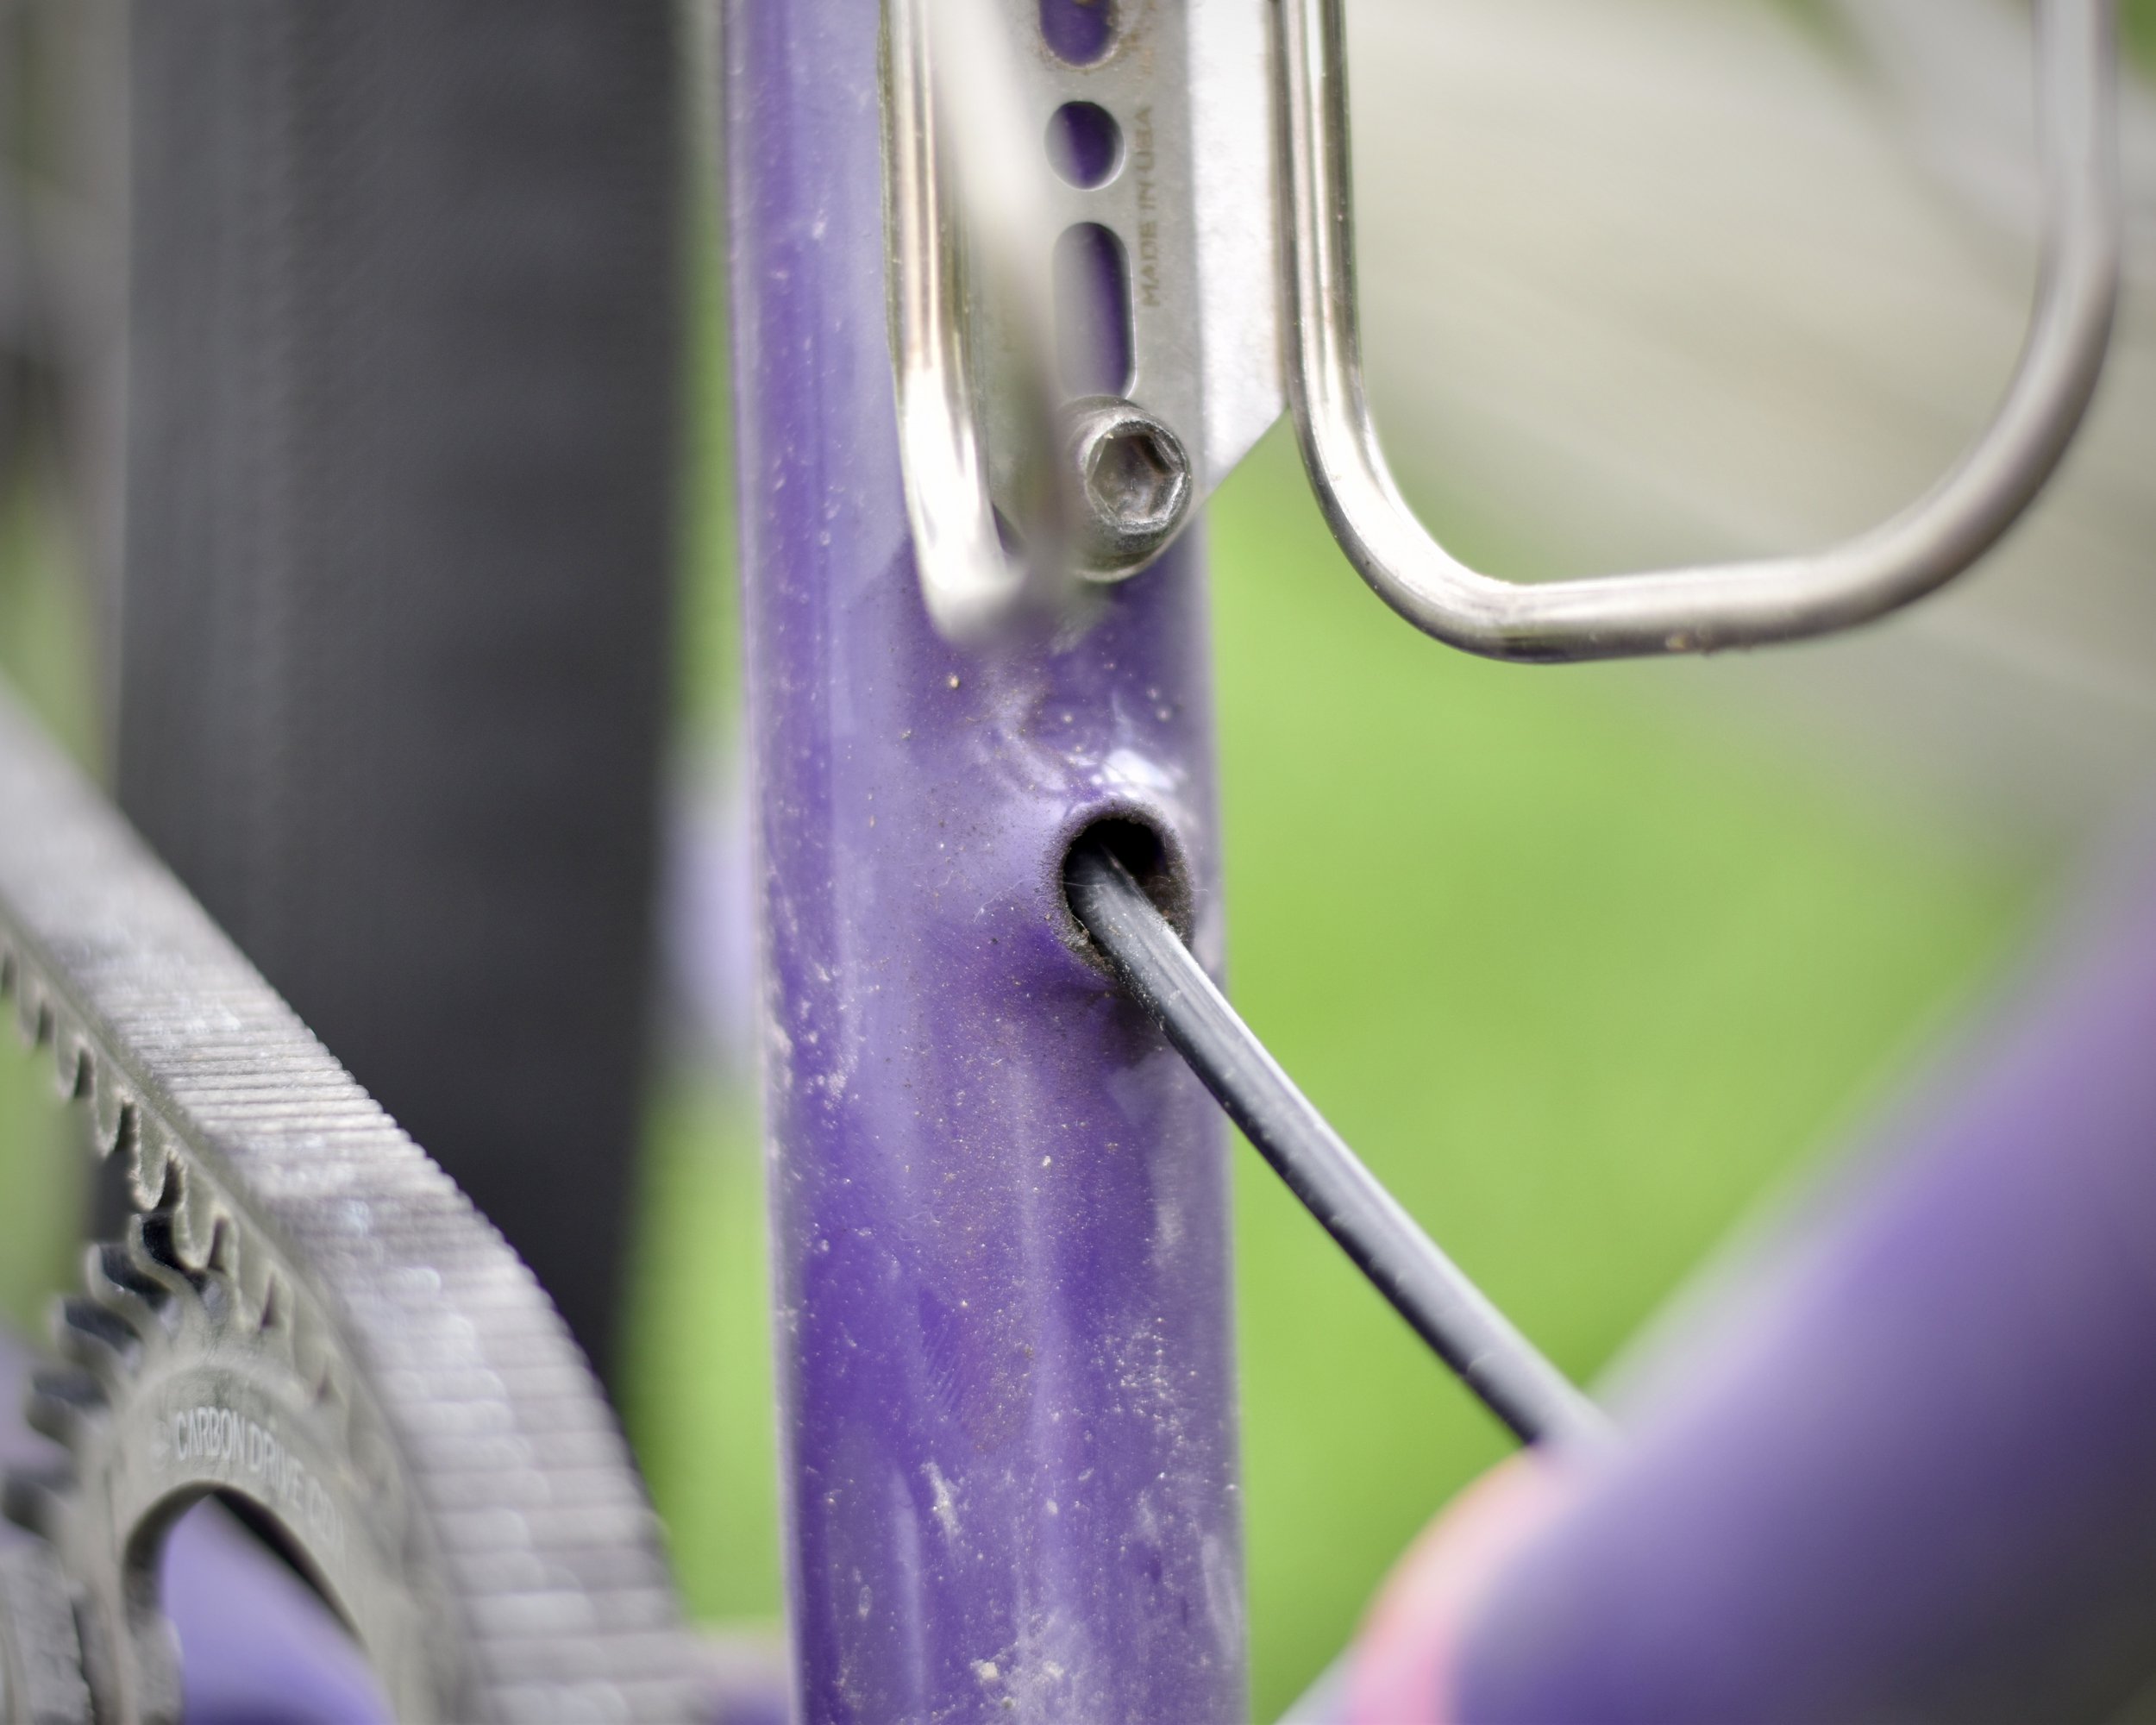
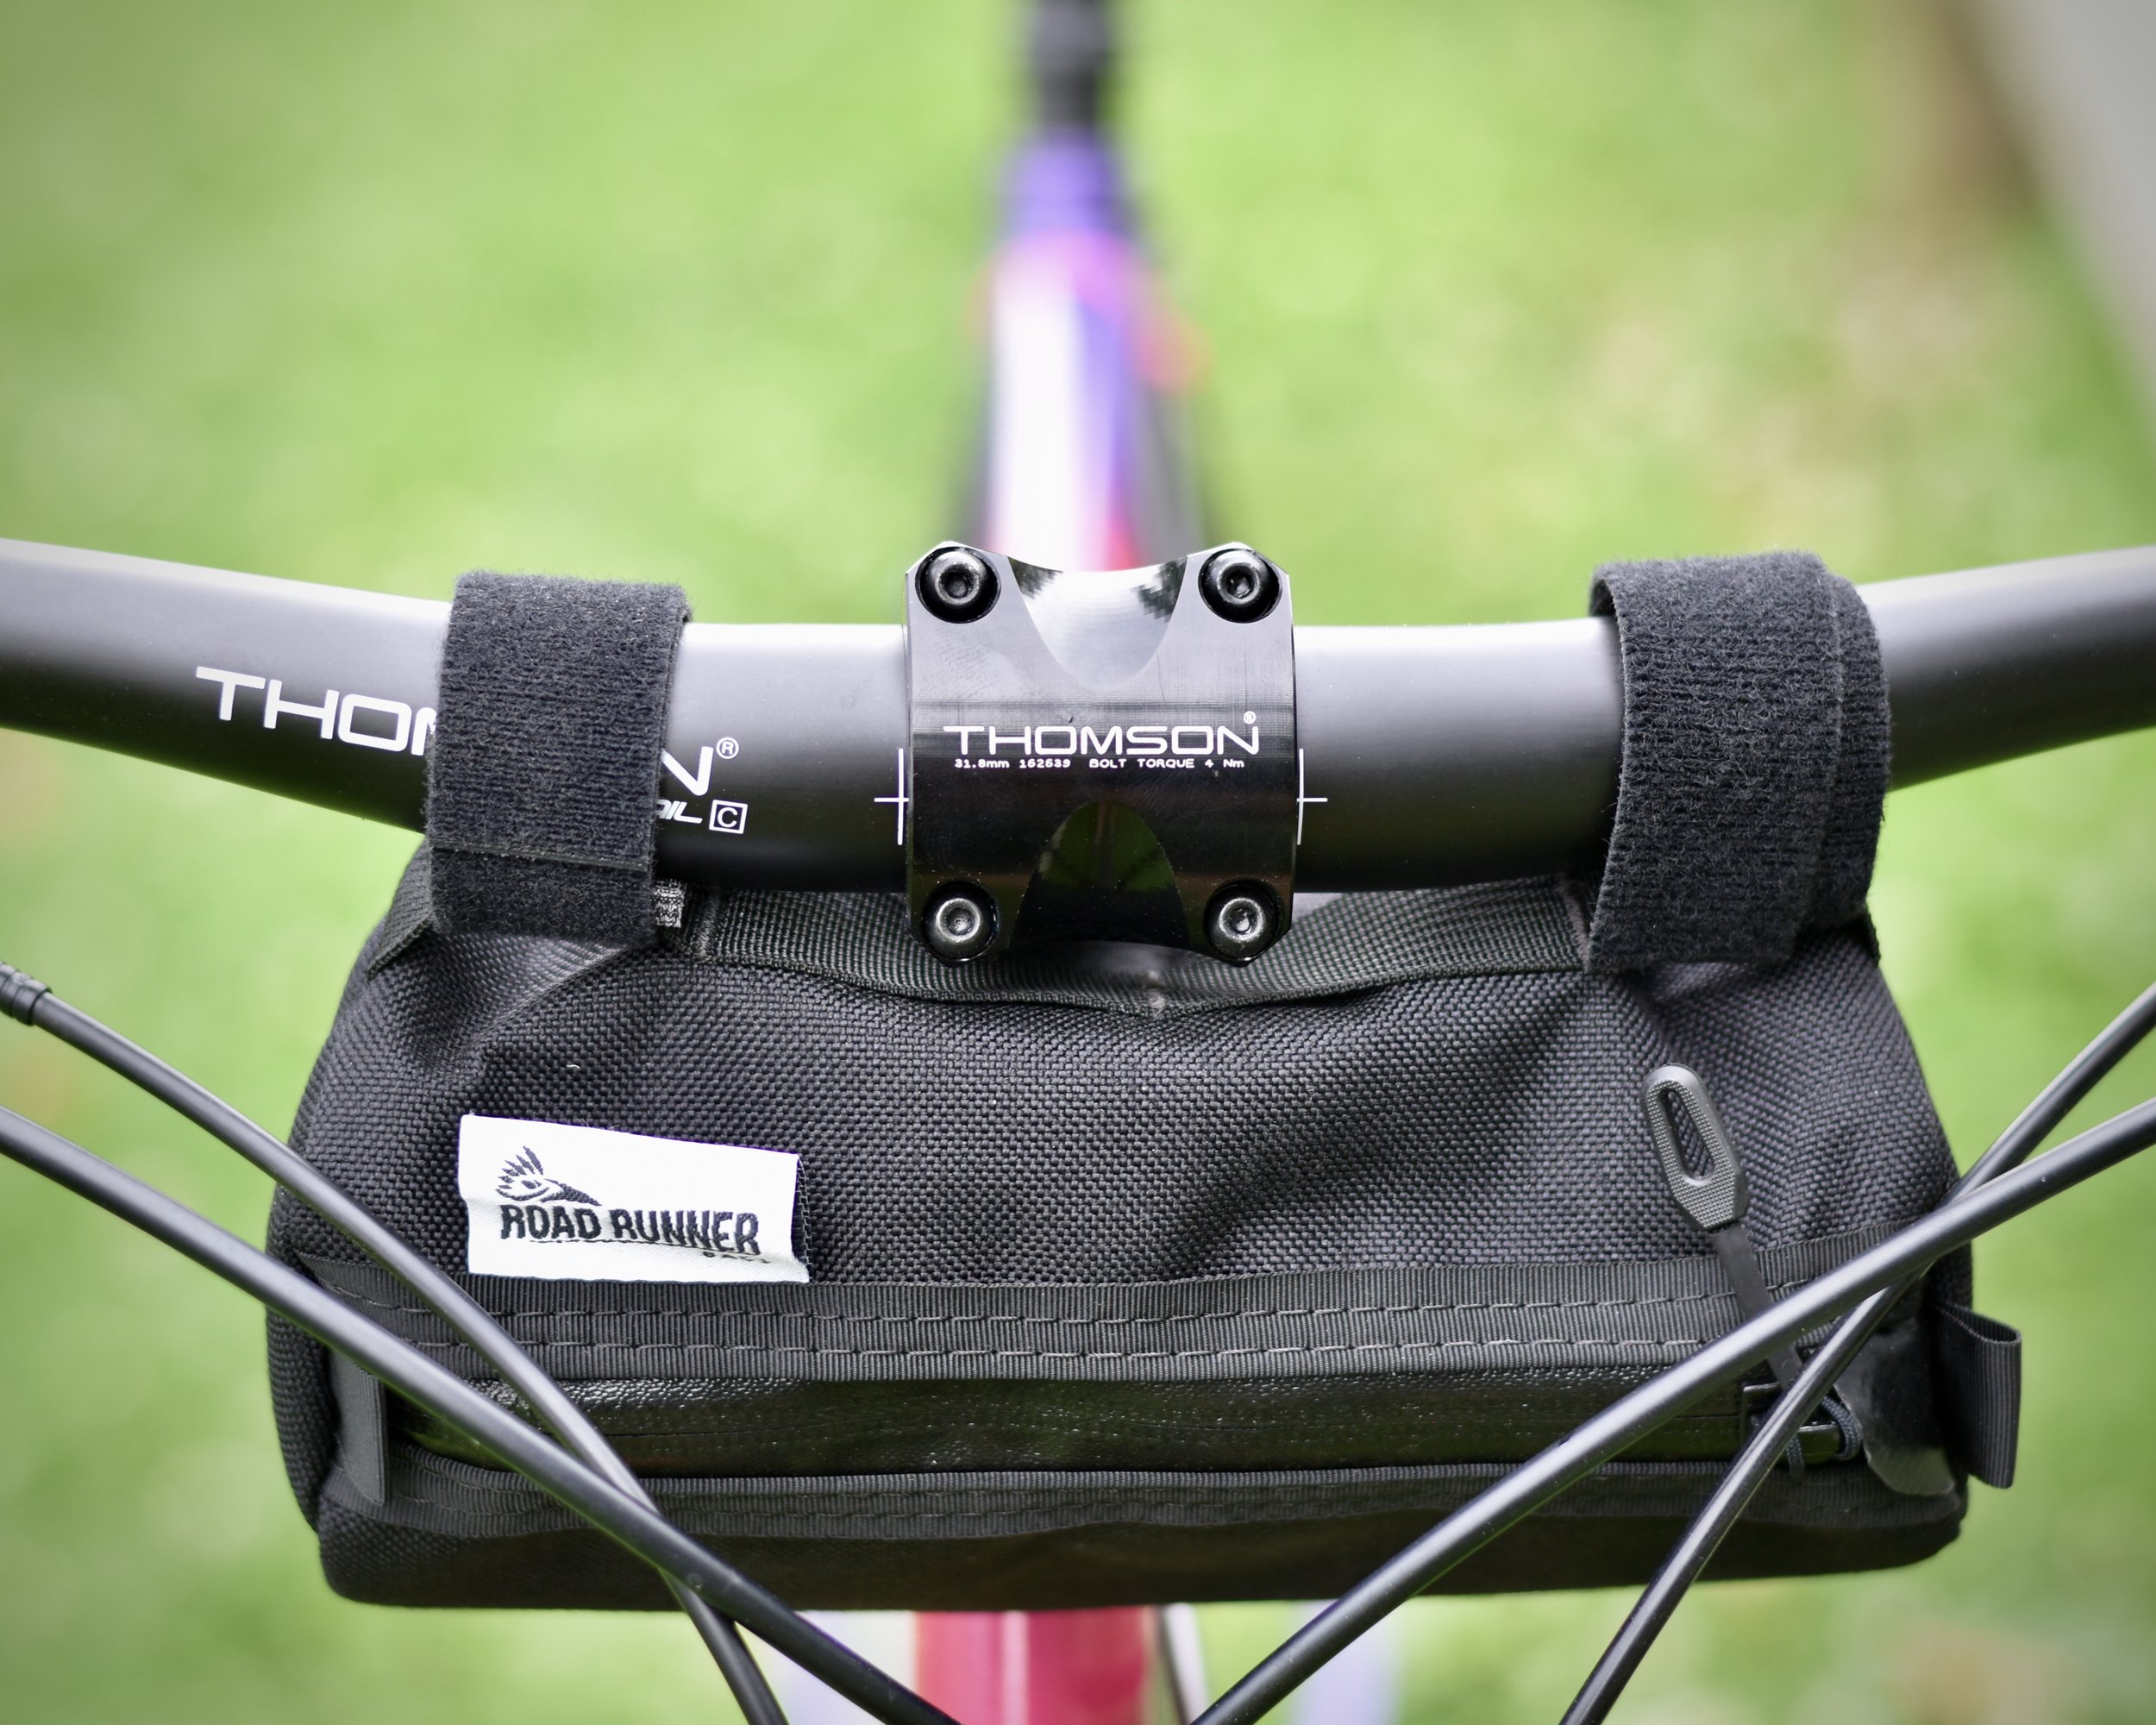
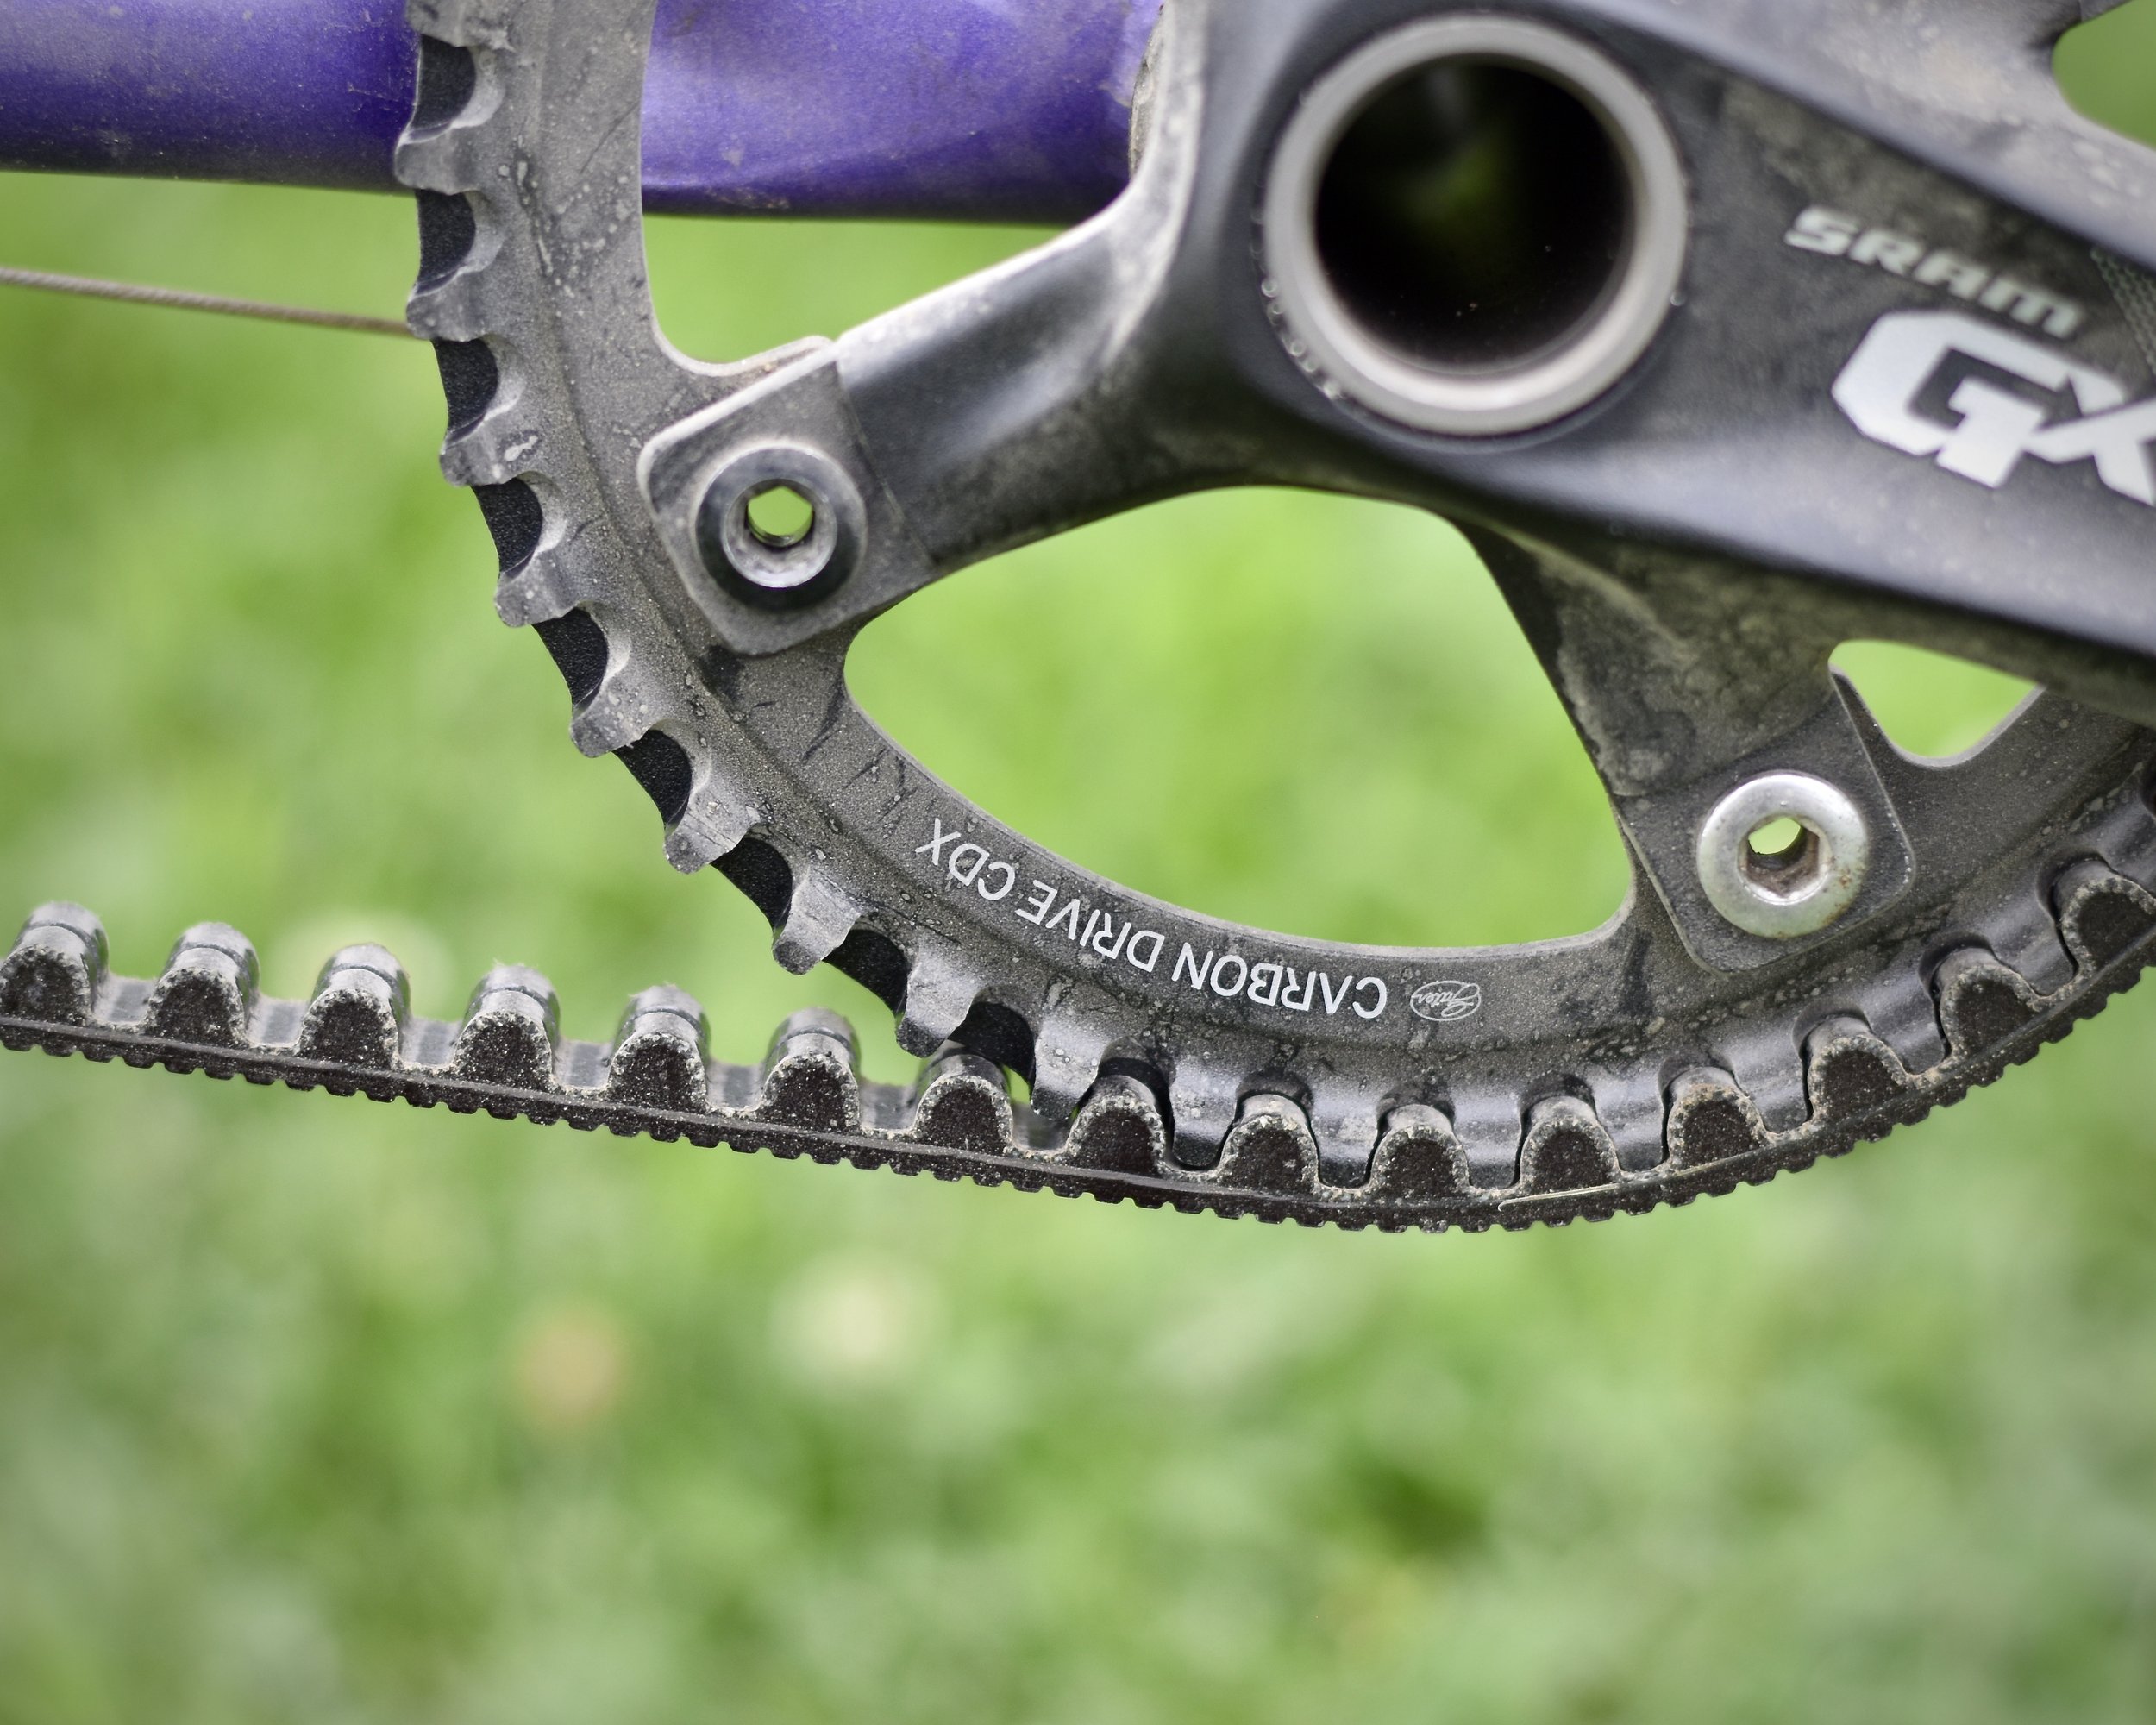
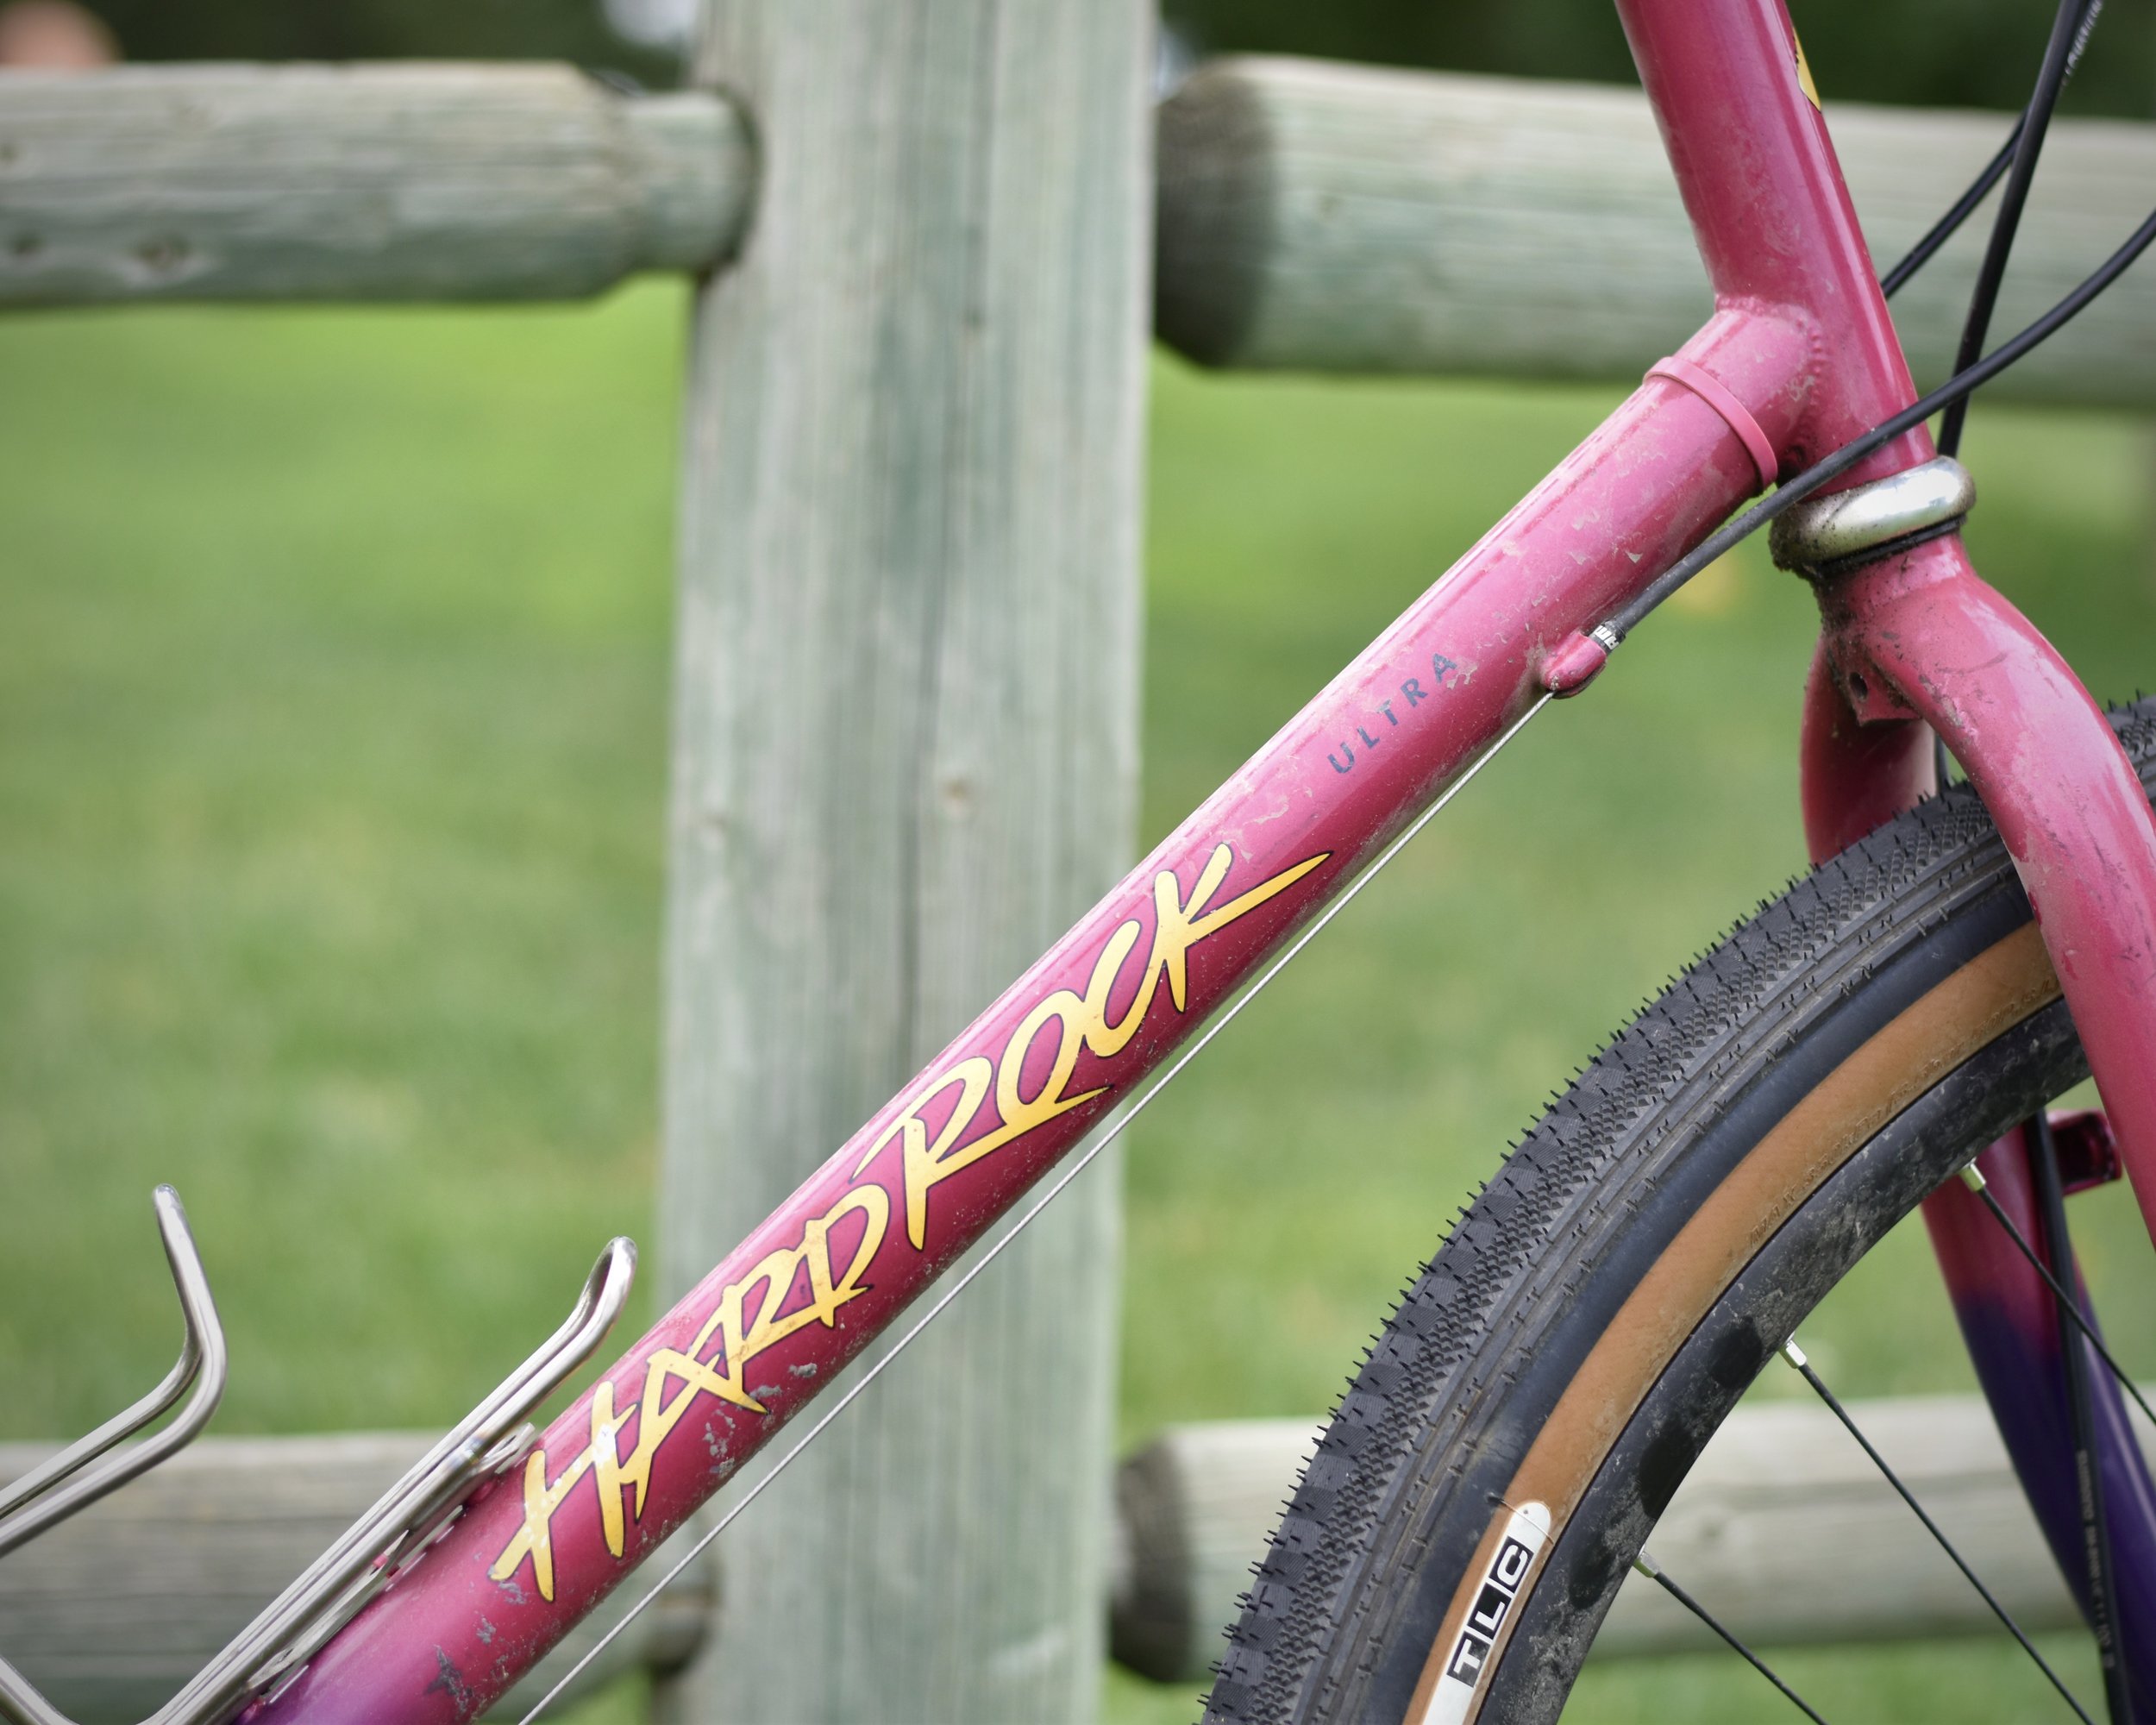
I’ve posted about the process on this bike before, but I realized I never posted the completed build. I’ve been riding this bike for a couple months now, and it is awesome! Totally worth the effort to get weird and make it something completely new. It’s mostly being used as a commuter rig, but has definitely been ridden at least a dozen miles on proper mountain bike trails. It’s just as fun as it was in 1993, probably moreso because of all the modern features!



Custom pizza rack/basket
This is more of an Obituary than a “come check this out!” This winter, we made a custom pizza rack that was half basket, half rack. We referred to it as a “bracksket” because it was a little bit of both. Mostly a prototype to see if it would revolutionize our pizza picking up experience in the dead of winter. You get kinda hot waiting for the pizza, and decide to tuck the jacket in under (or around) the pizza while you cruise home with it, lashed to the large upper rack part. A little insulation for the pie, a little convenient storage for the jacket.
It turned out to be a huge success, until we were fly fishing/bike riding in Waterton Canyon a couple weeks ago and a sketchy off piste rut took us out whilst one-handing the handlebar and holding onto a fly rod with the other hand! The rack augered in pretty hard in the splat-fest and the upper portion ejected from the lower portion as everything cracked free from its earthly bonds. It was good product testing in the least, and an untimely demise to a nice prototype stainless rack.
Salsa El Mariachi Rehab
This bike came in as a lost cause… Josh had taken it to a couple other shops that said “no hope” and one that said “can do!” Until they called back and said “can’t do…”
It was very much a nasty situation, as the bike had fallen off the car at highway speeds and the non-driveside dropout was destroyed and the actual part of the frame that the dropout rocker bolted to was quite amiss.
Pictures begin halfway through exploratory surgery, where we began to see why other shops had turned this bike away and why things were way more wonky than we had hoped.
Step 1, get a rocker dropout that was straight and not stripped. Step 2, cut the bent seatstay out of the bike and fabricate an internal sleeve to reinforce a splice to join in a new lower portion of stay. Step 3, join stay after aligning the rocker mount and installing the new, straight rocker. Step 4, align rear end and face dropouts. Step 5, get super lucky on a paint match and make it look like nothing ever happened!
Result: saved a bike that is almost impossible to replace due to the world of ever-evolving brake and dropout standards. It was quite the adventure, but the outcome was well worth it.
1993 Hardrock dropout conversion
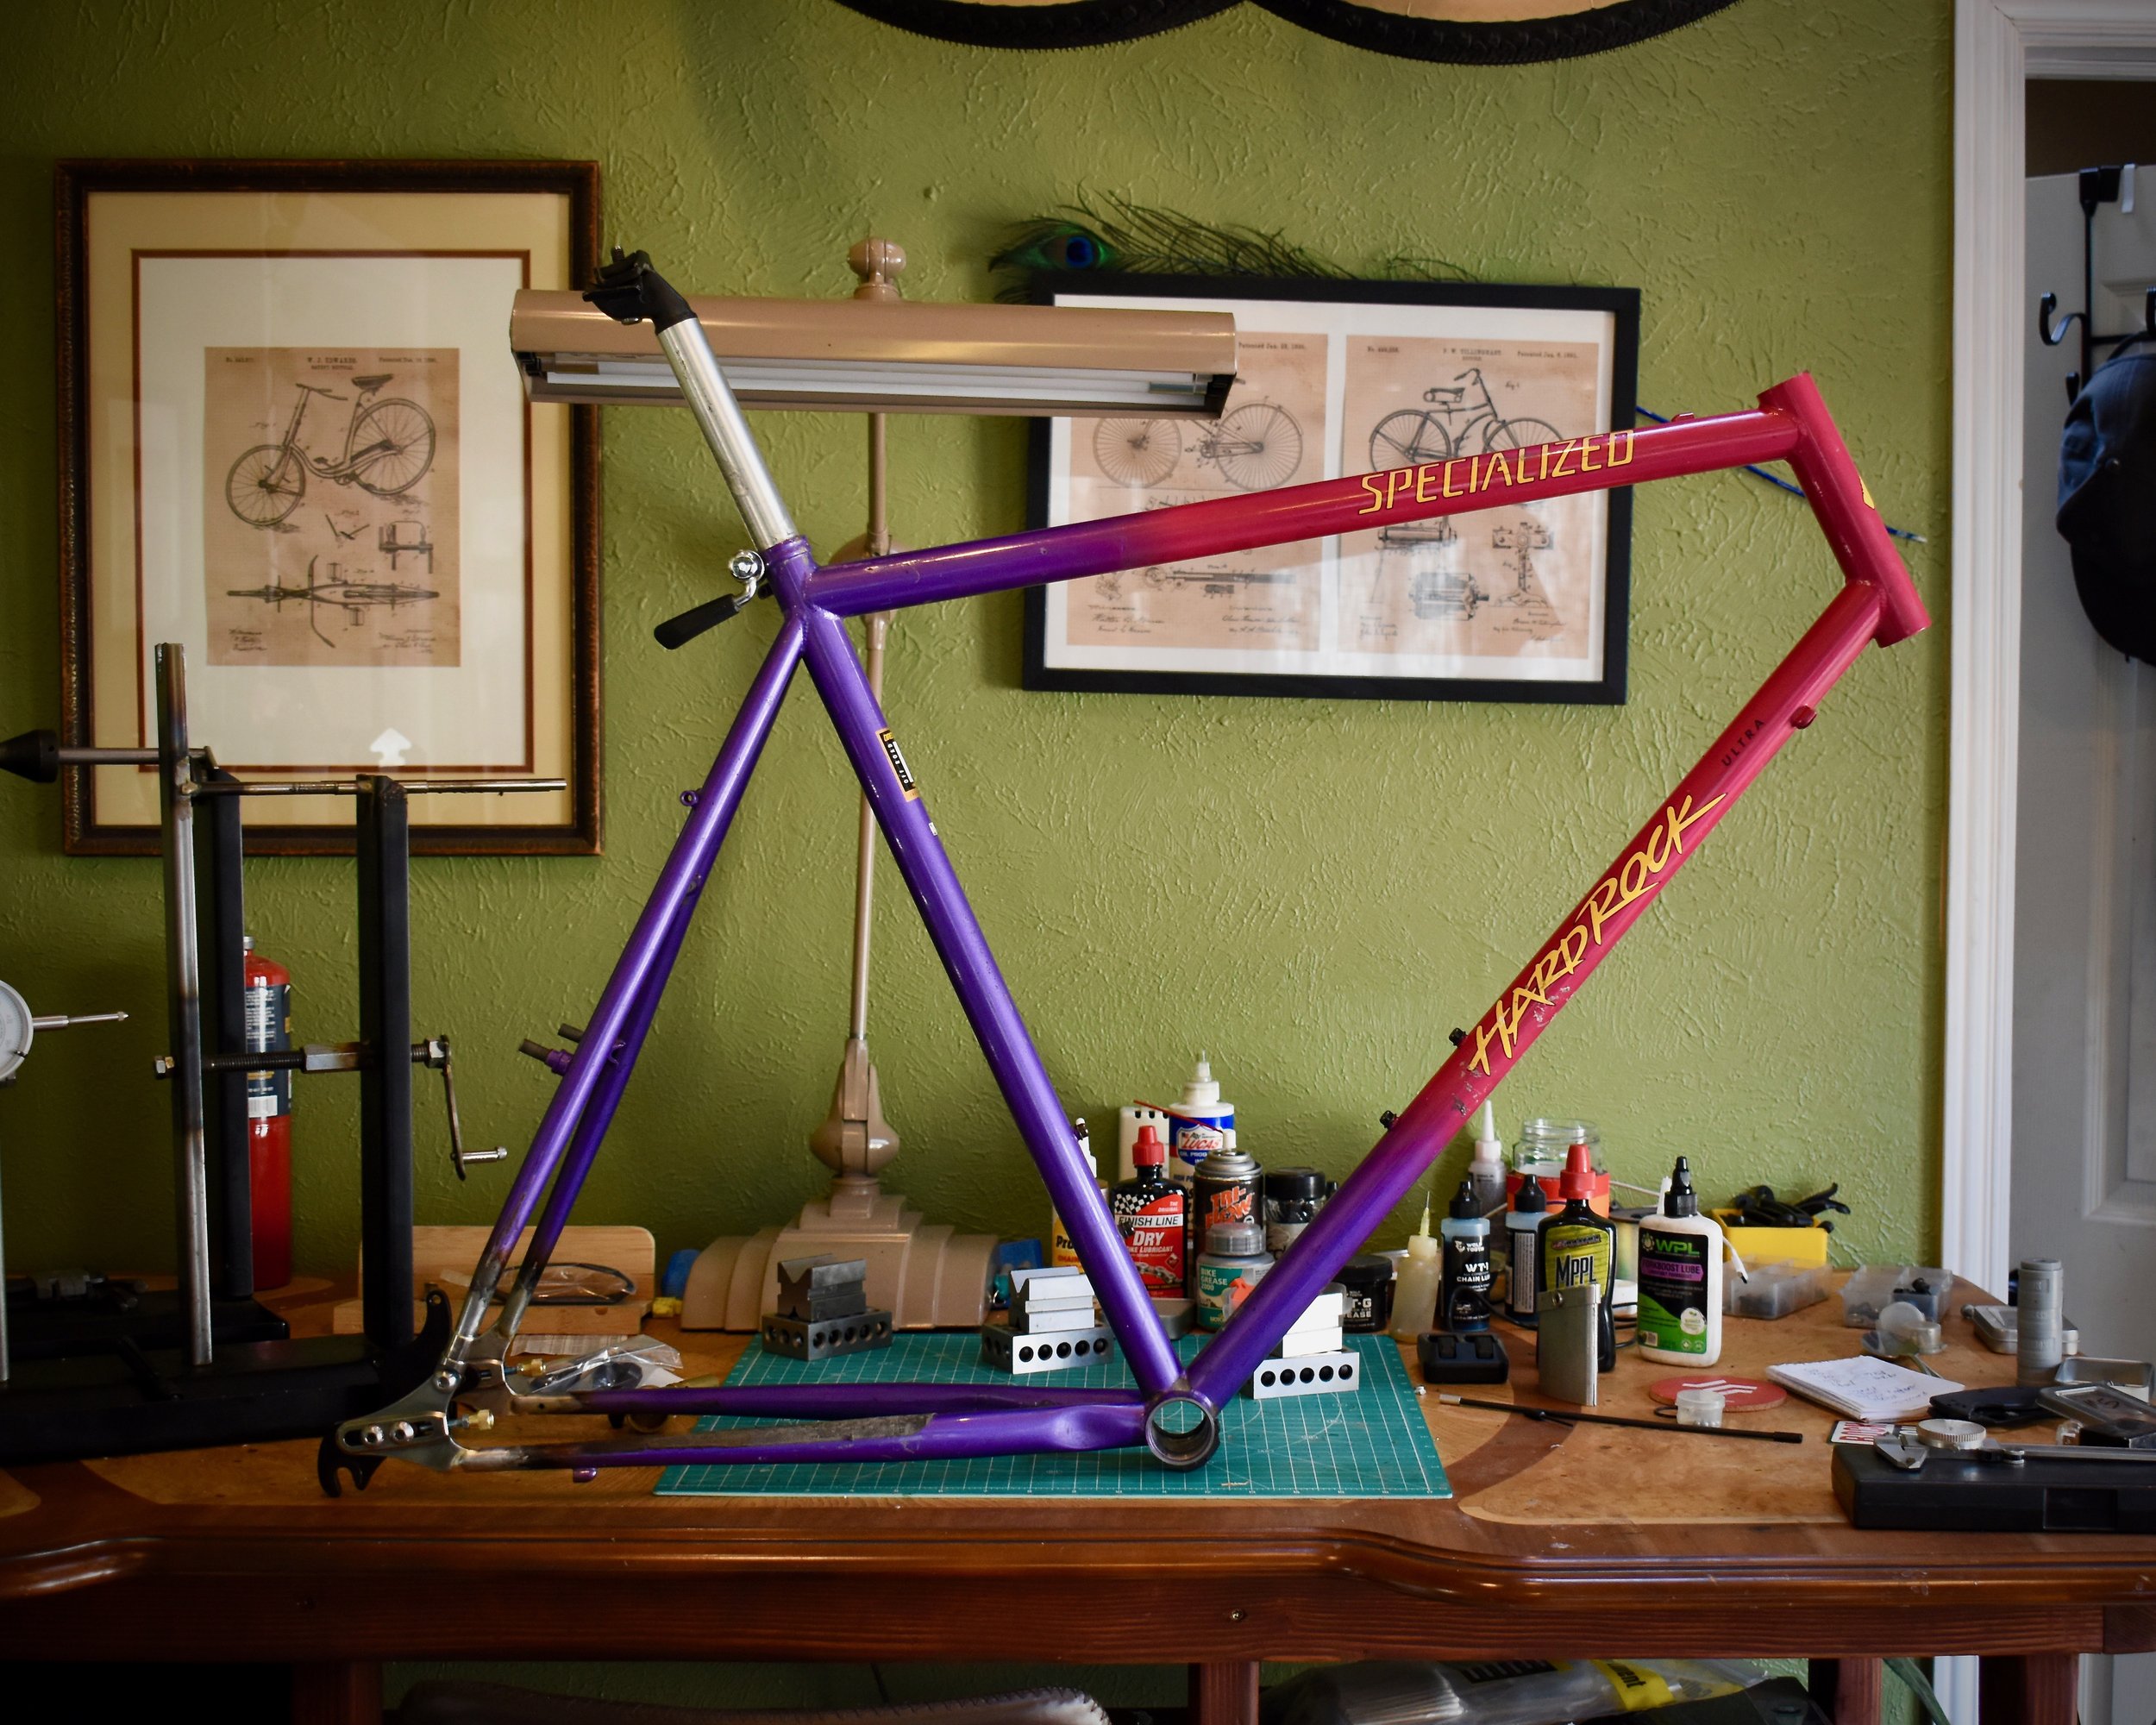
Here’s a pet project we had hanging in the rafters all summer! It’s about time we pulled this old mountain bike out and did that thing we’ve been threatening to do.
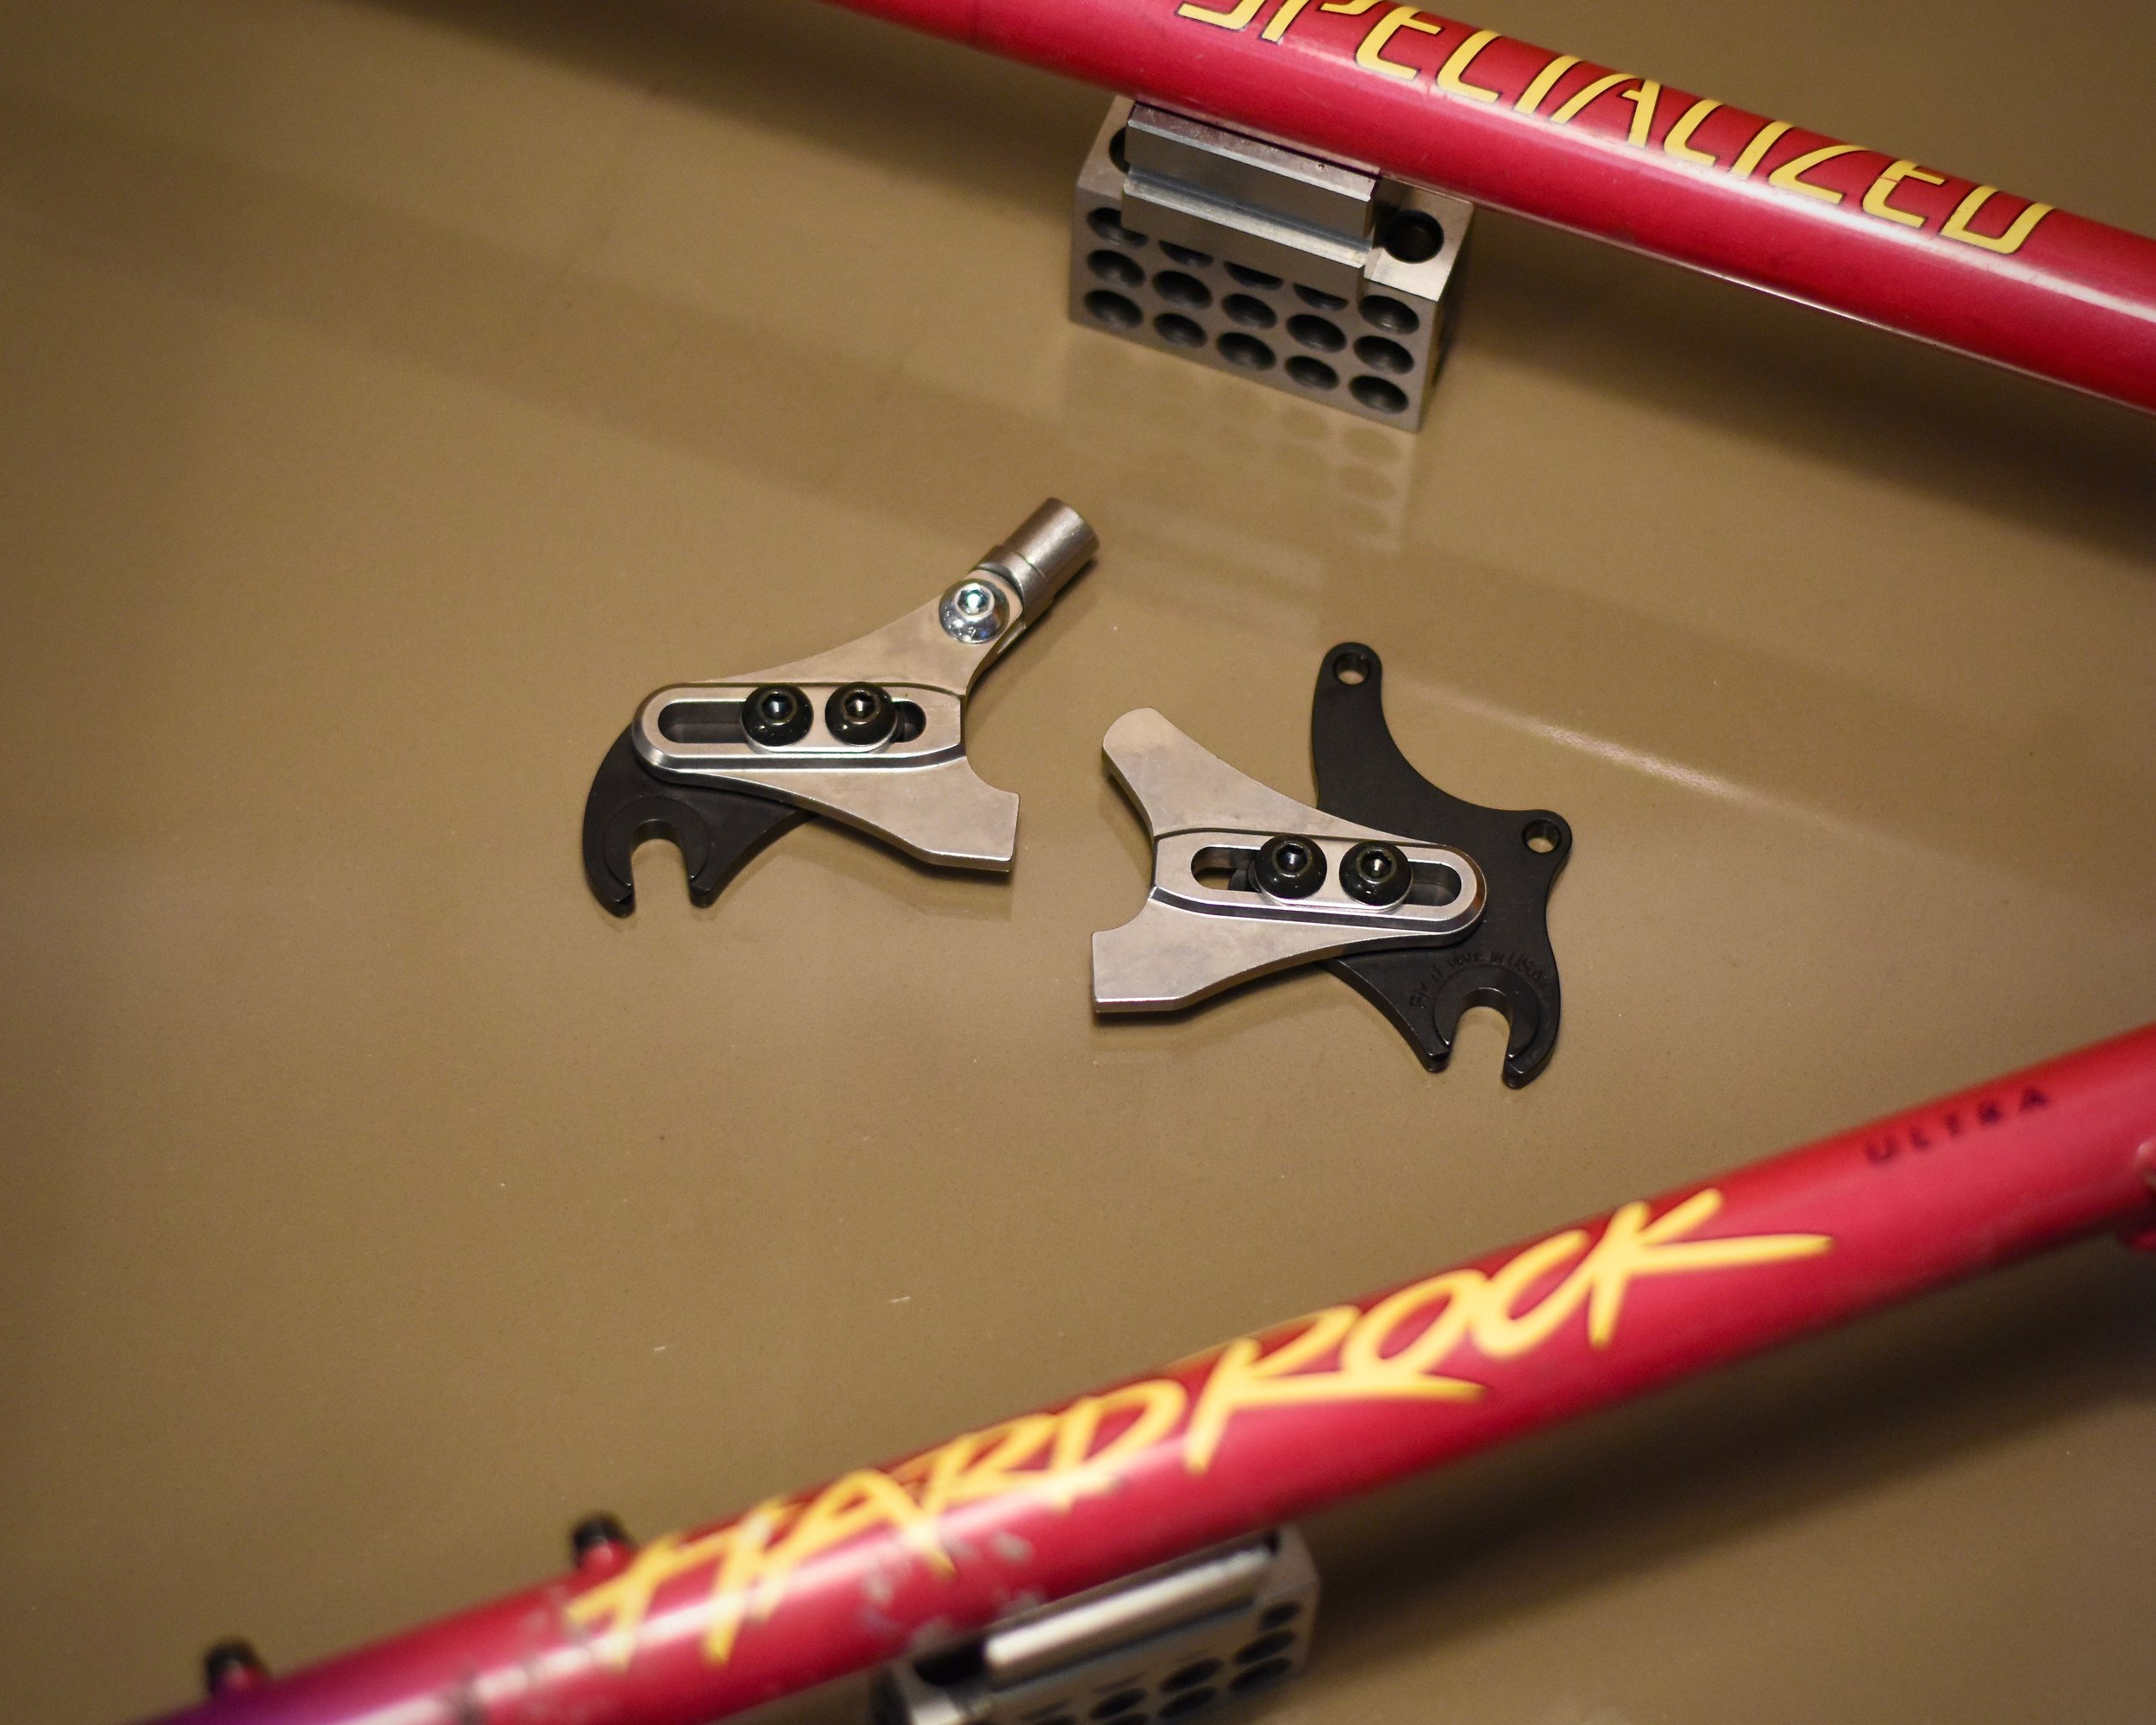
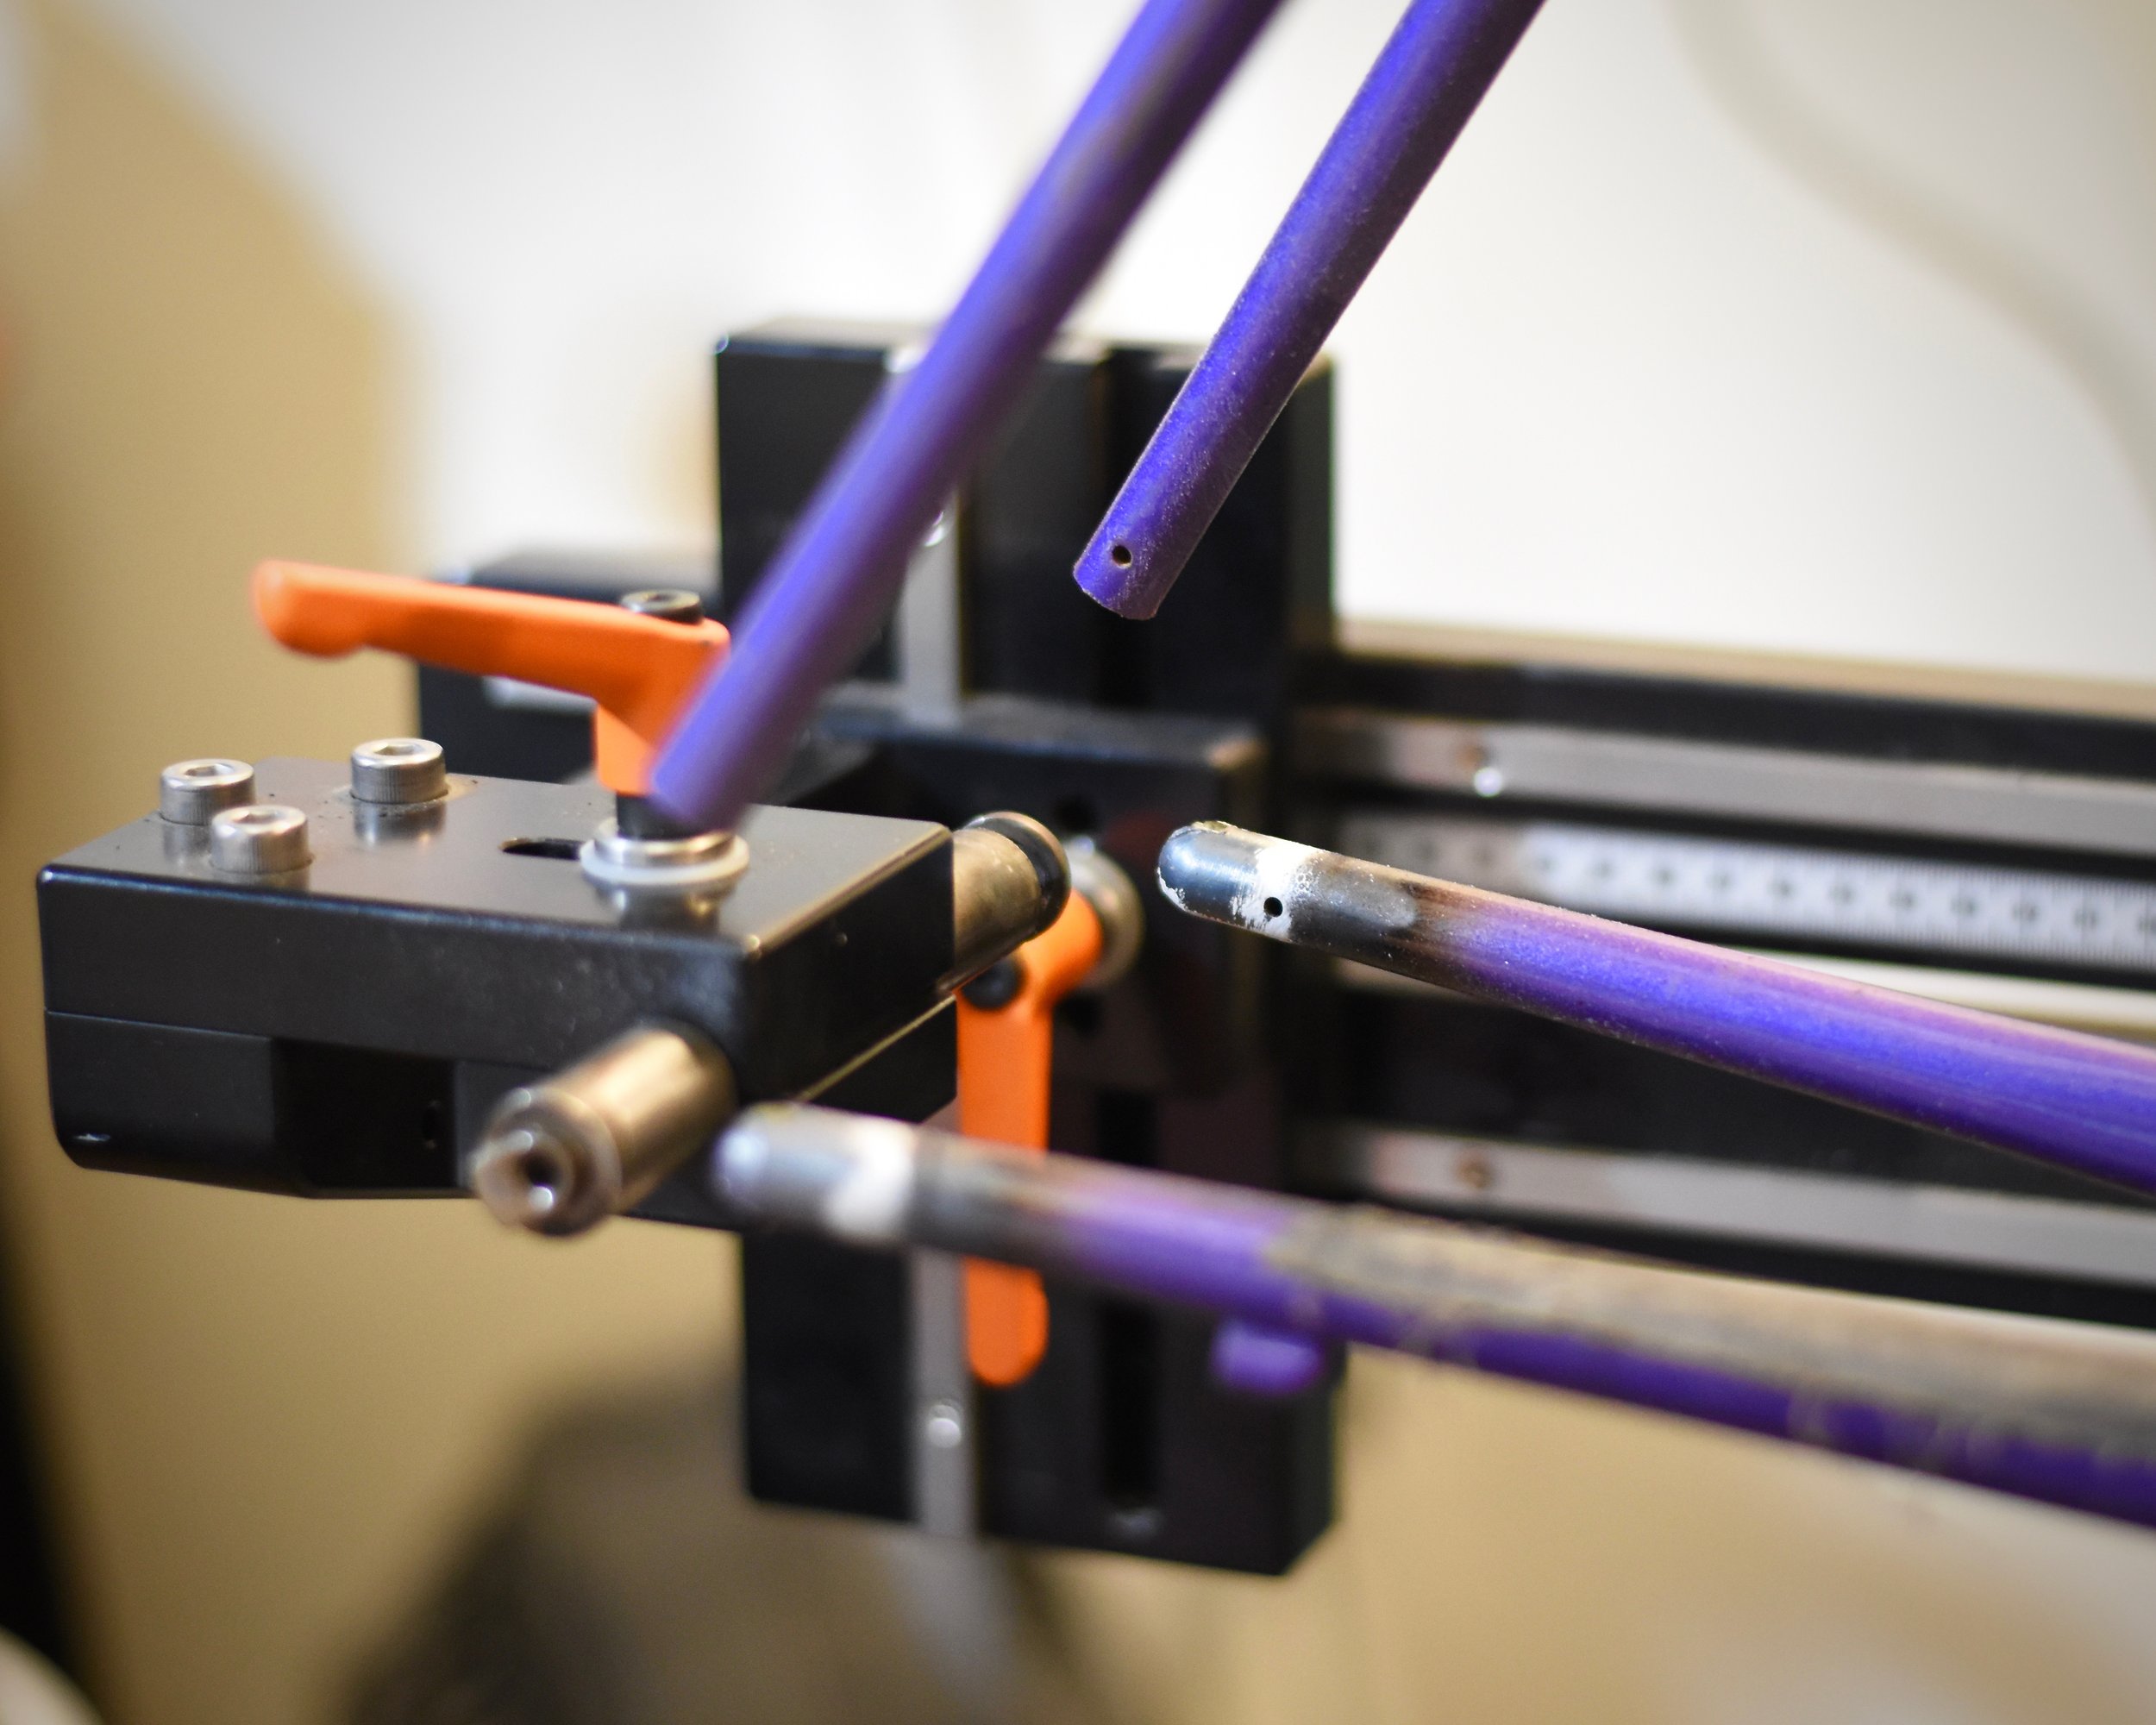
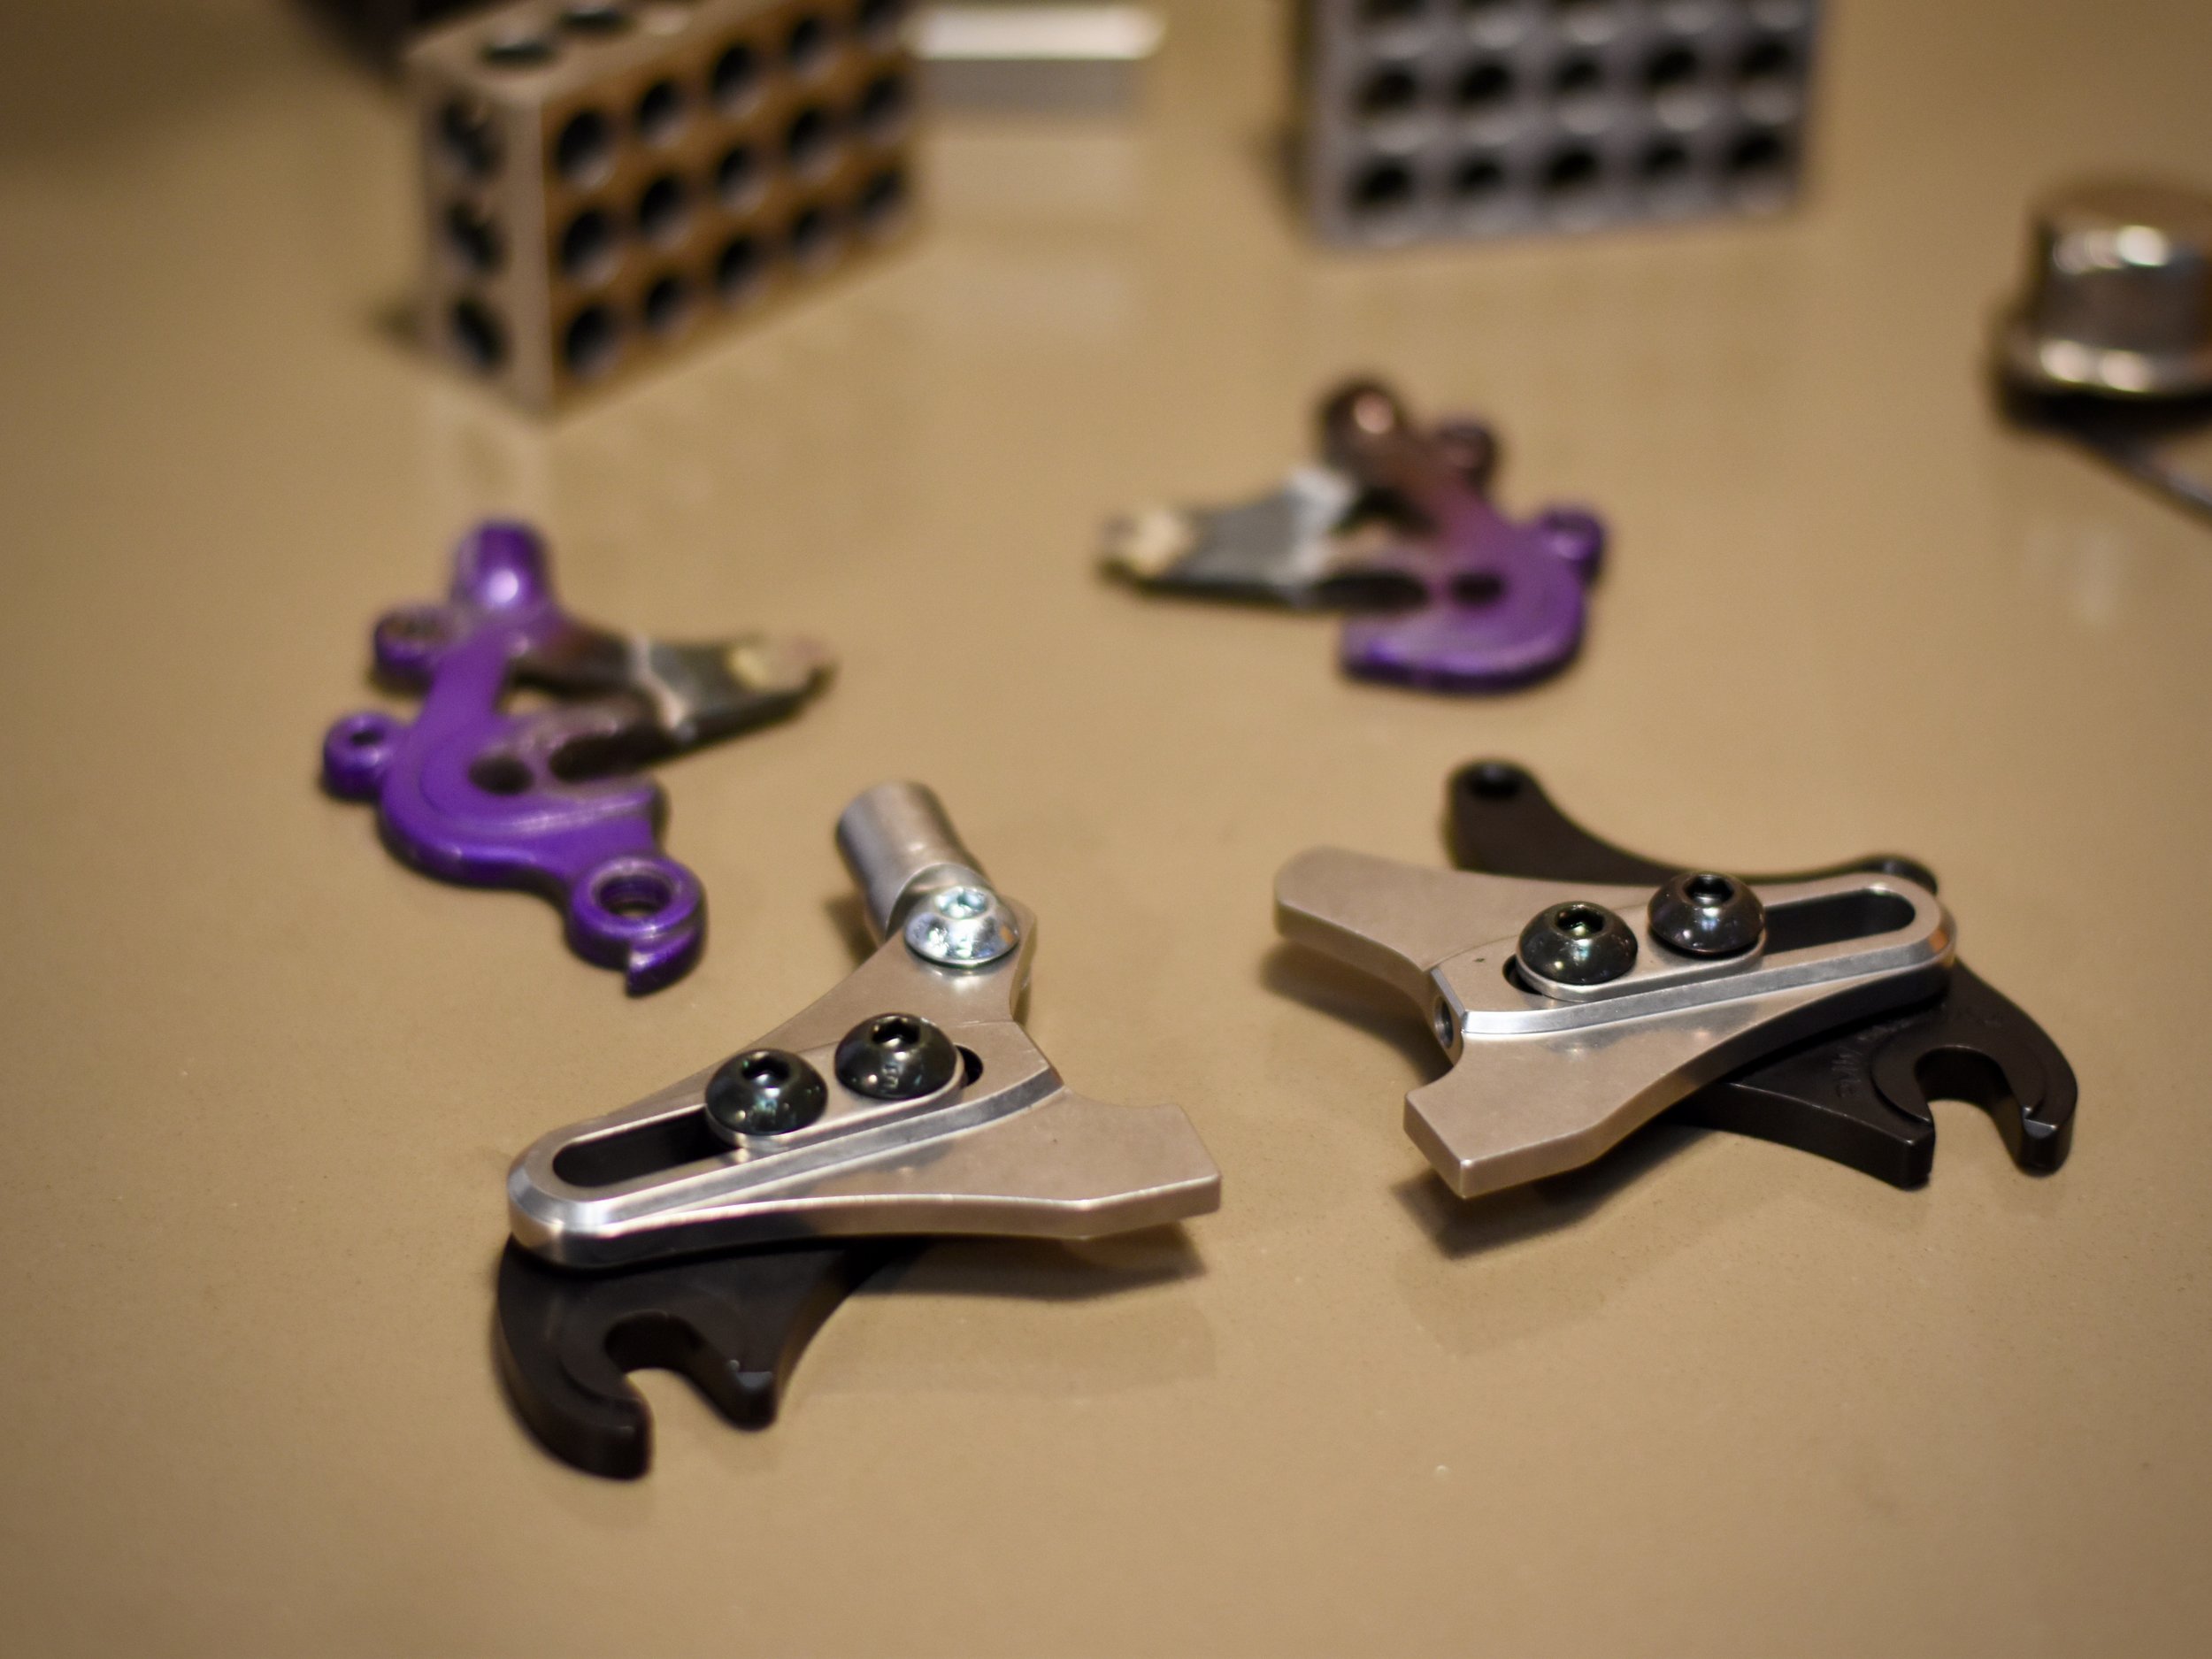
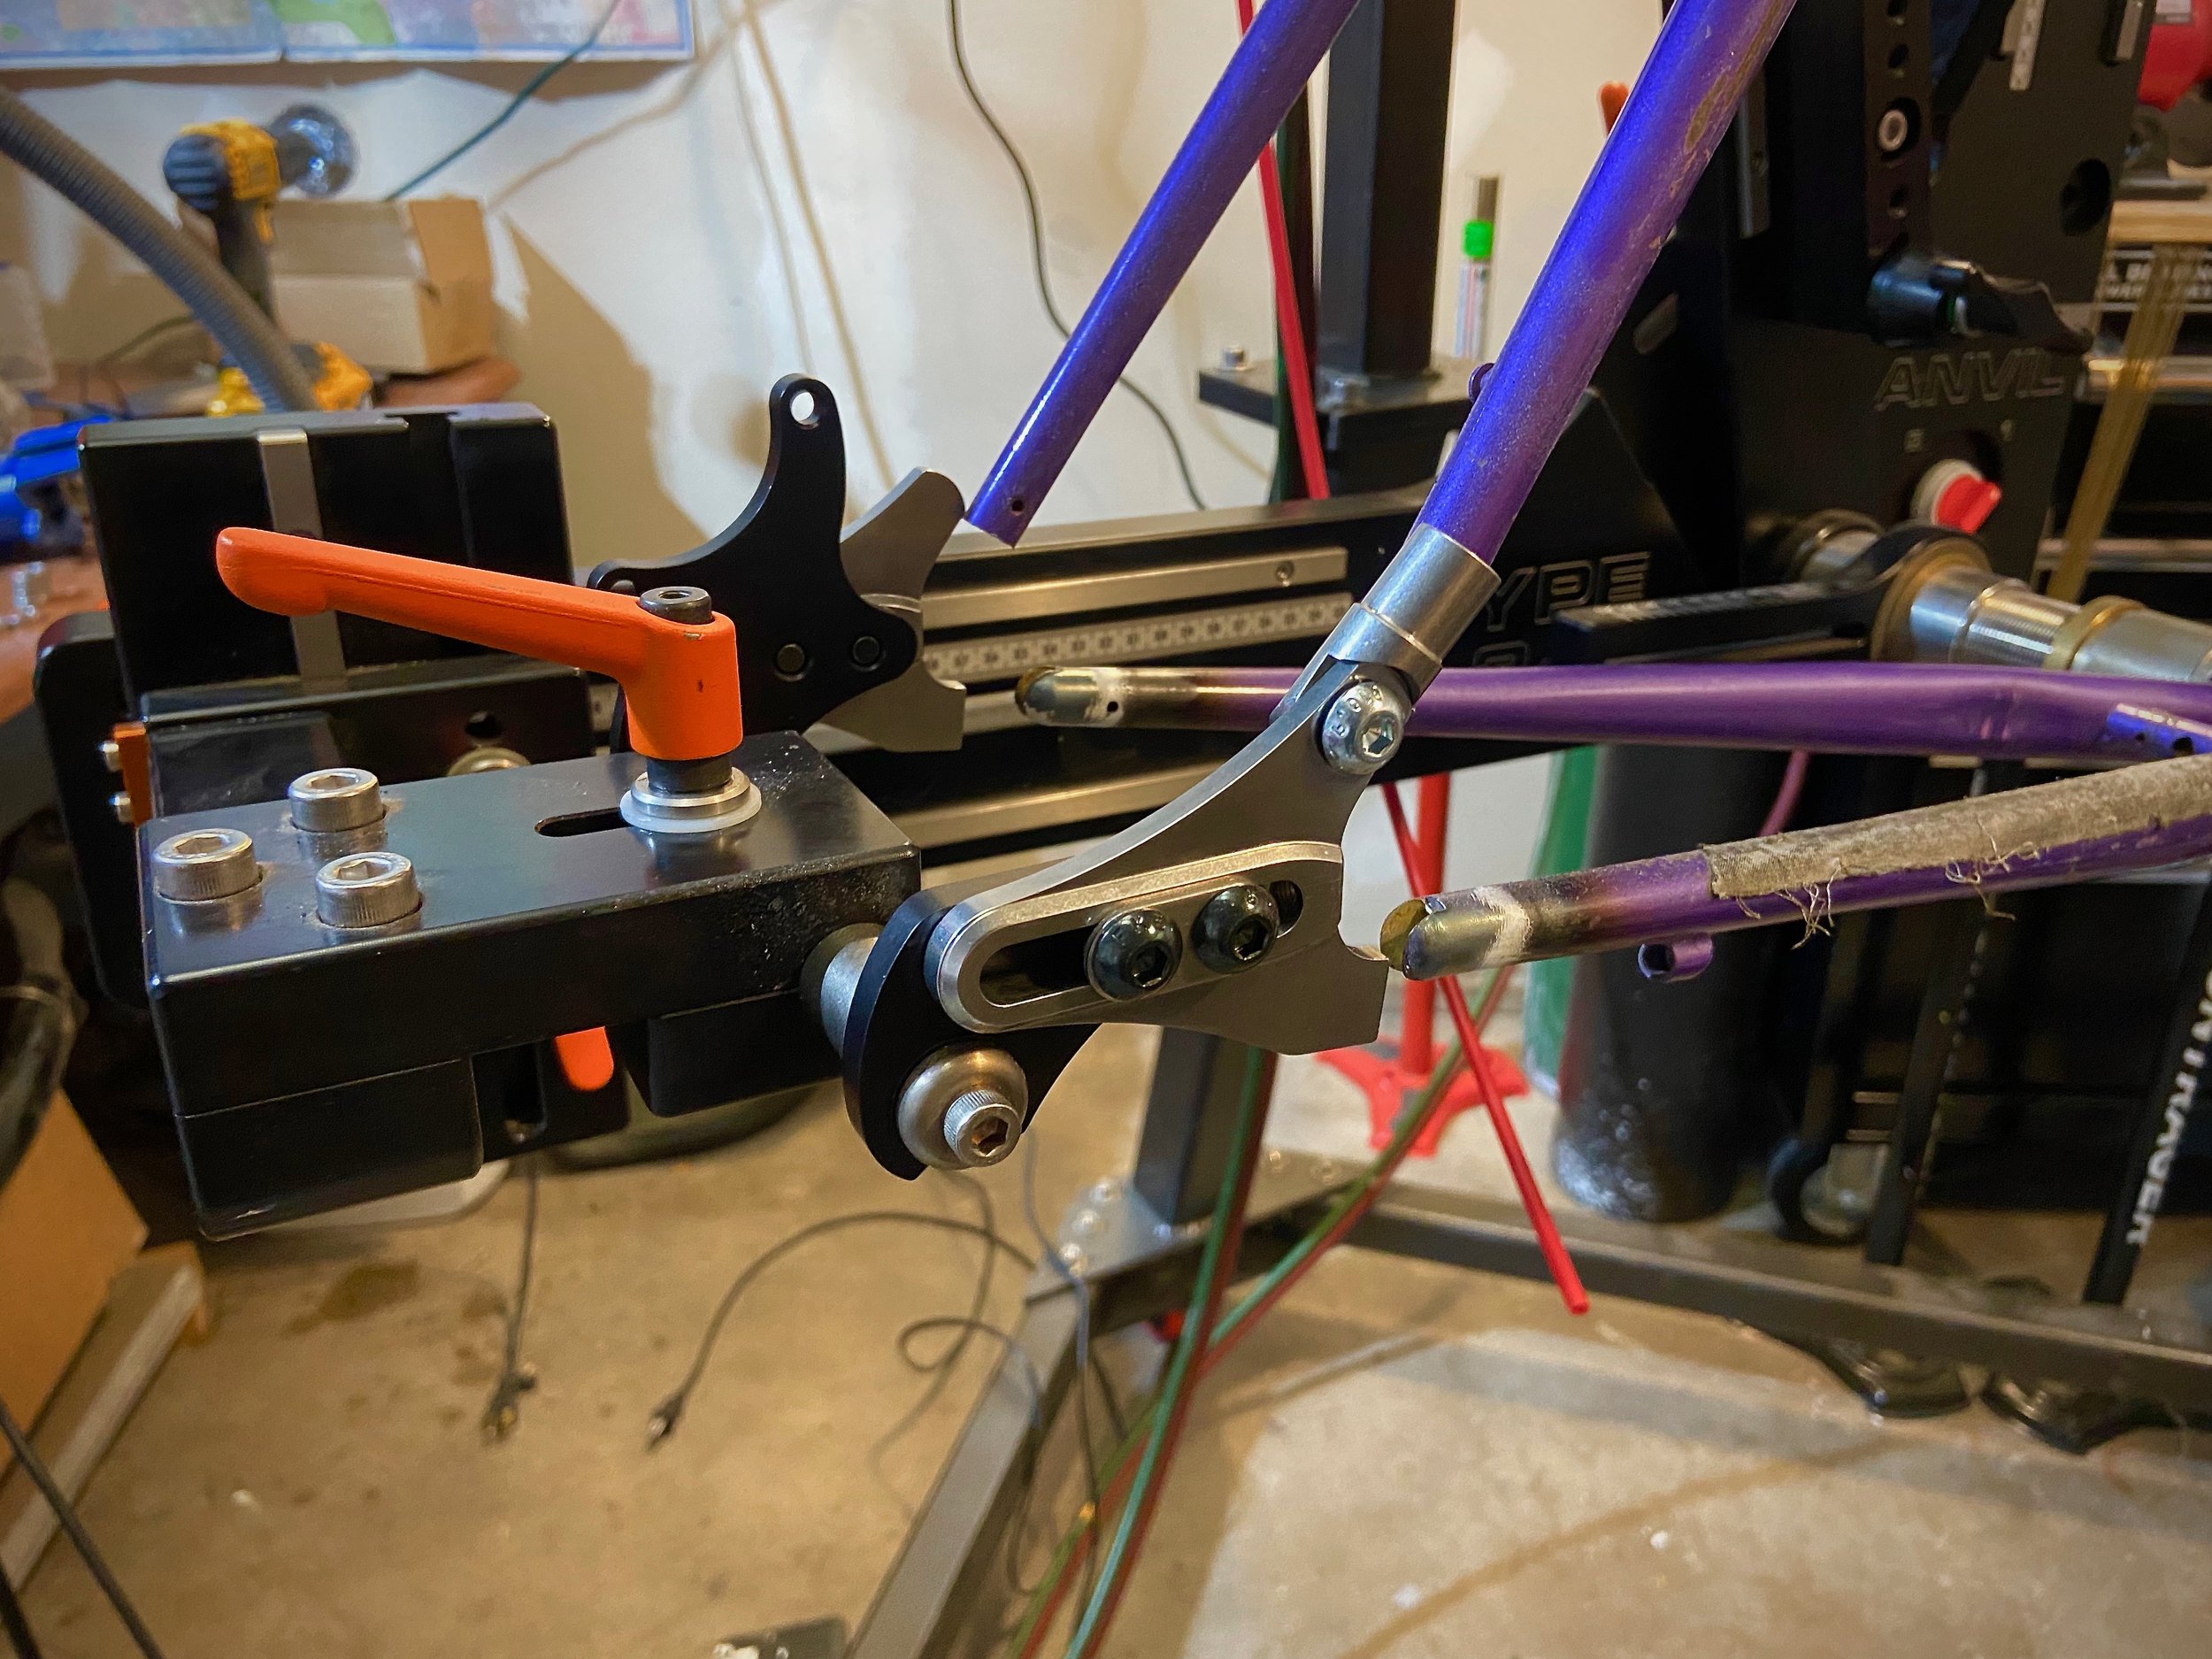
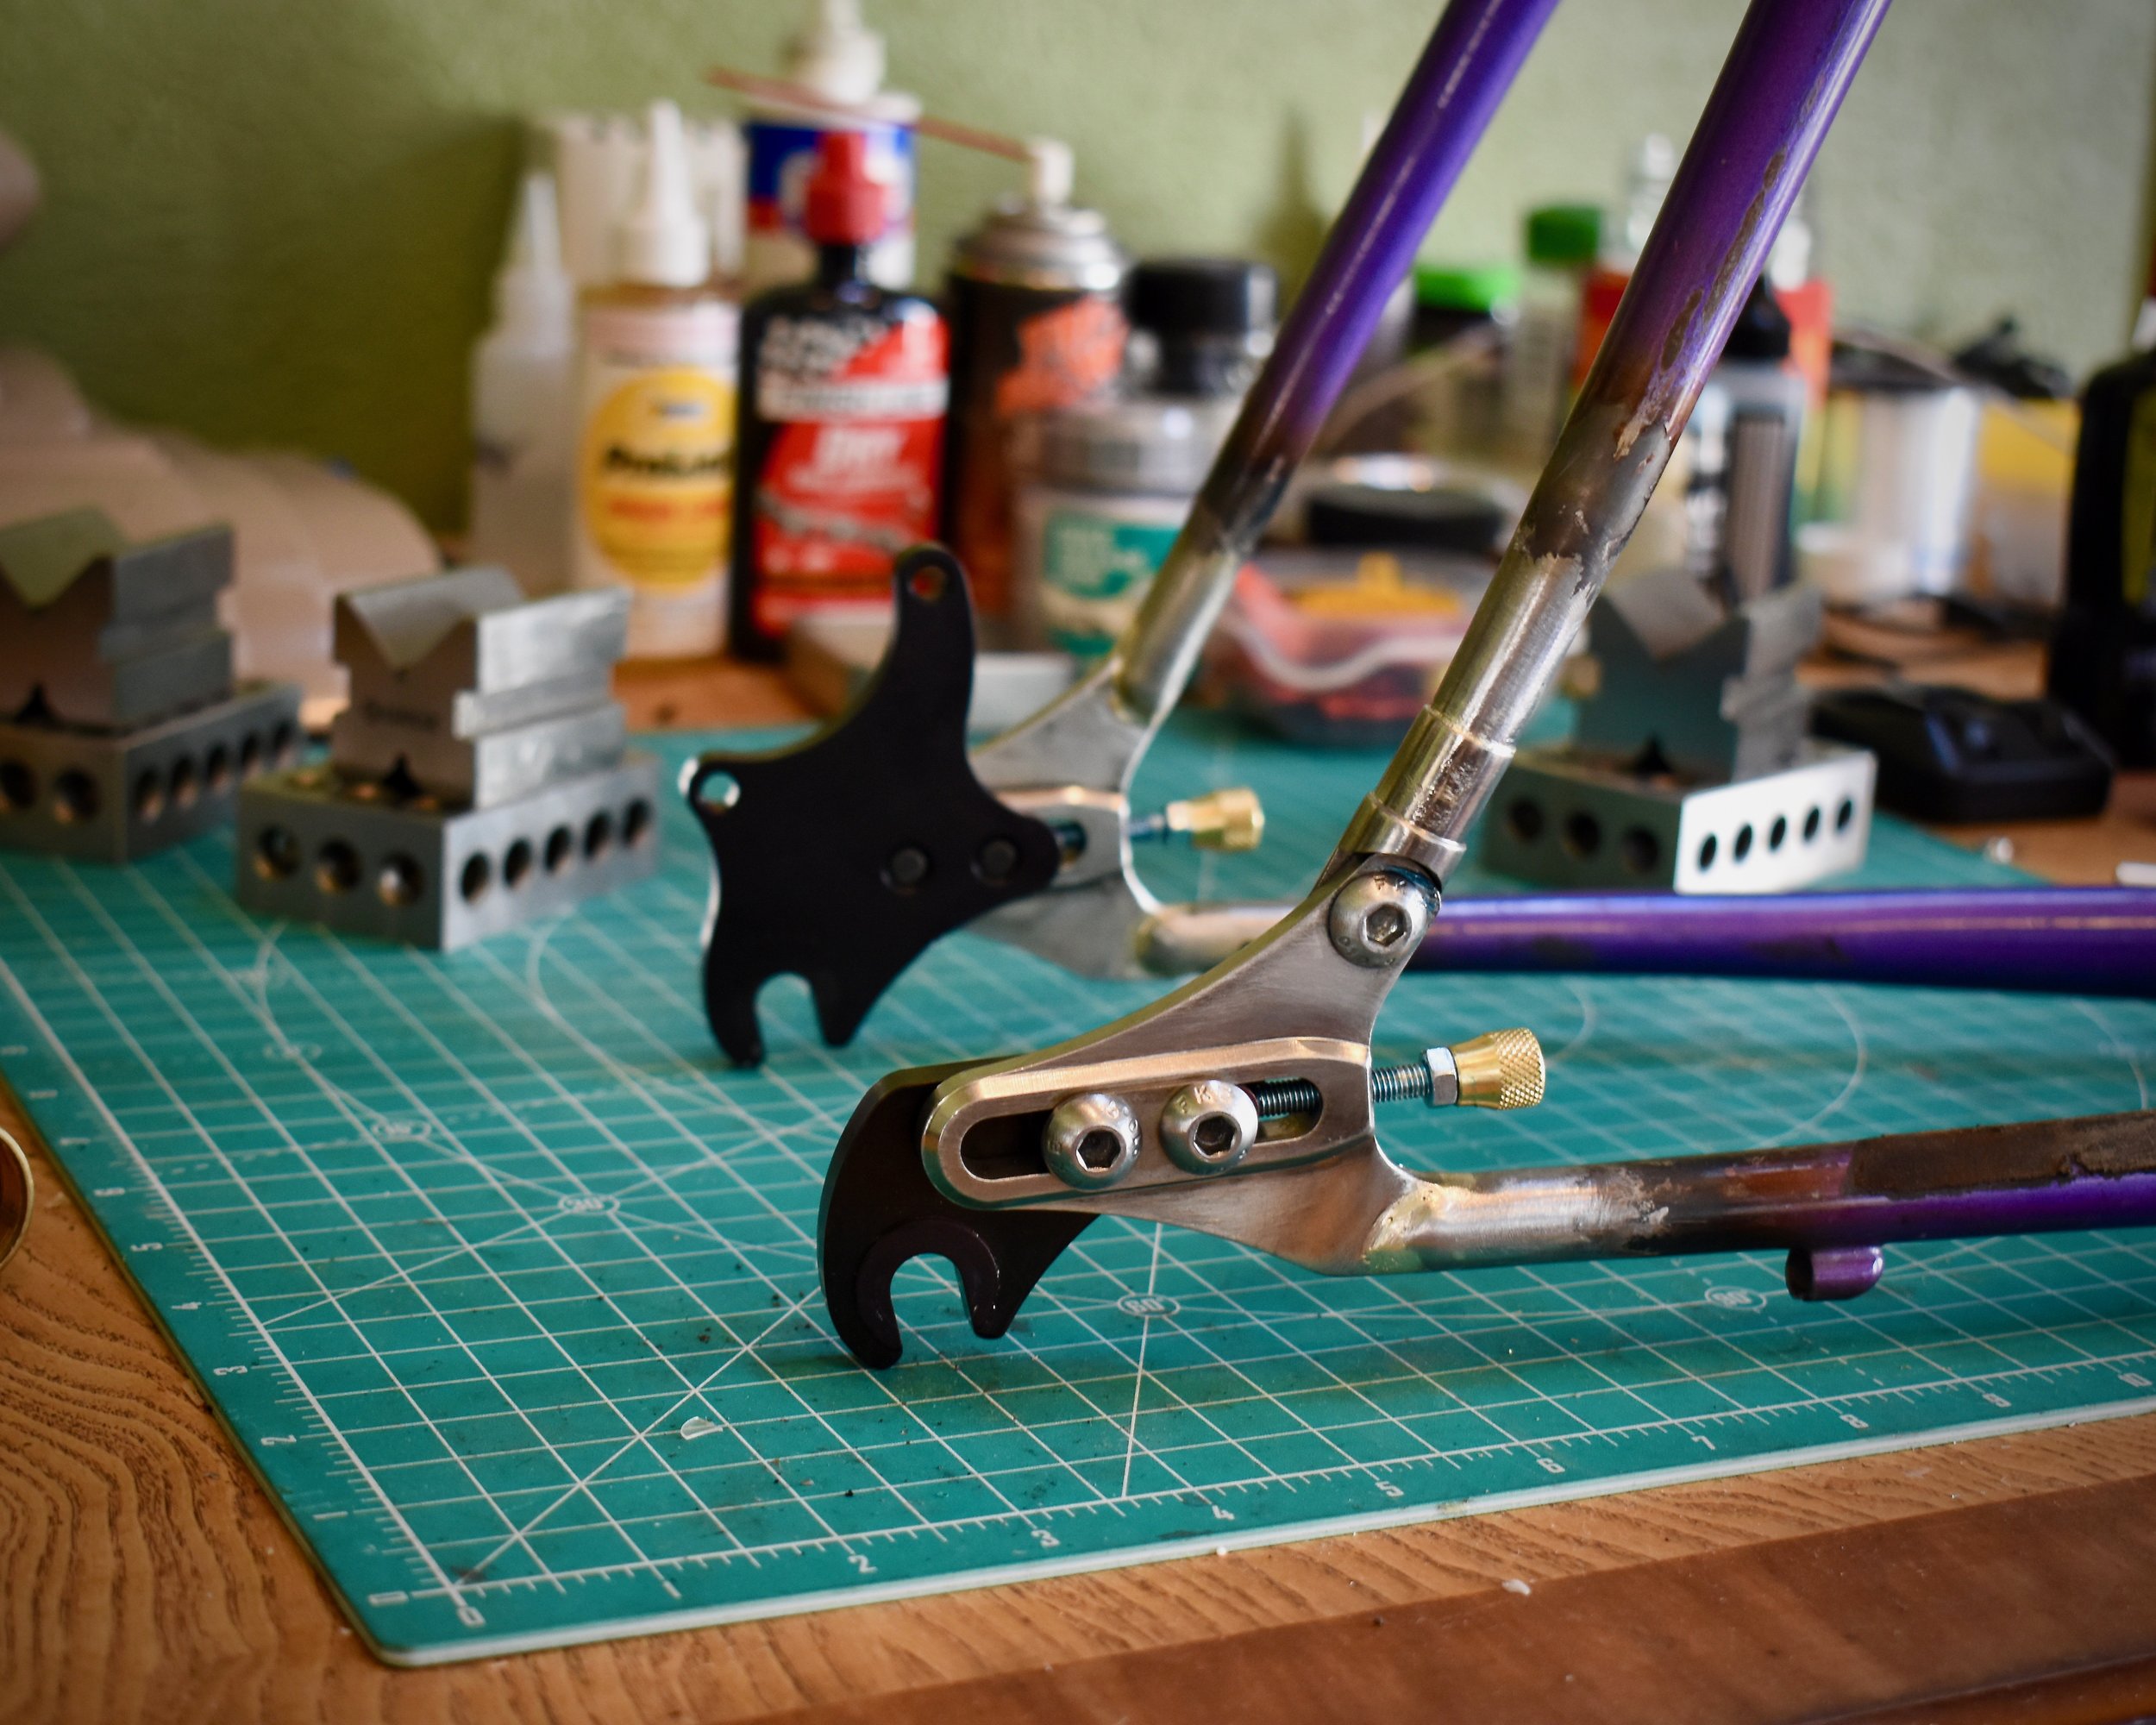
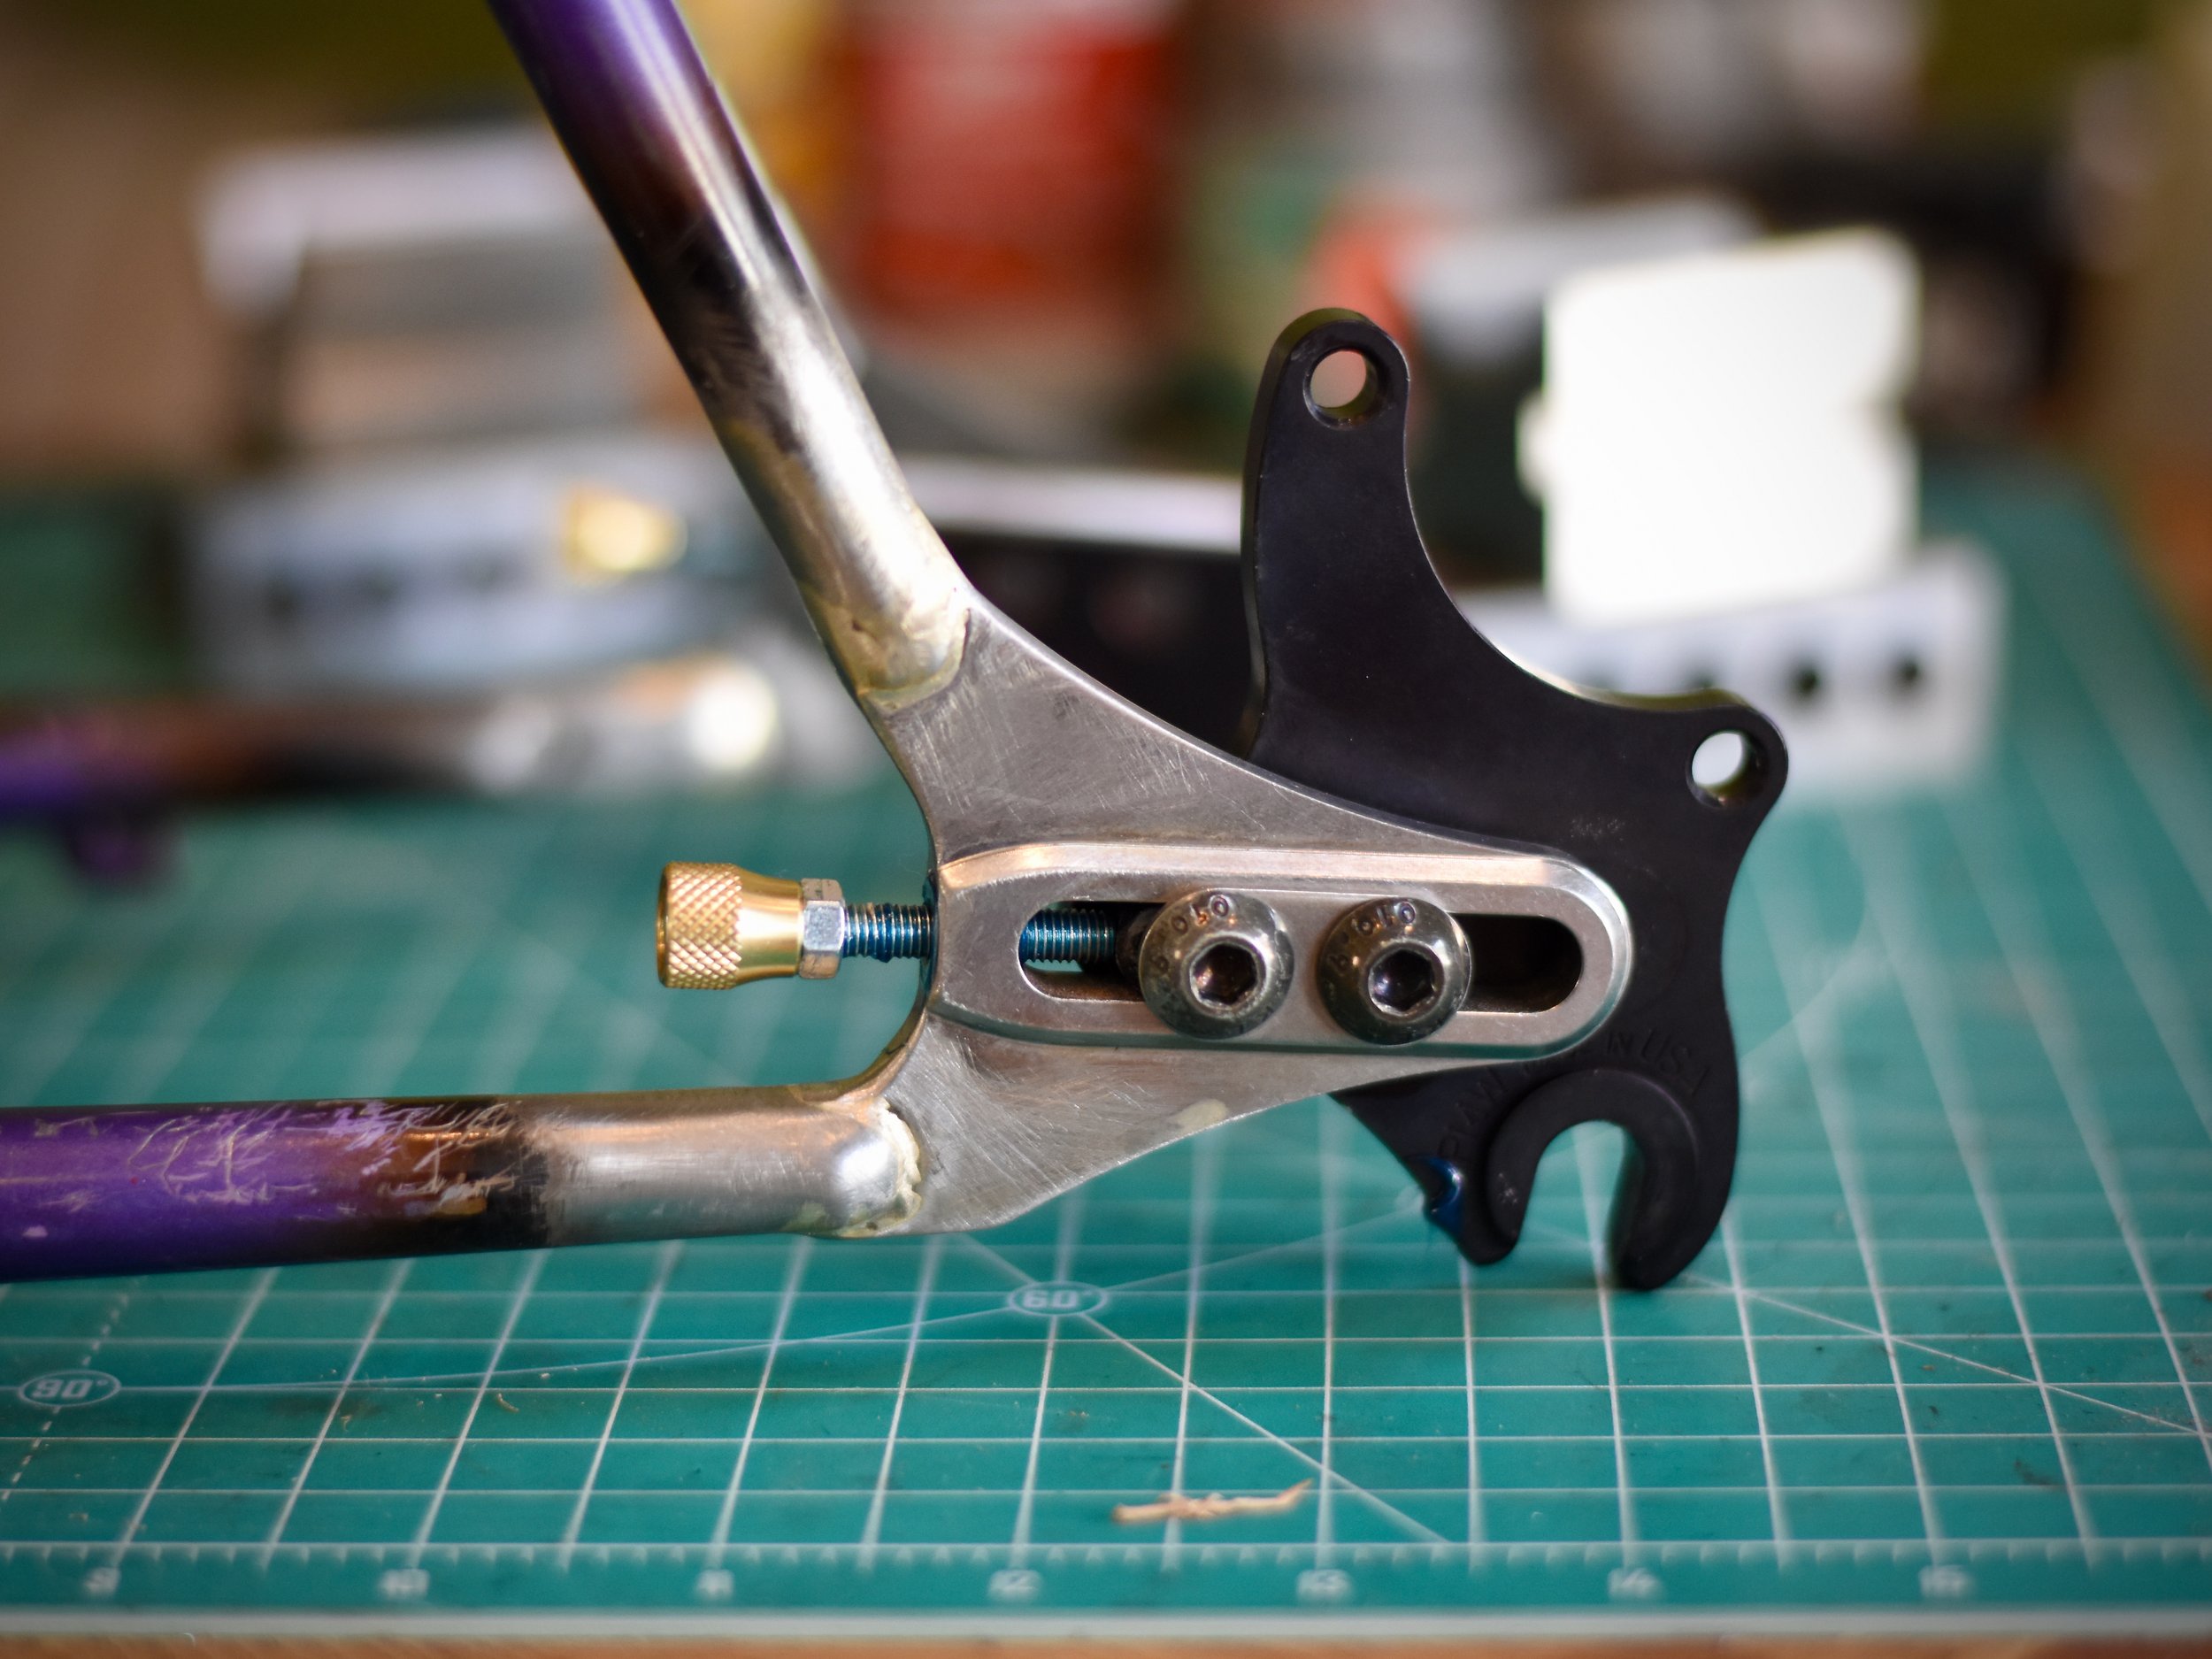
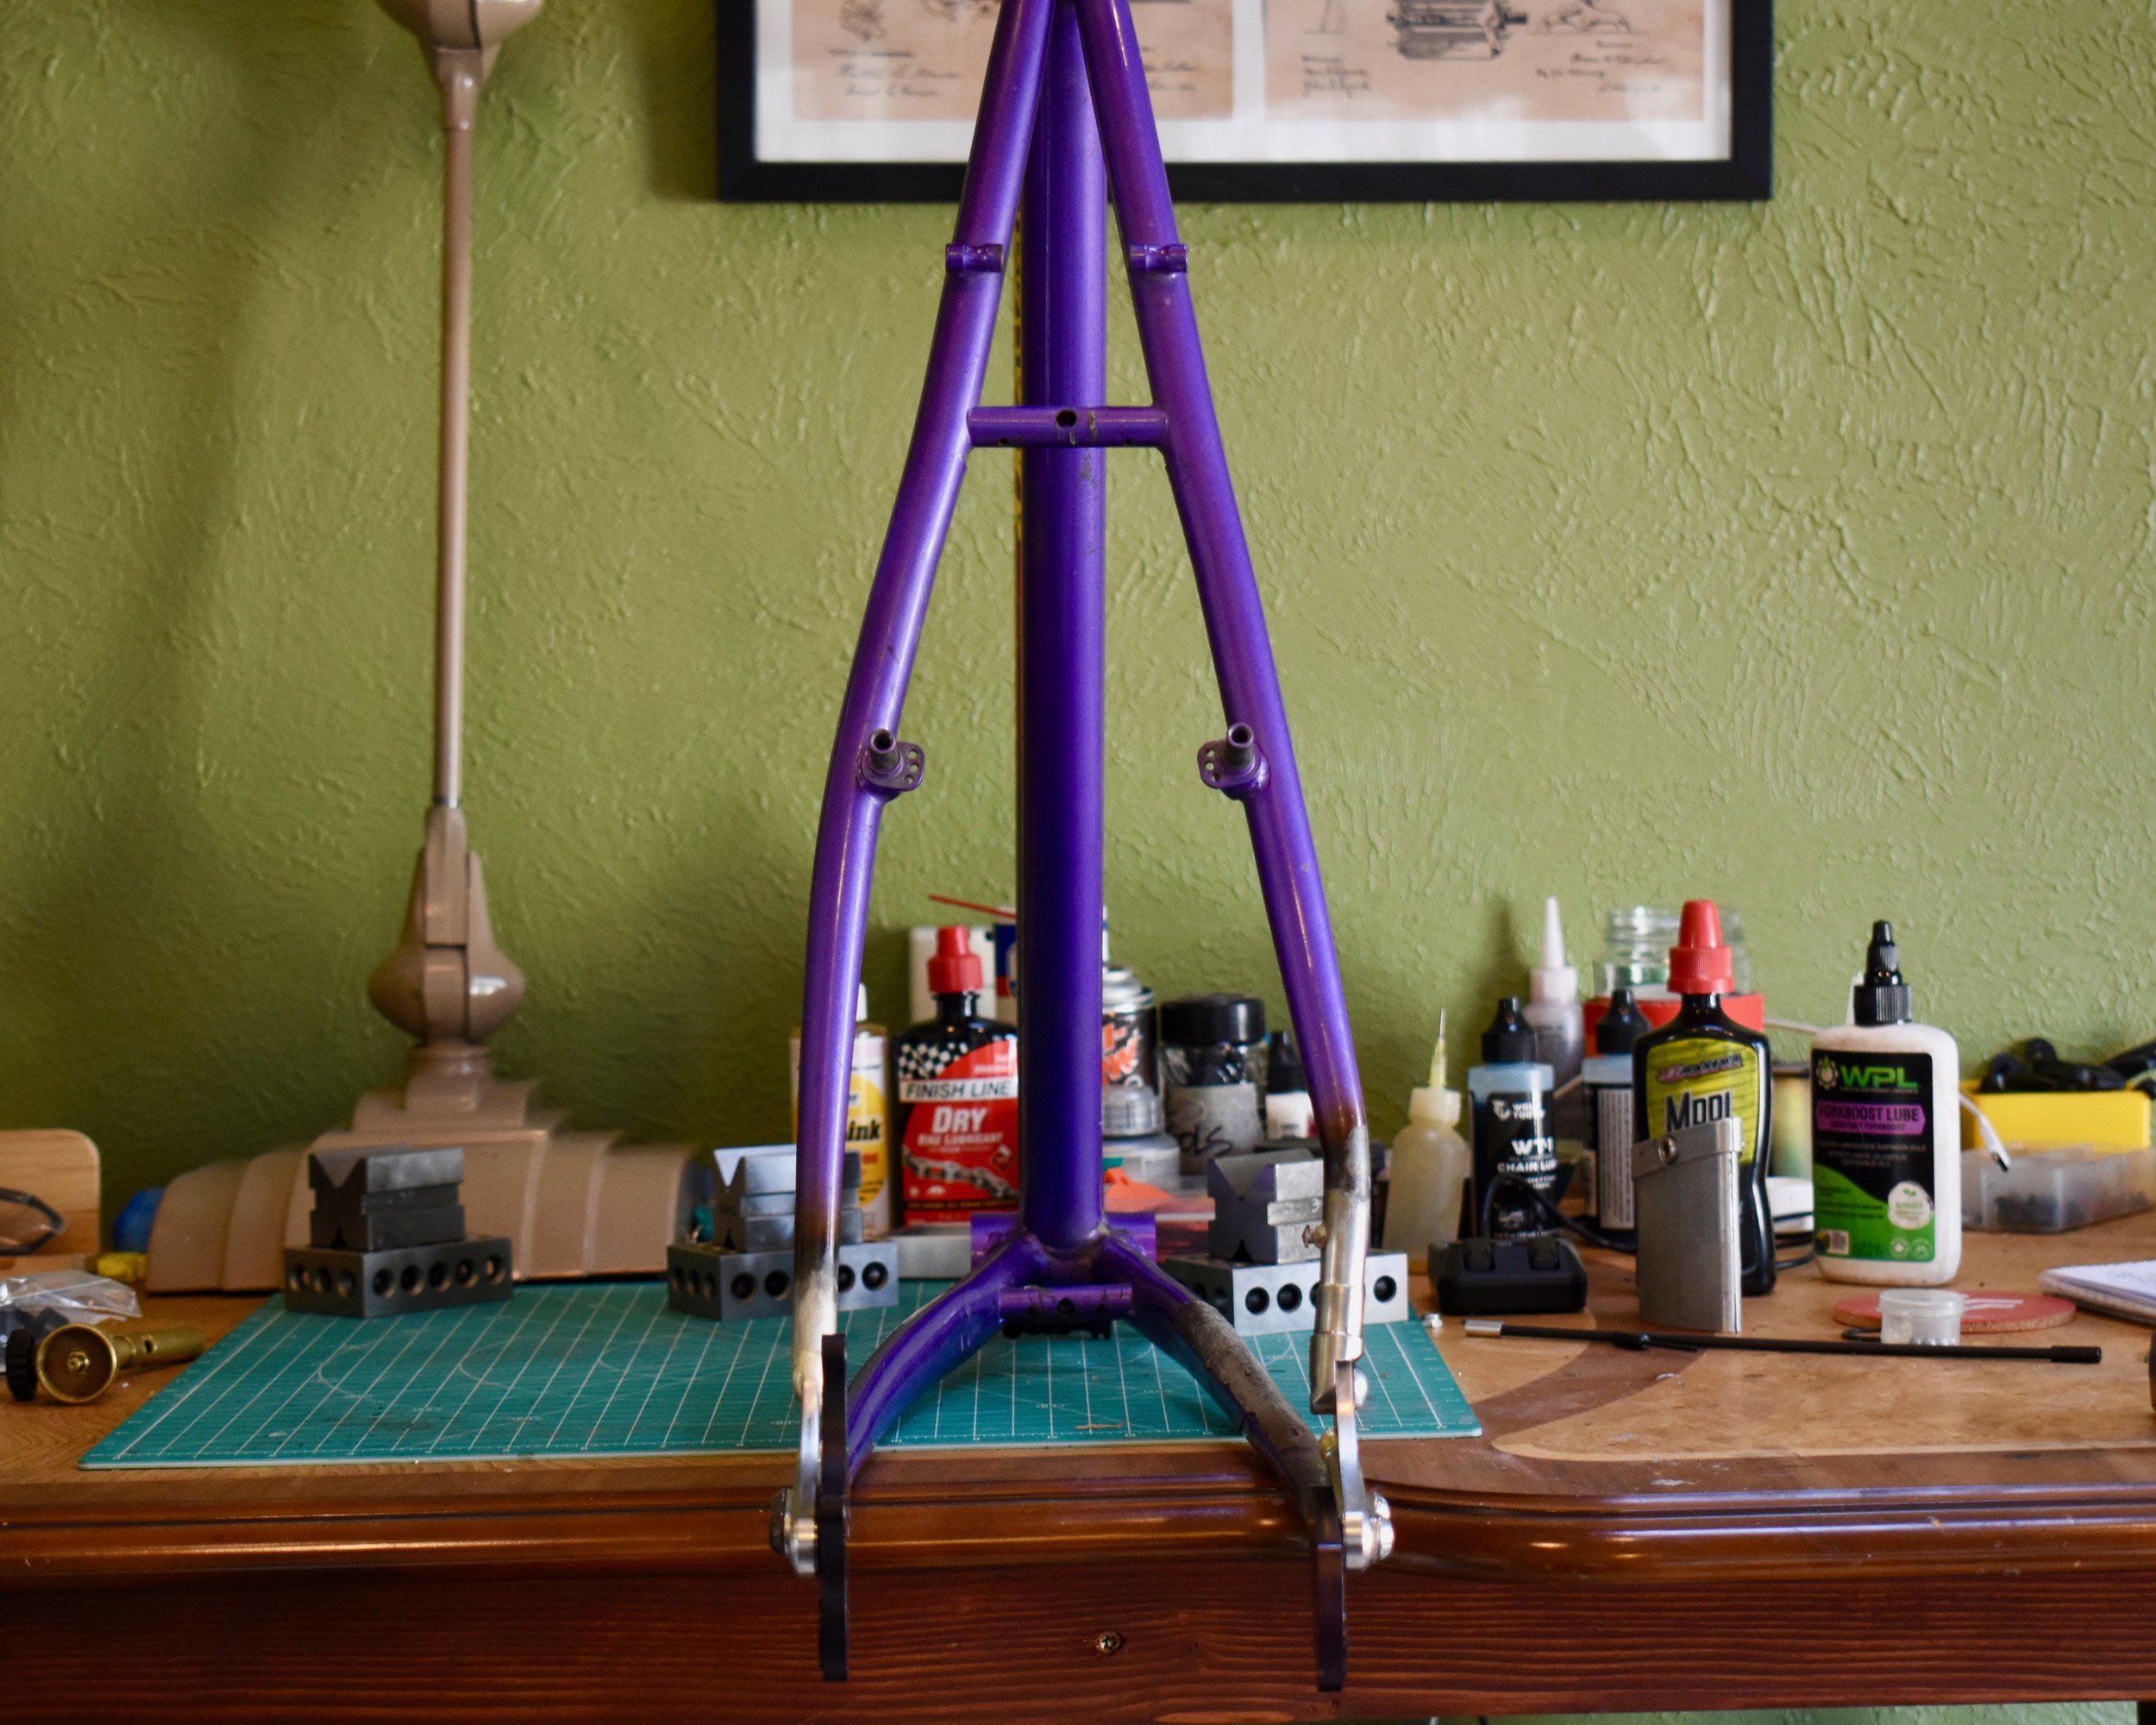
This was a pretty basic 1990’s bike, nothing too fancy in its own day. Pretty standard fare for its time, the Specialized Hardrock was a nicely made bike, with high quality Chromoly tubing and all of the things you would need to get started out on the trail. But we had a dream for this bike… we wanted it to spend its later years as a sweet vintage commuter that could be belt drive, or singlespeed, or both! The solution: Paragon Machine Works sliding dropout with a split stay kit.
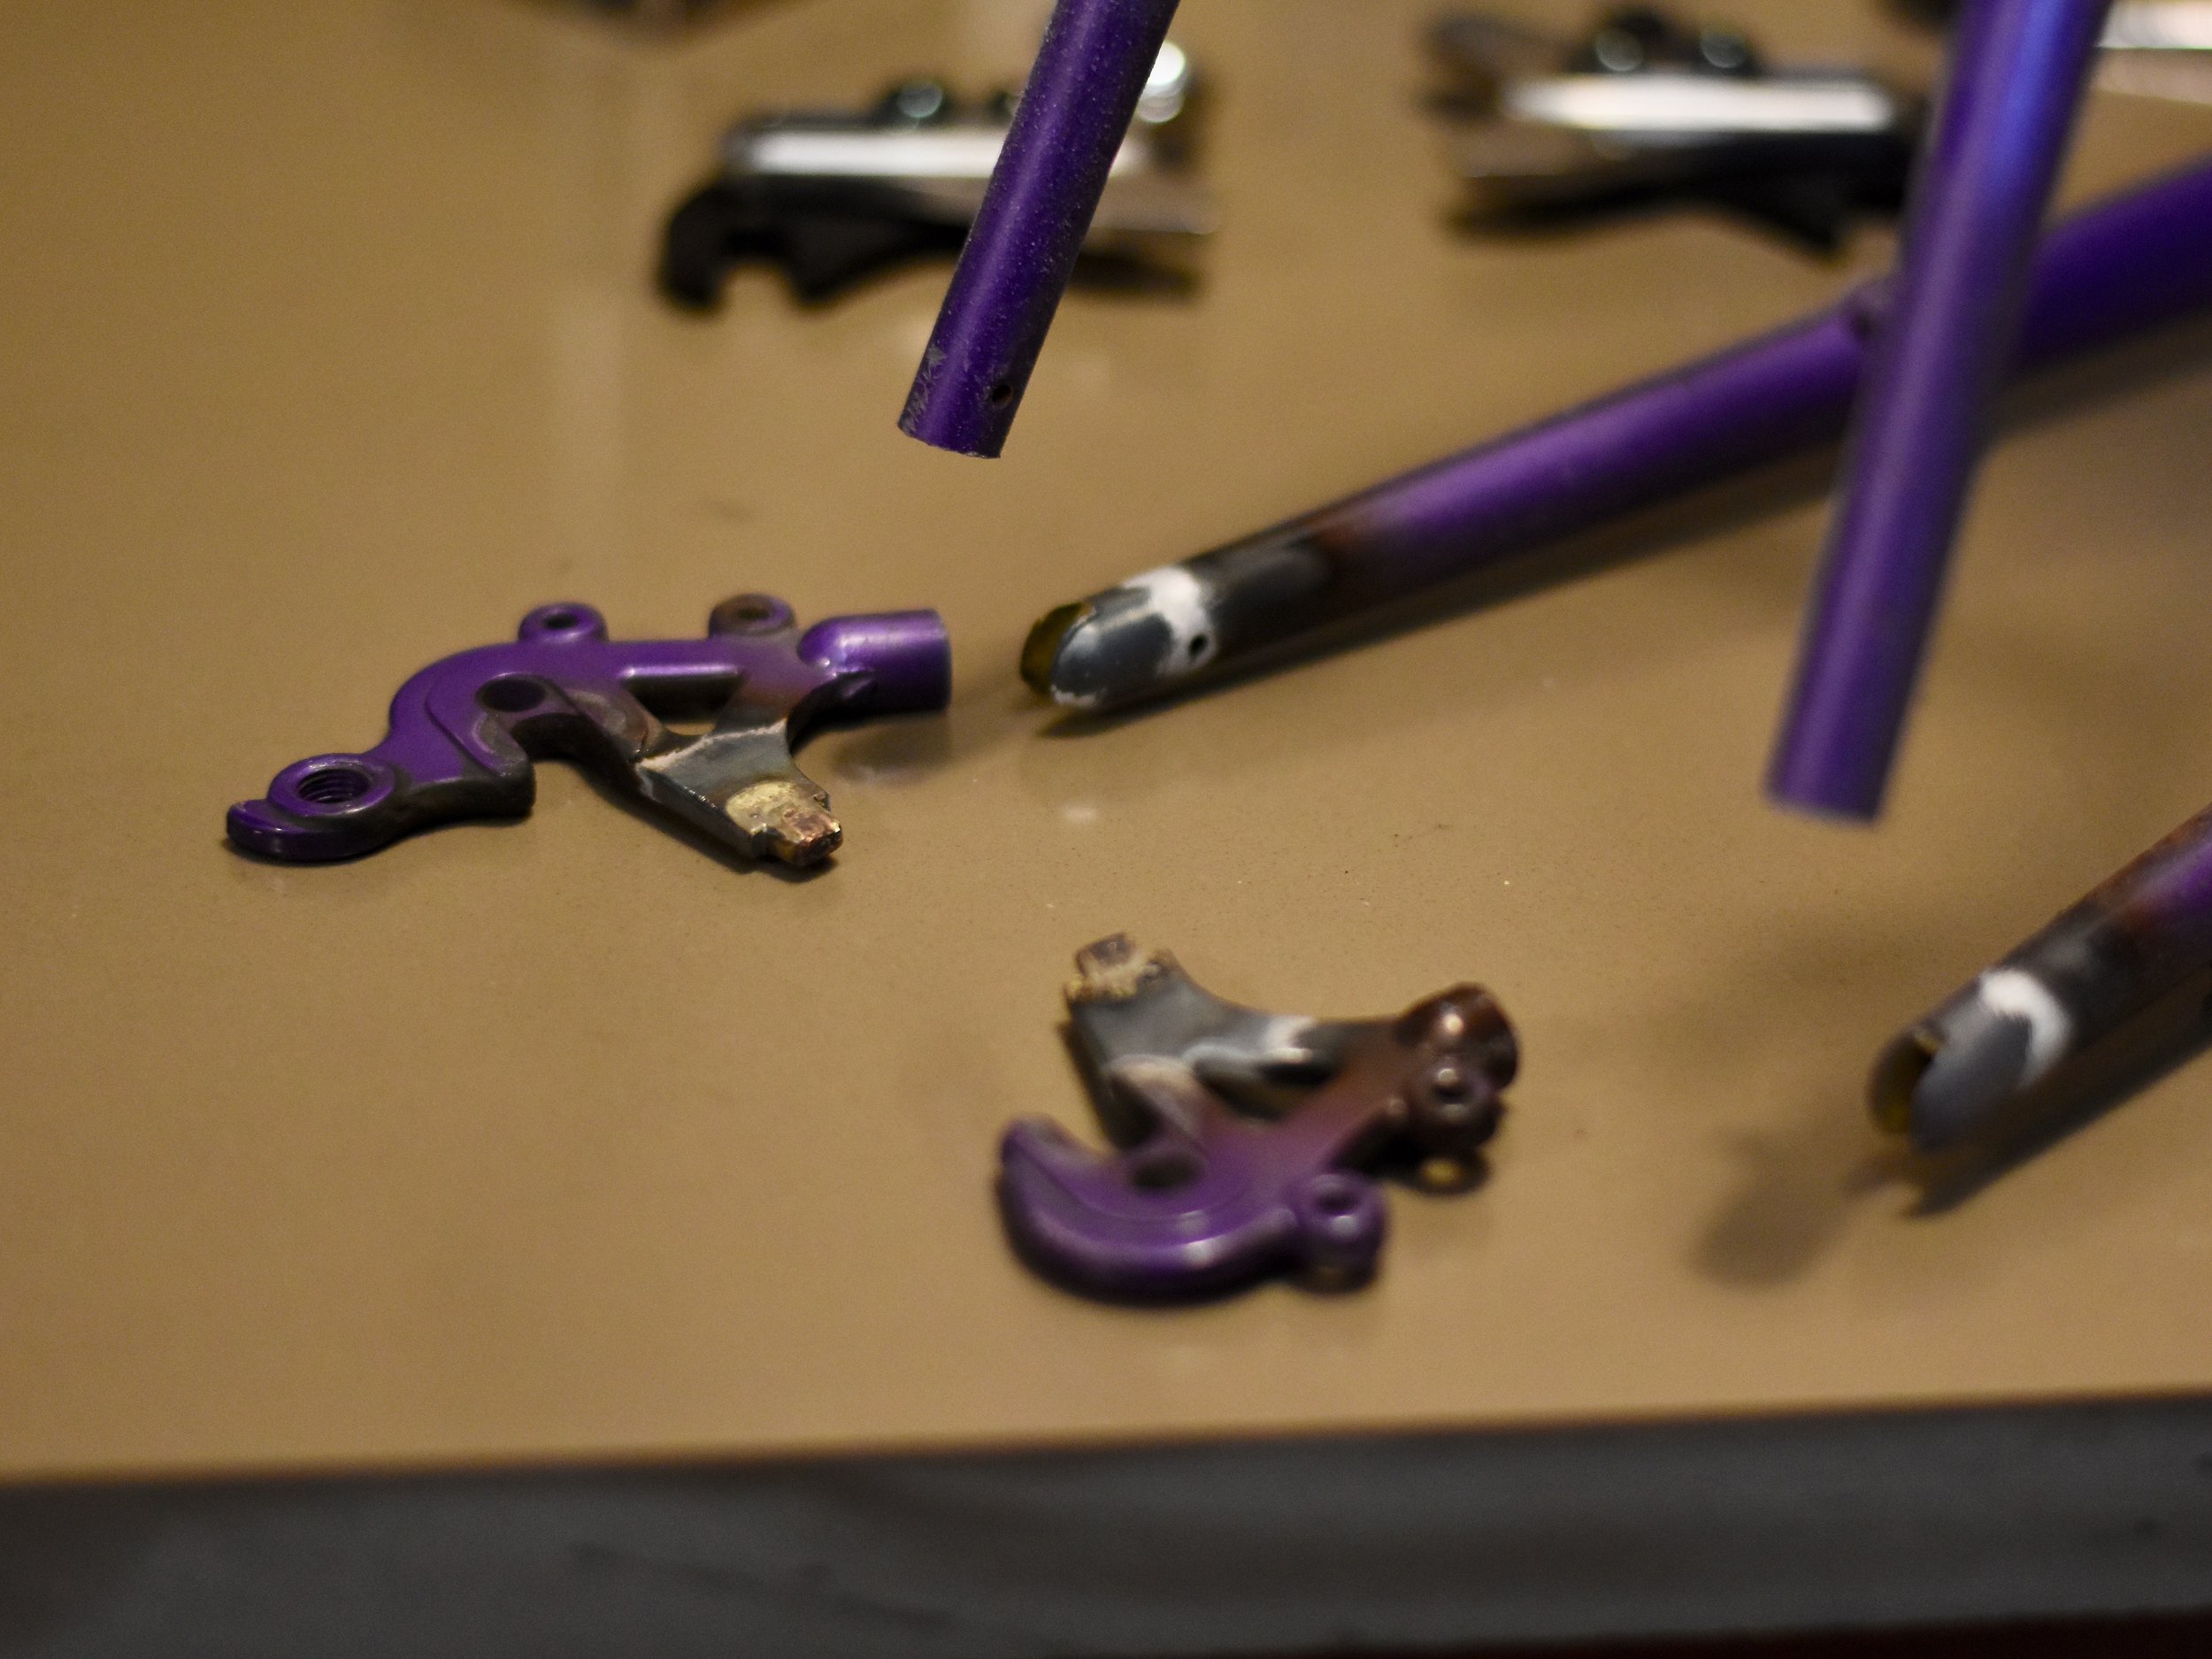
Here’s the process: Remove the old dropouts, do some magical cutting, bending, and melting… and BAM! This bike has a new life. It actually went a little smoother than expected and everything shaped up as we saw in our heads, even the crazy bend in the driveside seatstay so we could install the split kit backwards. PMW usually has the fixing bolt on the inside and it lends itself to cleaner lines, but we wanted that gosh darn bolt facing outwards at all costs. We aligned things to have it our way!
It was already a challenging proposition, as you can see the dropouts are quite different. But it wasn’t anything a little creative thinking and on-the-fly problem solving couldn’t overcome. The next step in its life comes when we get around to assembling it into rideable bicycle again!

1991 Stumpjumper Frame Salvage
You’ll notice there is a big gap between the last “recent” project and this one… we had a busy season and neglected to stay on top of the website in favor of staying on top of work in the shop! It’s not a bad problem to have, but I’ll be trying to get some more recent projects up on the site soon to show some love to the internet at large!
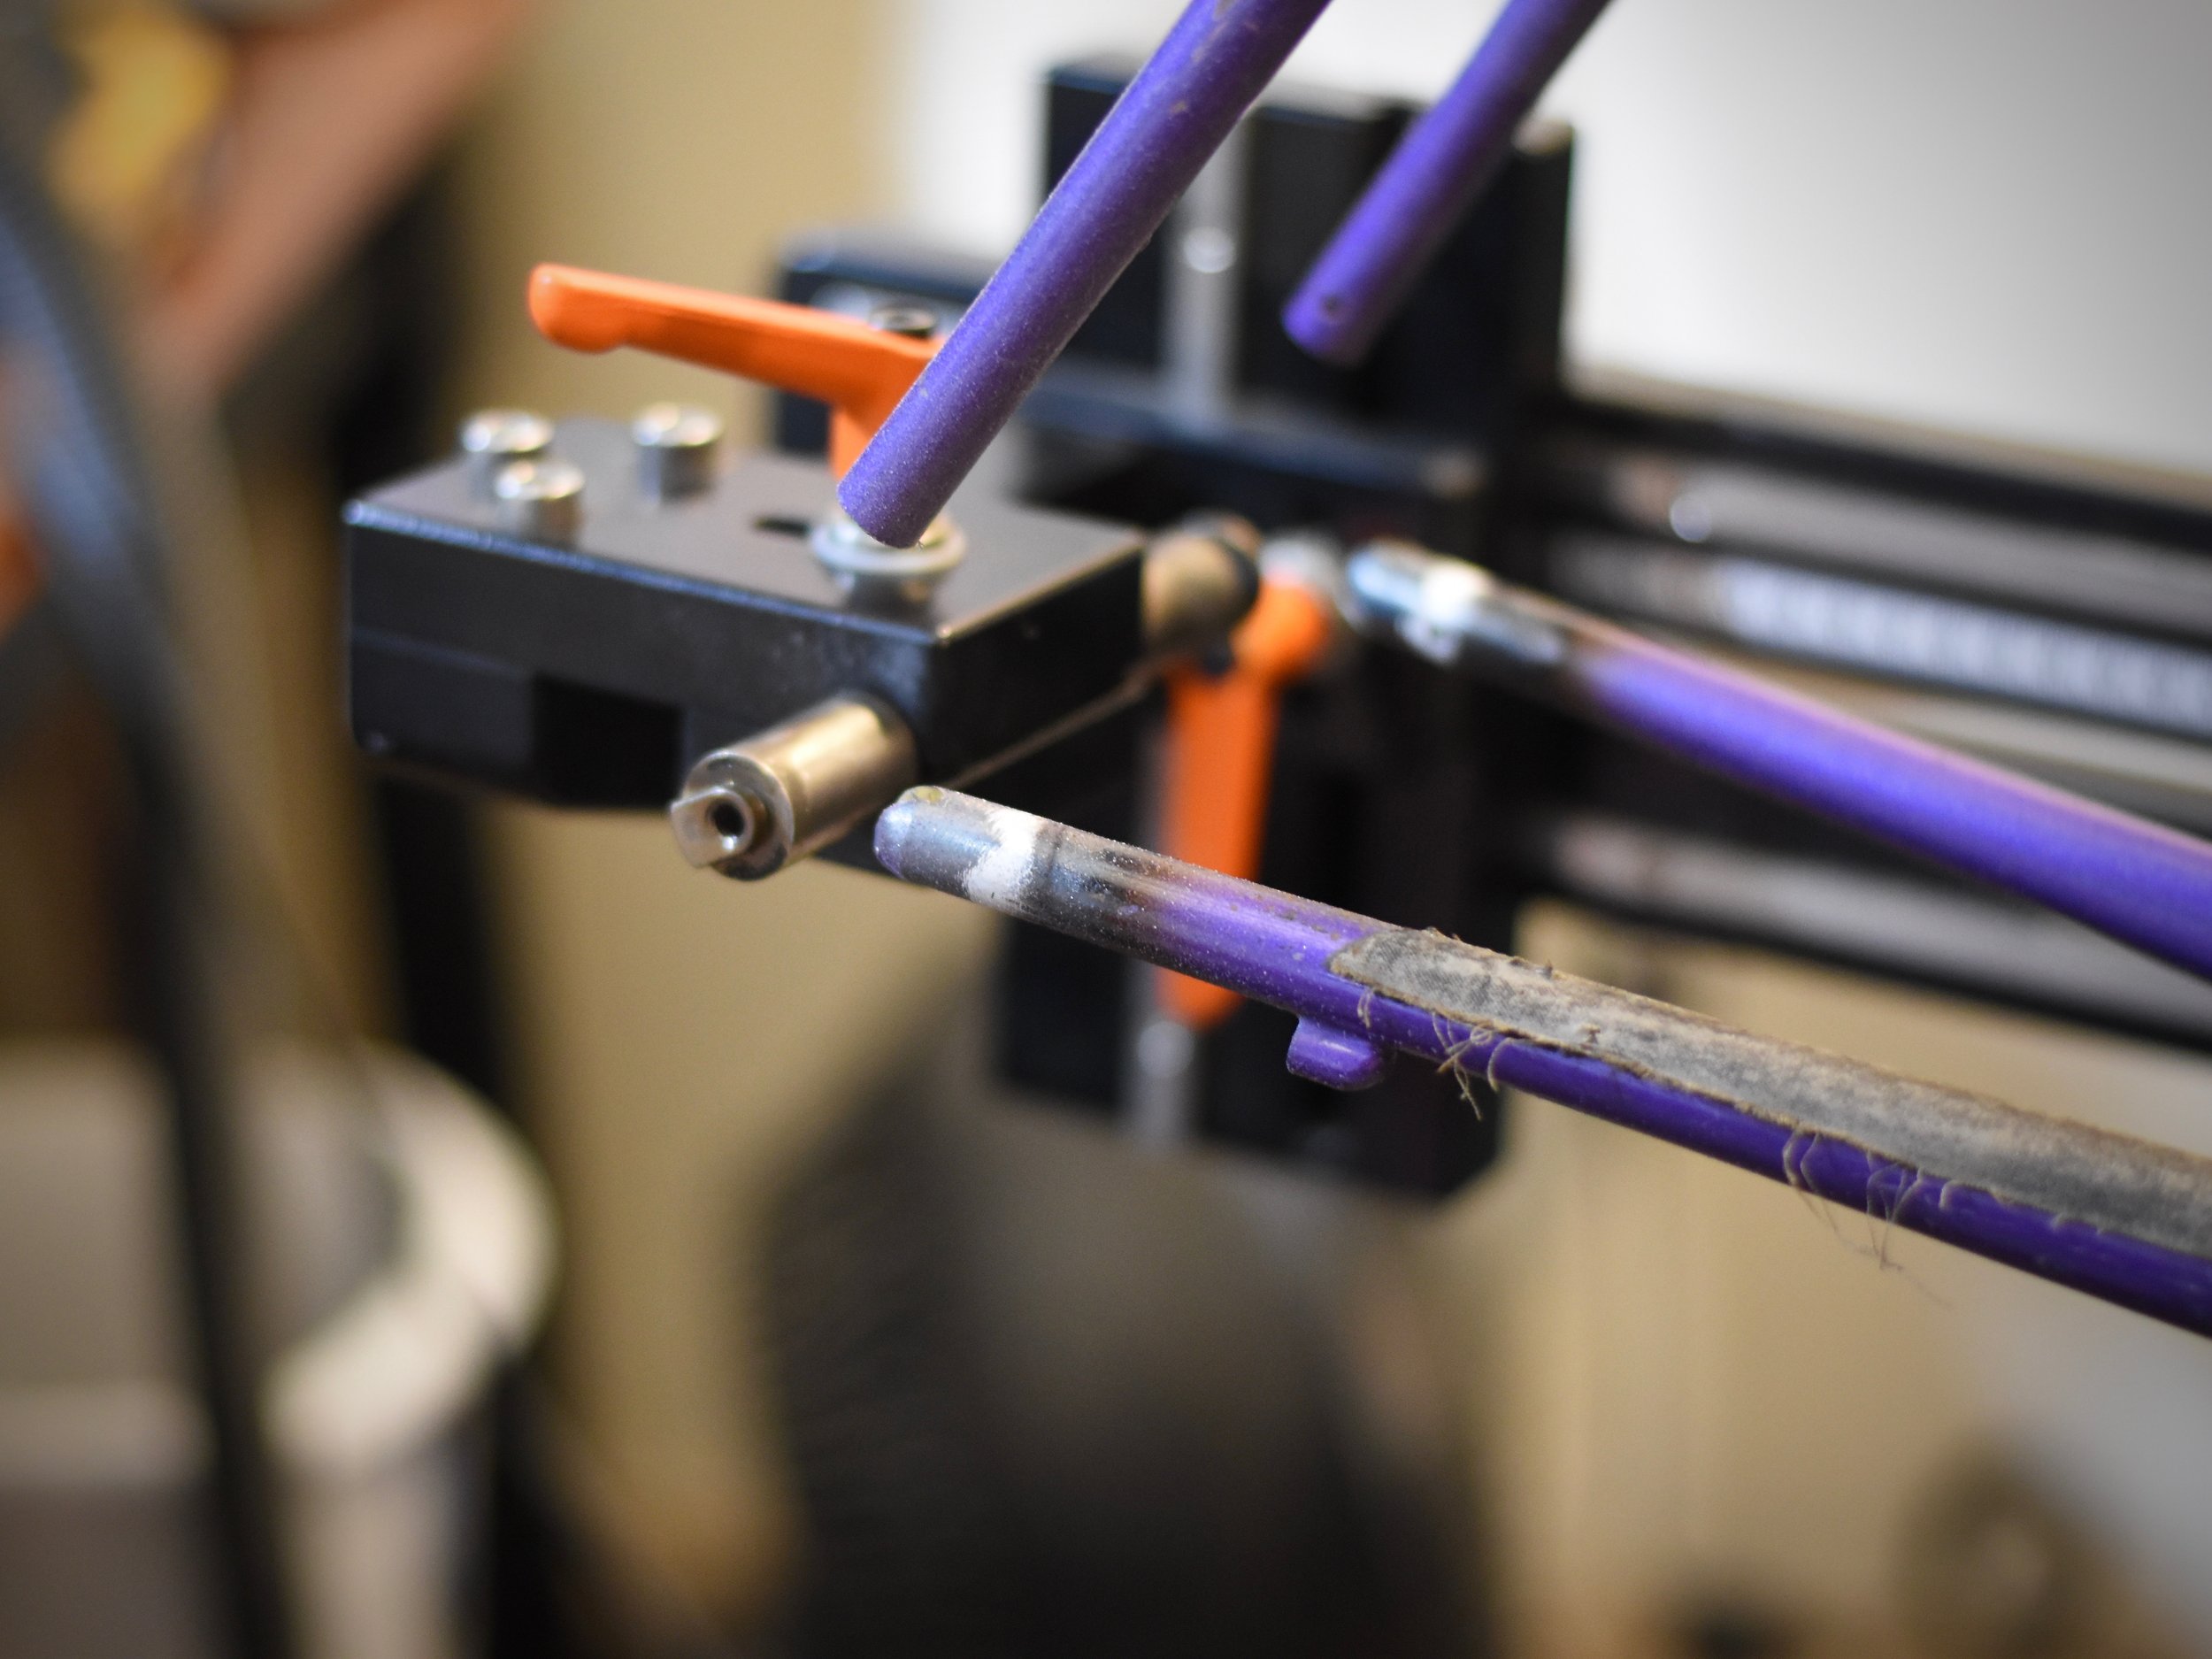
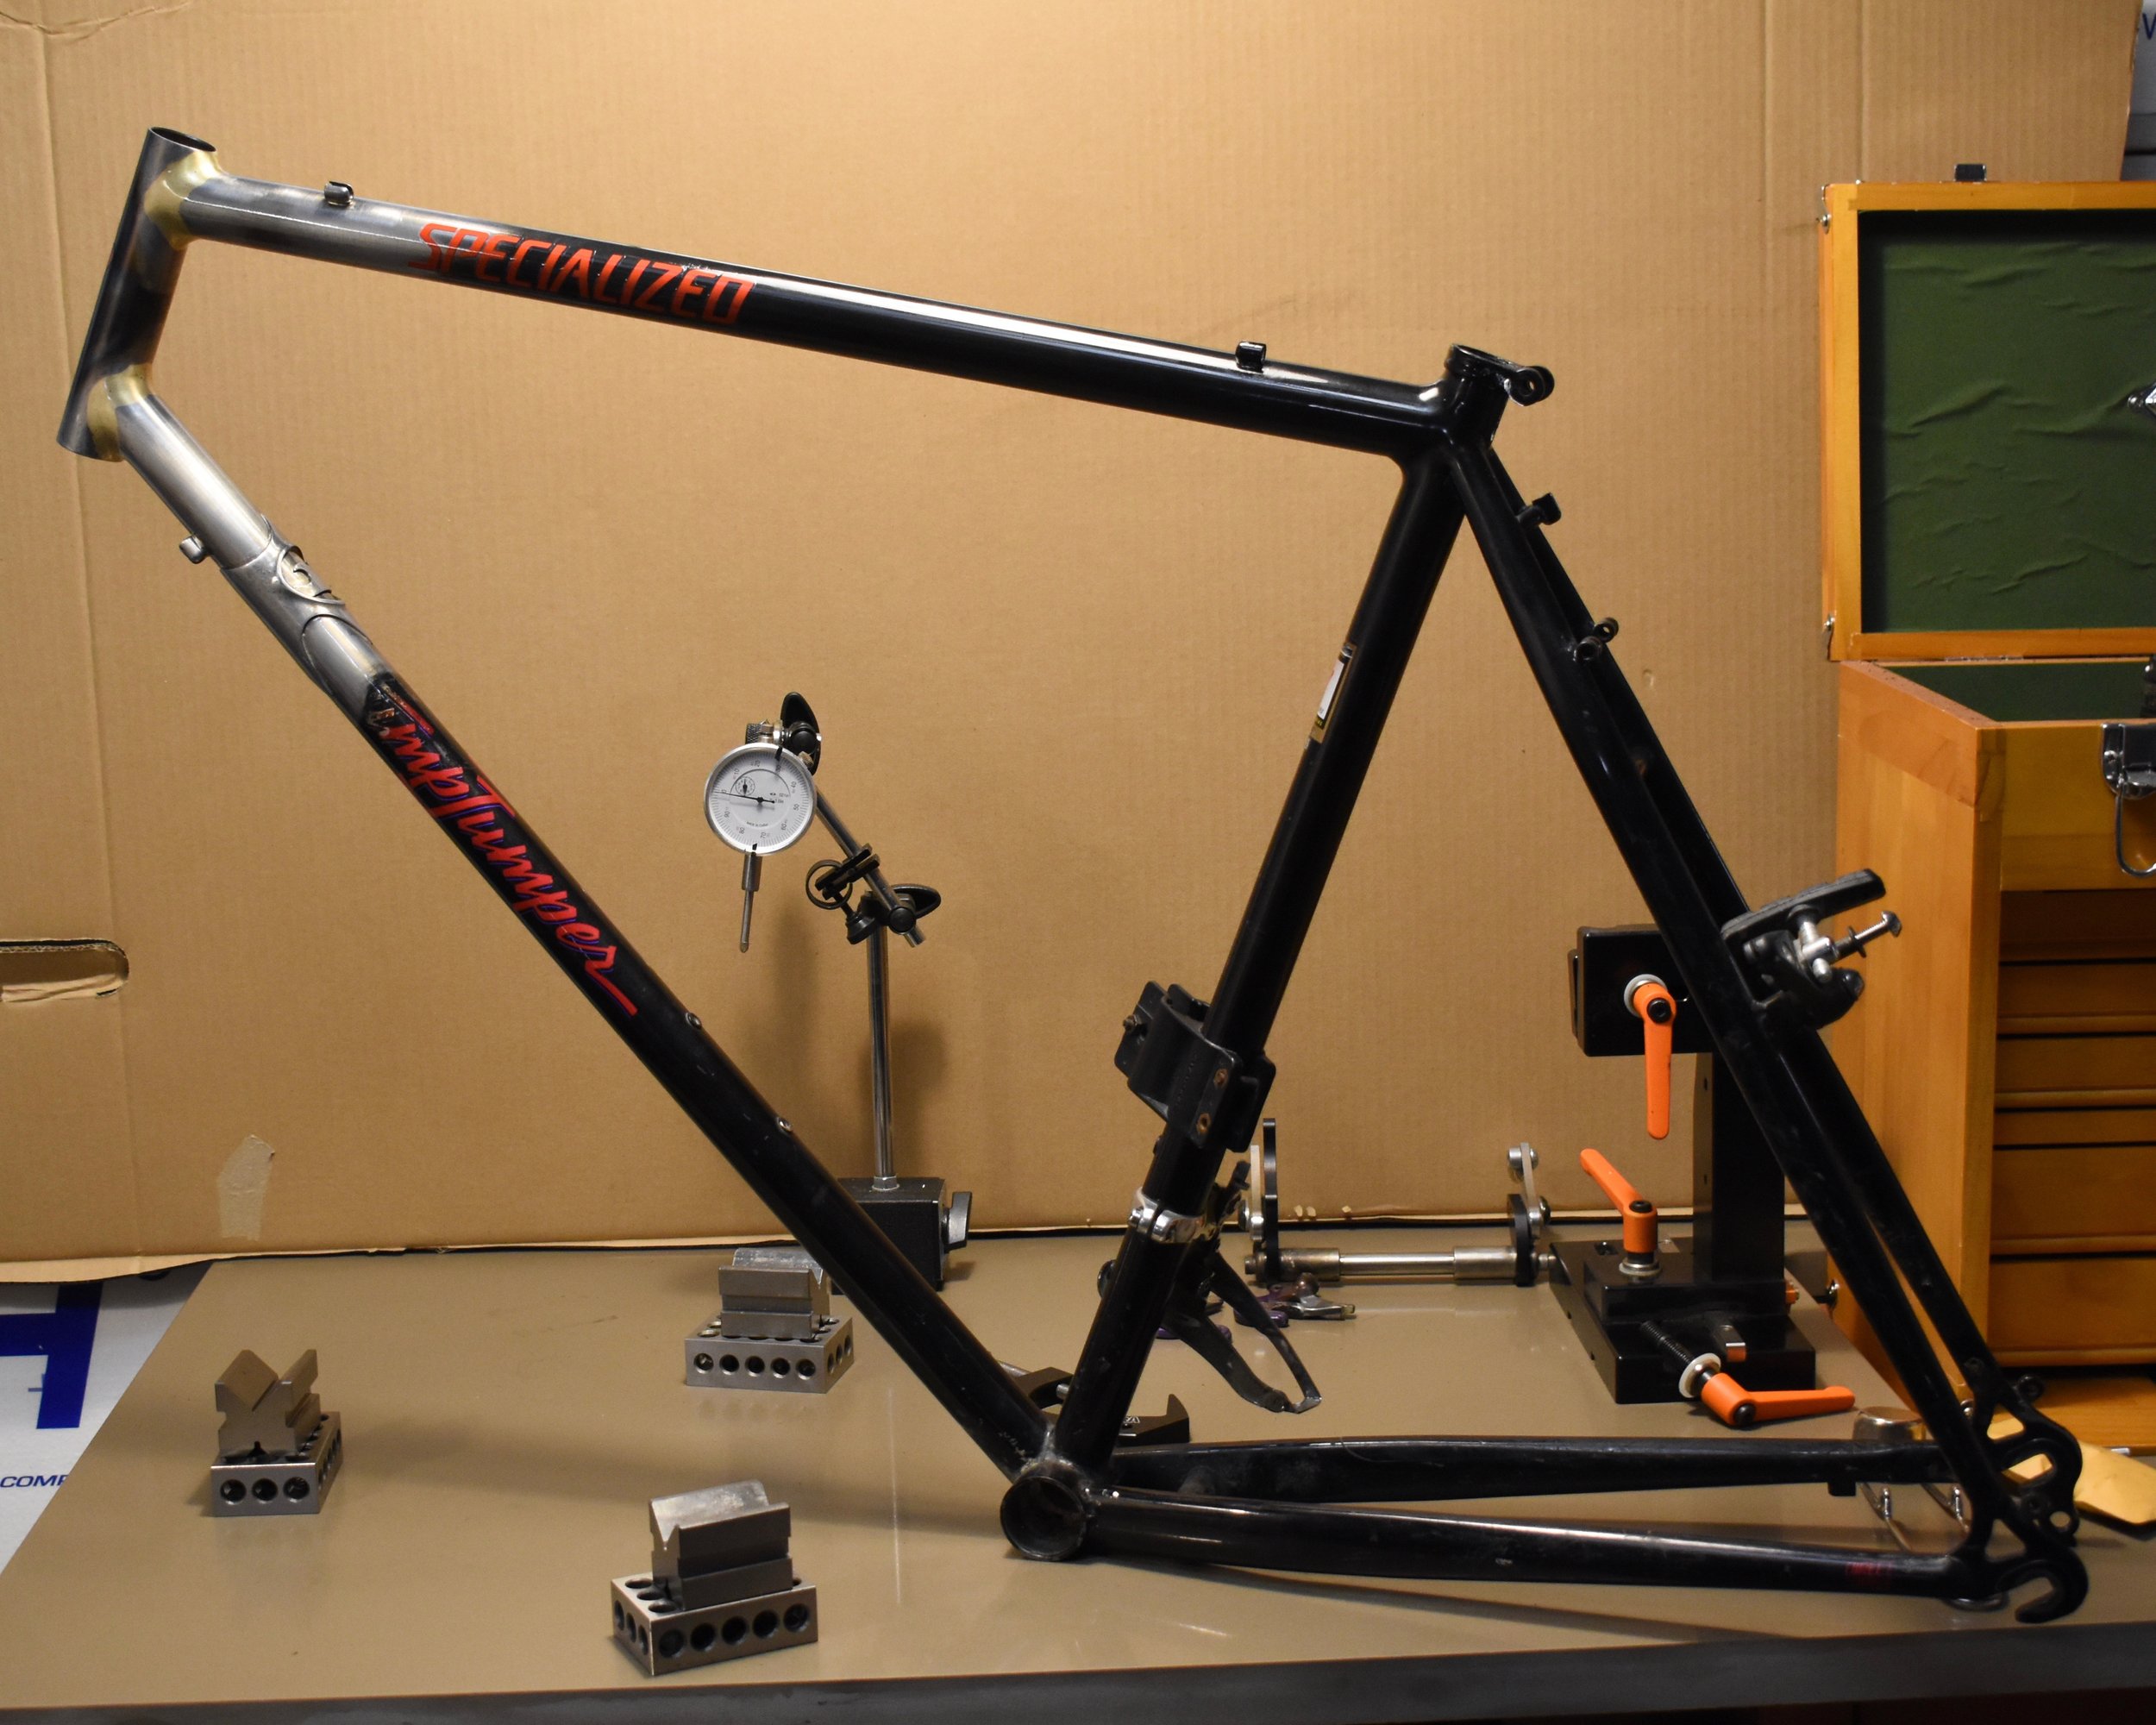
This bike came to us via a man named Paul. He had a nasty front end collision and buckled both of the main tubes of his vintage Specialized Stumpjumper. The only repair we recommend in this scenario is replacement of both the buckled tubes, in the interest of safety, alignment, and permanence. But, Paul had an interesting plea…
He and his wife gifted each other matching bikes as wedding presents when they got married in the early 1990’s. When Paul thought of sending this bike to salvage, his daughter begged him not to do it. Even if he wasn’t attached to it as an heirloom, it seemed like she was… So he wanted to keep the bike as original as possible if he was going to have it repaired. This was to be no small feat for us.
There’s a lot of technique and some magic that goes into attempting this sort of thing, nonetheless pulling it of with good results. Here’s how it ultimately happened:
We assessed the situation and were going to try and save the original downtube below the buckle. We thought it might be possible to pull the headtube back to original angular dimensions and bolster the joint by brazing a large brass fillet over the spot that it buckled at, as it was right at the headtube joint.

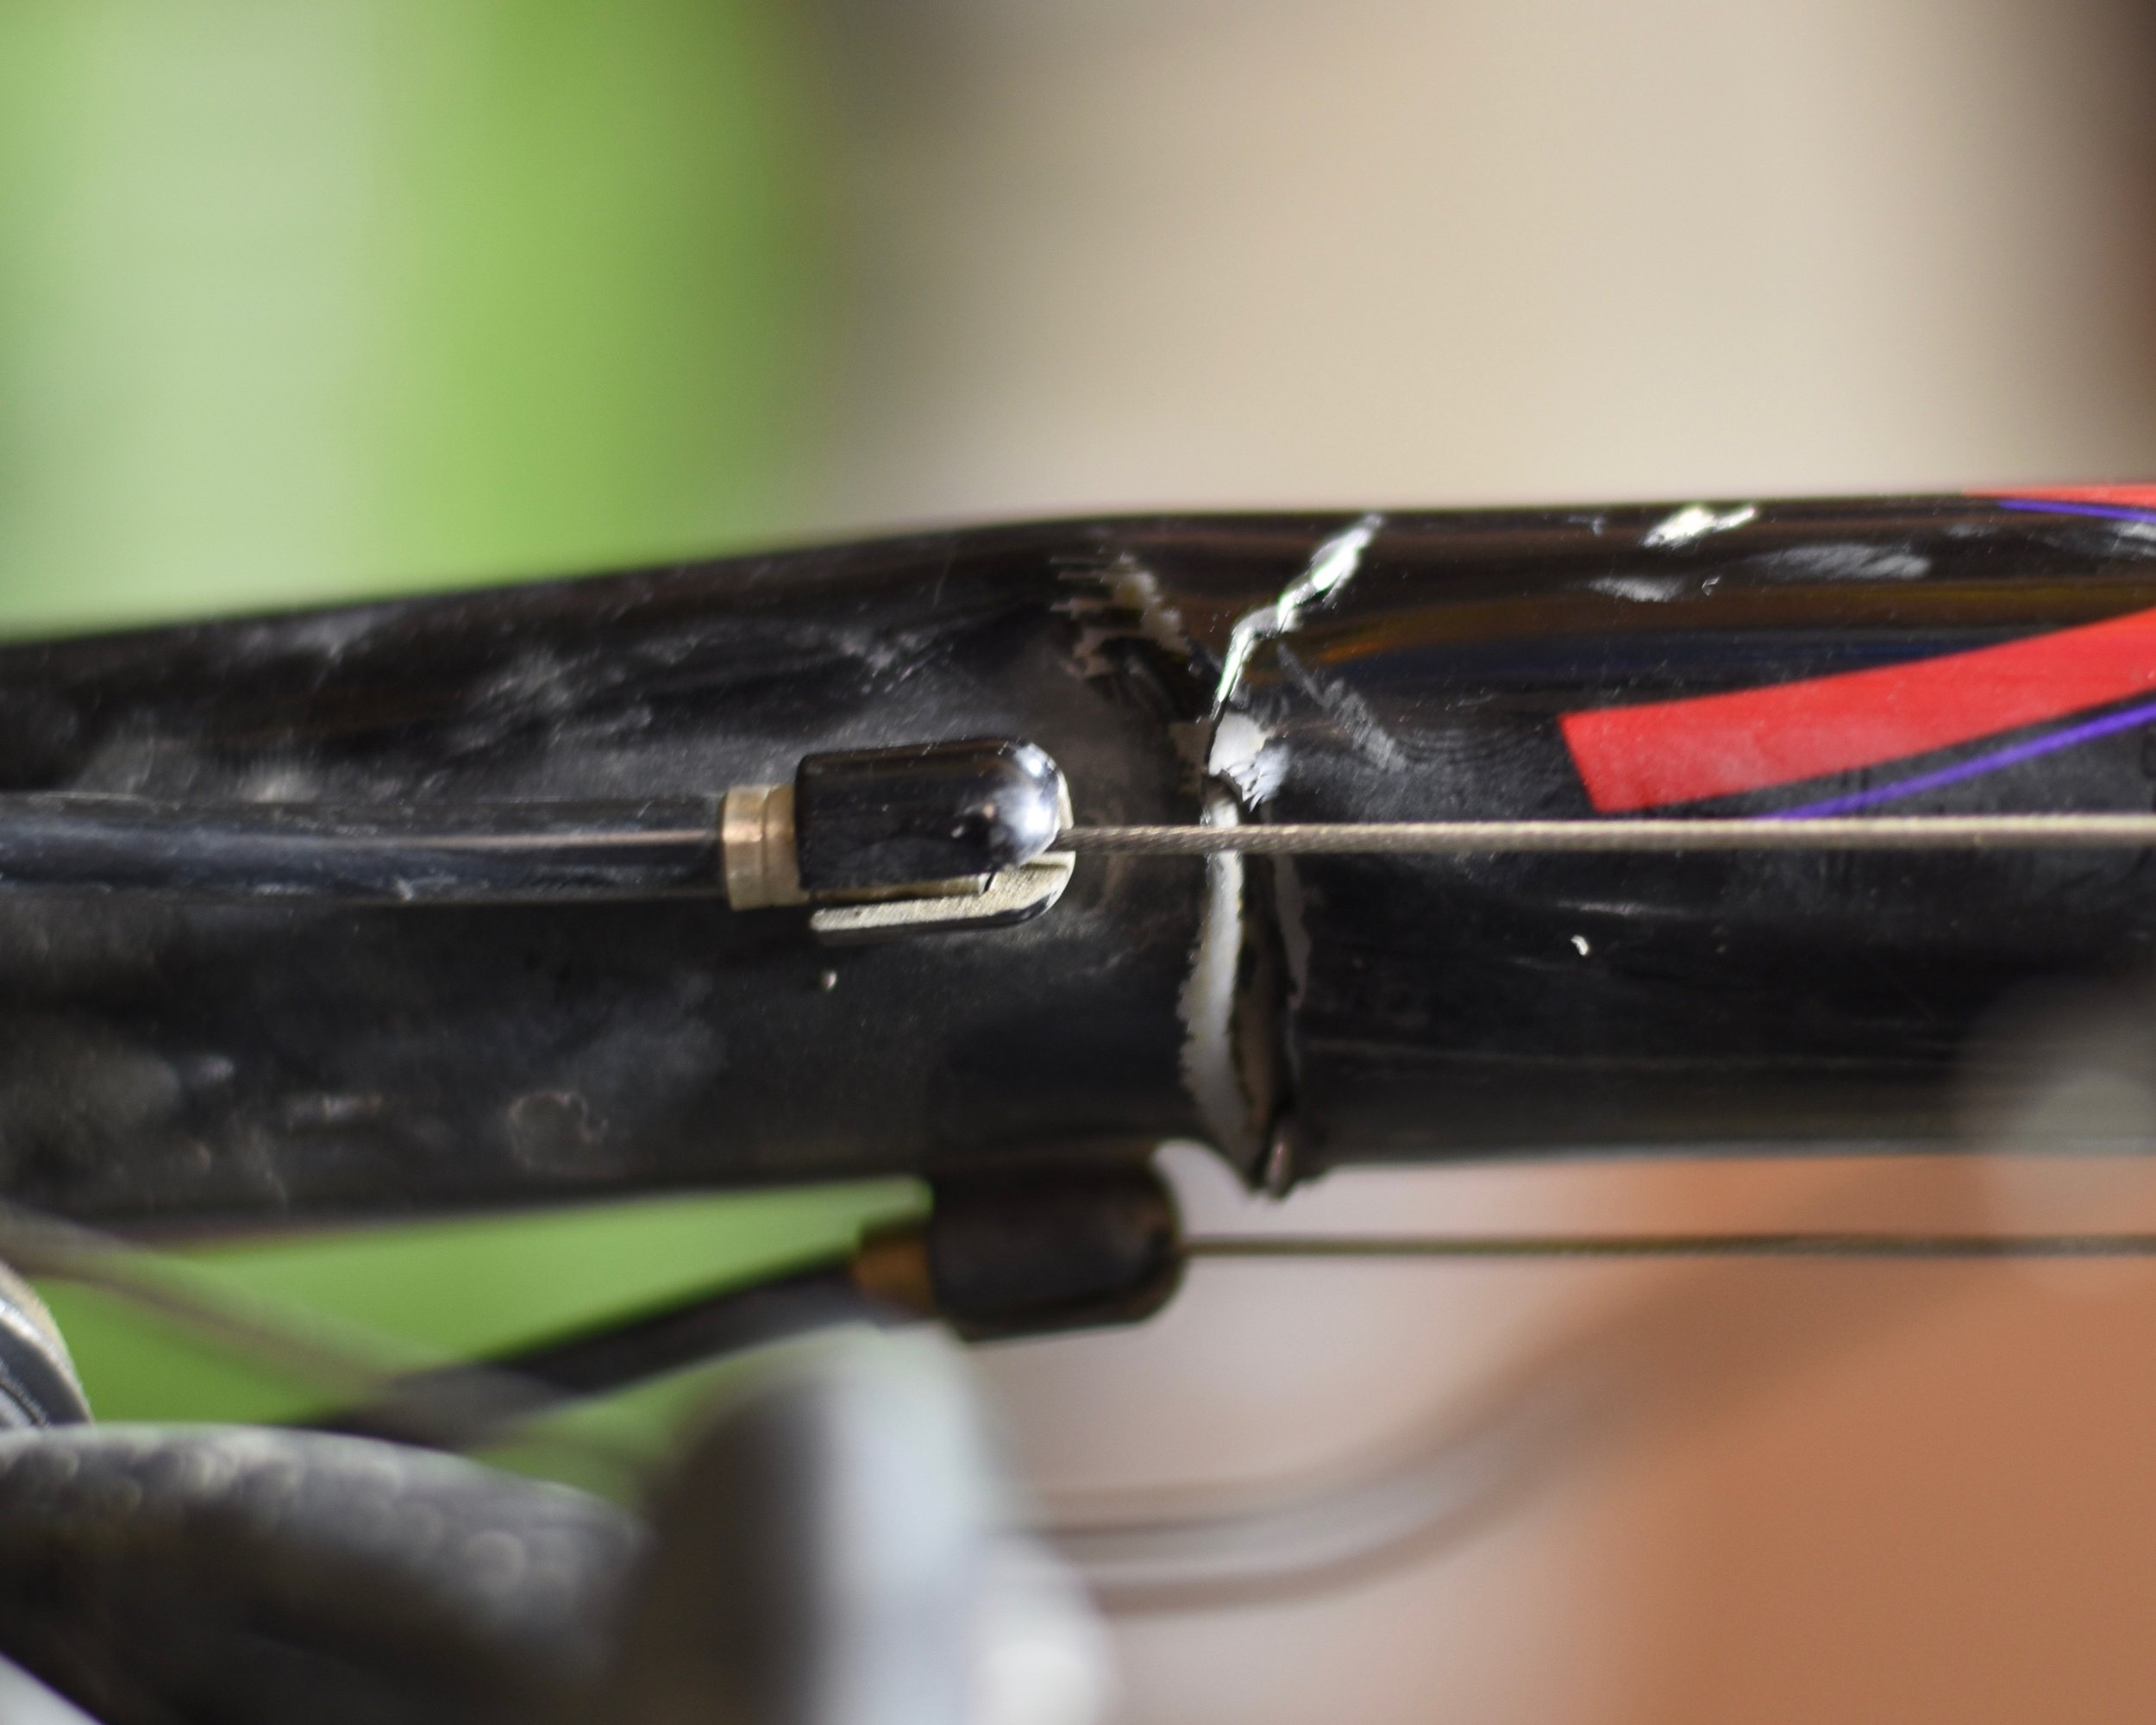
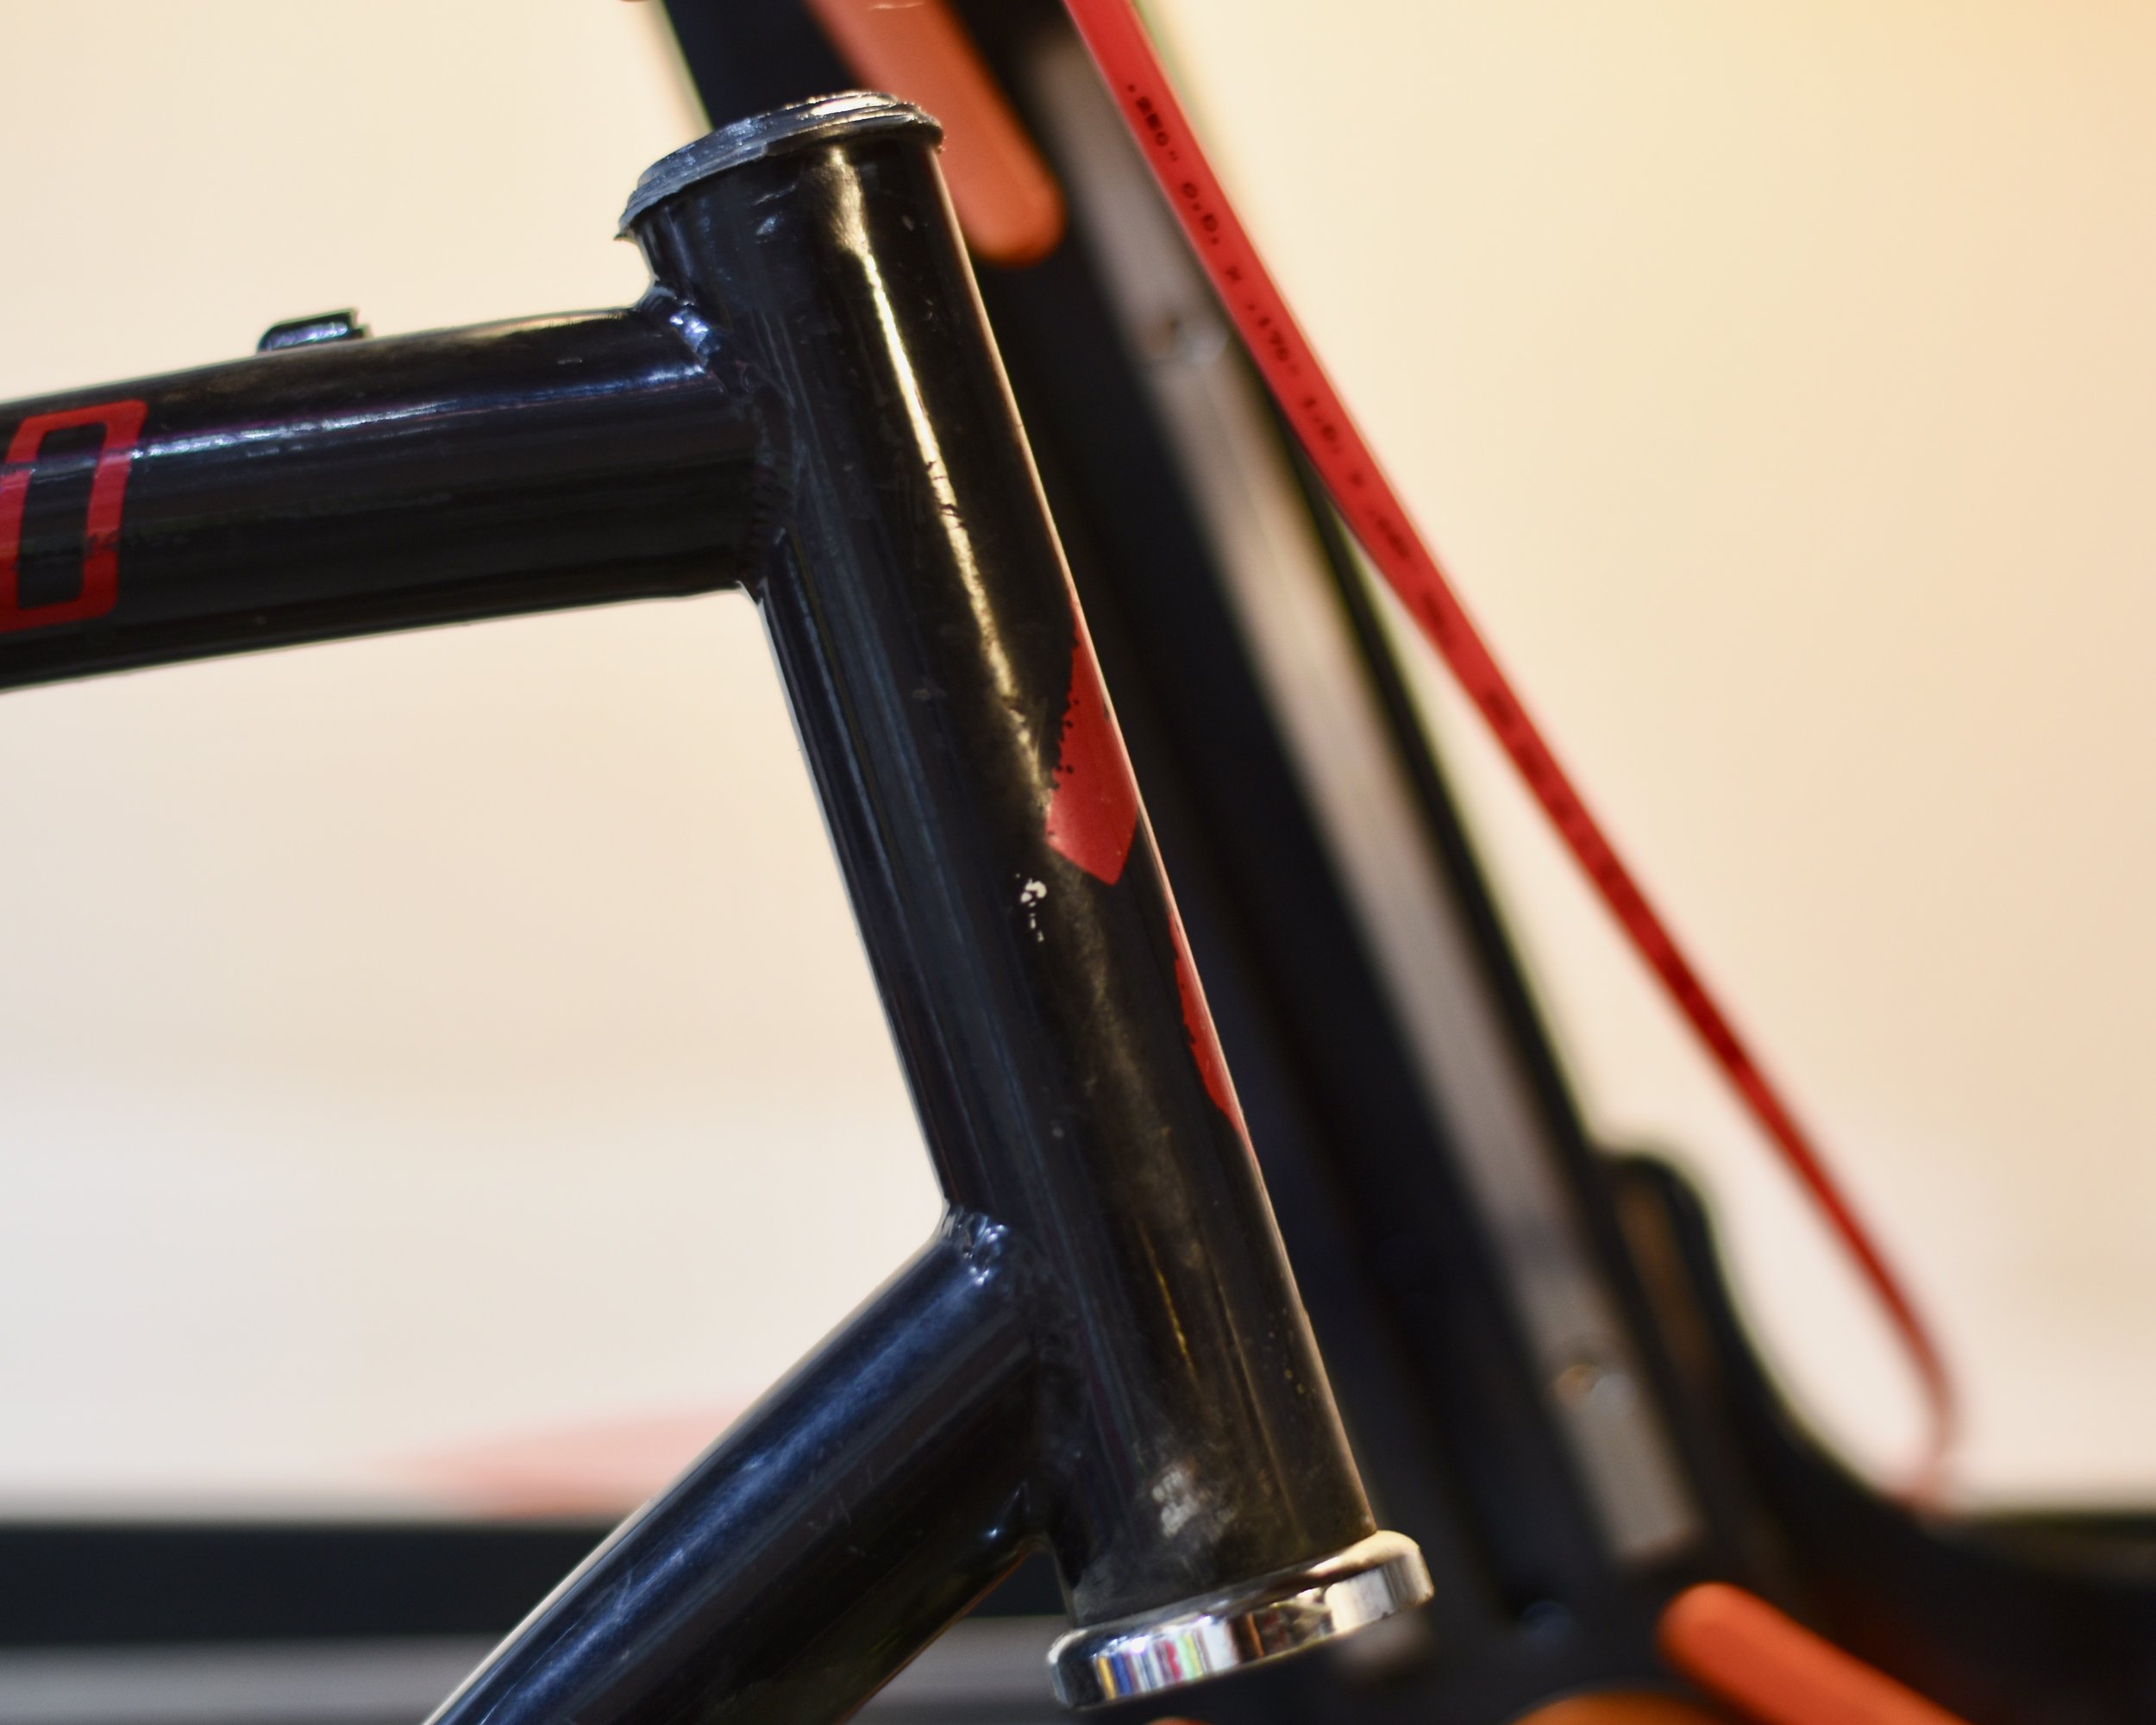
Step one was to cut the buckle out and remove the original weld at the lower headtube joint, then see what we were up against. Turned out he had knocked the headtube back 6 degrees and twisted it by a few millimeters. This may not sound like much, but trust us when we tell you that it’s quite a bit more than you think. Maybe not on a bicycle shaped object from Walmart, but on a high-end, high precision build with some very thin butted Chromoly tubing you have to mind your p’s and q’s.
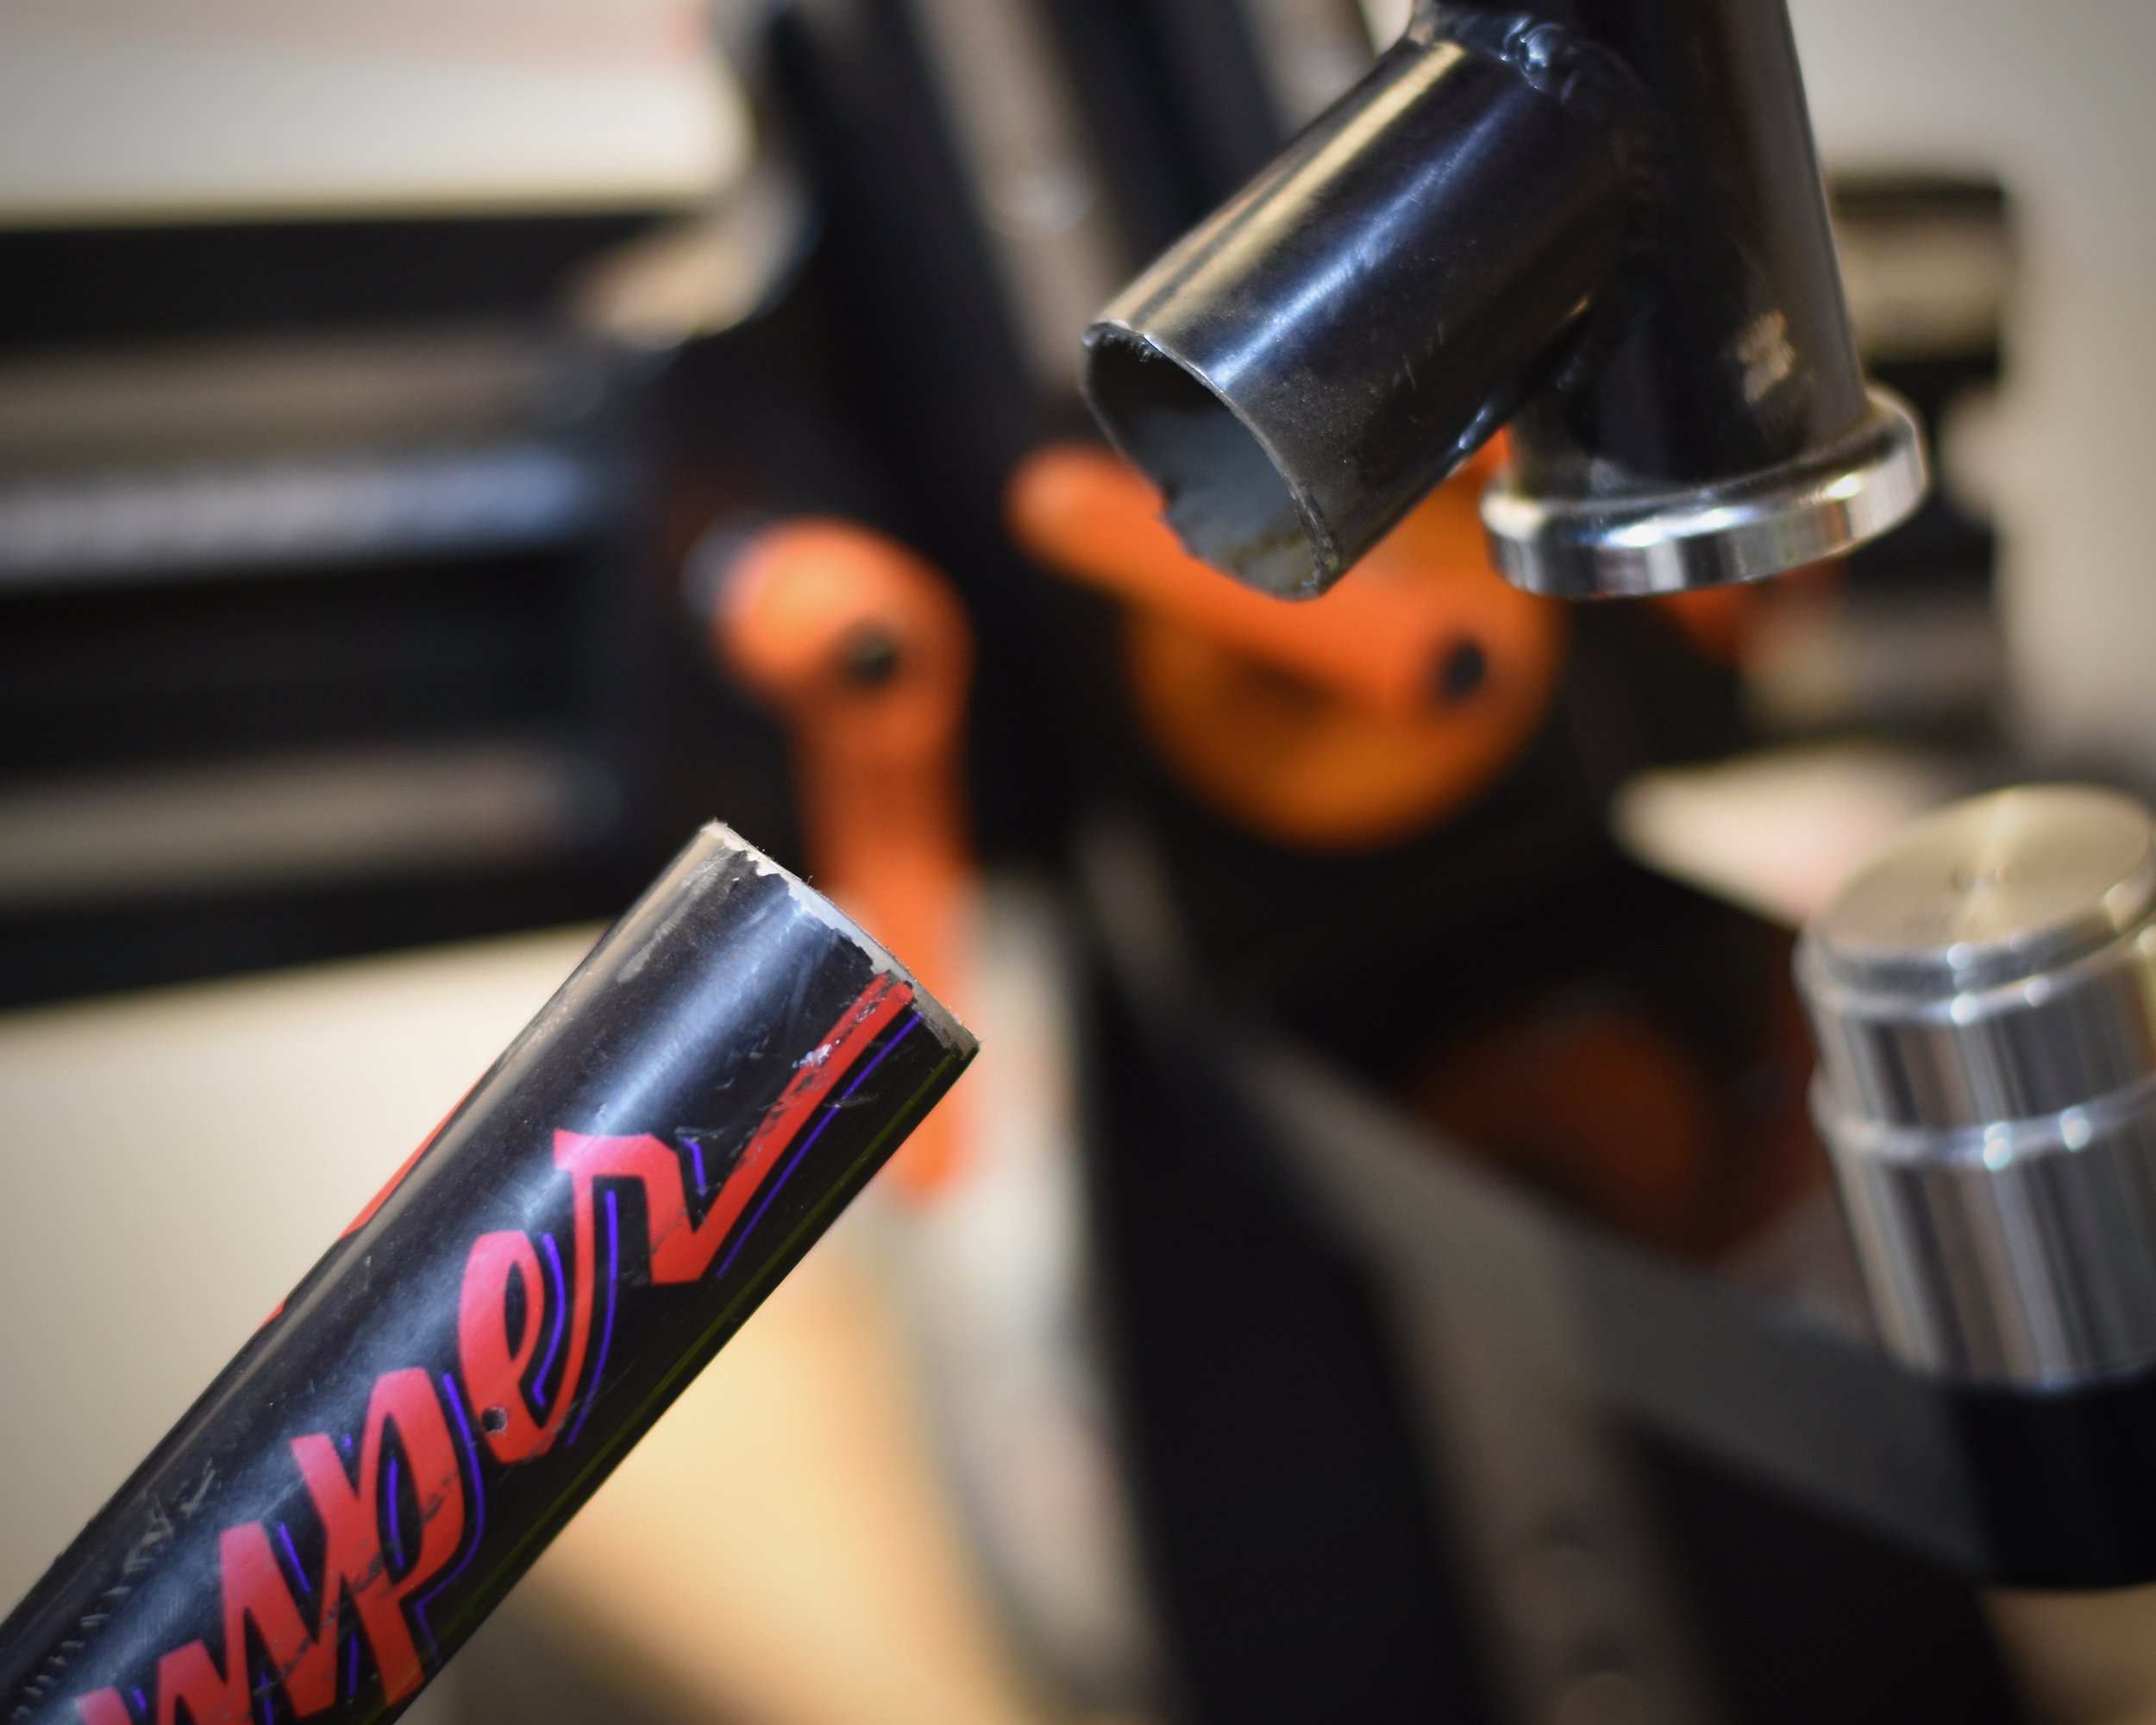
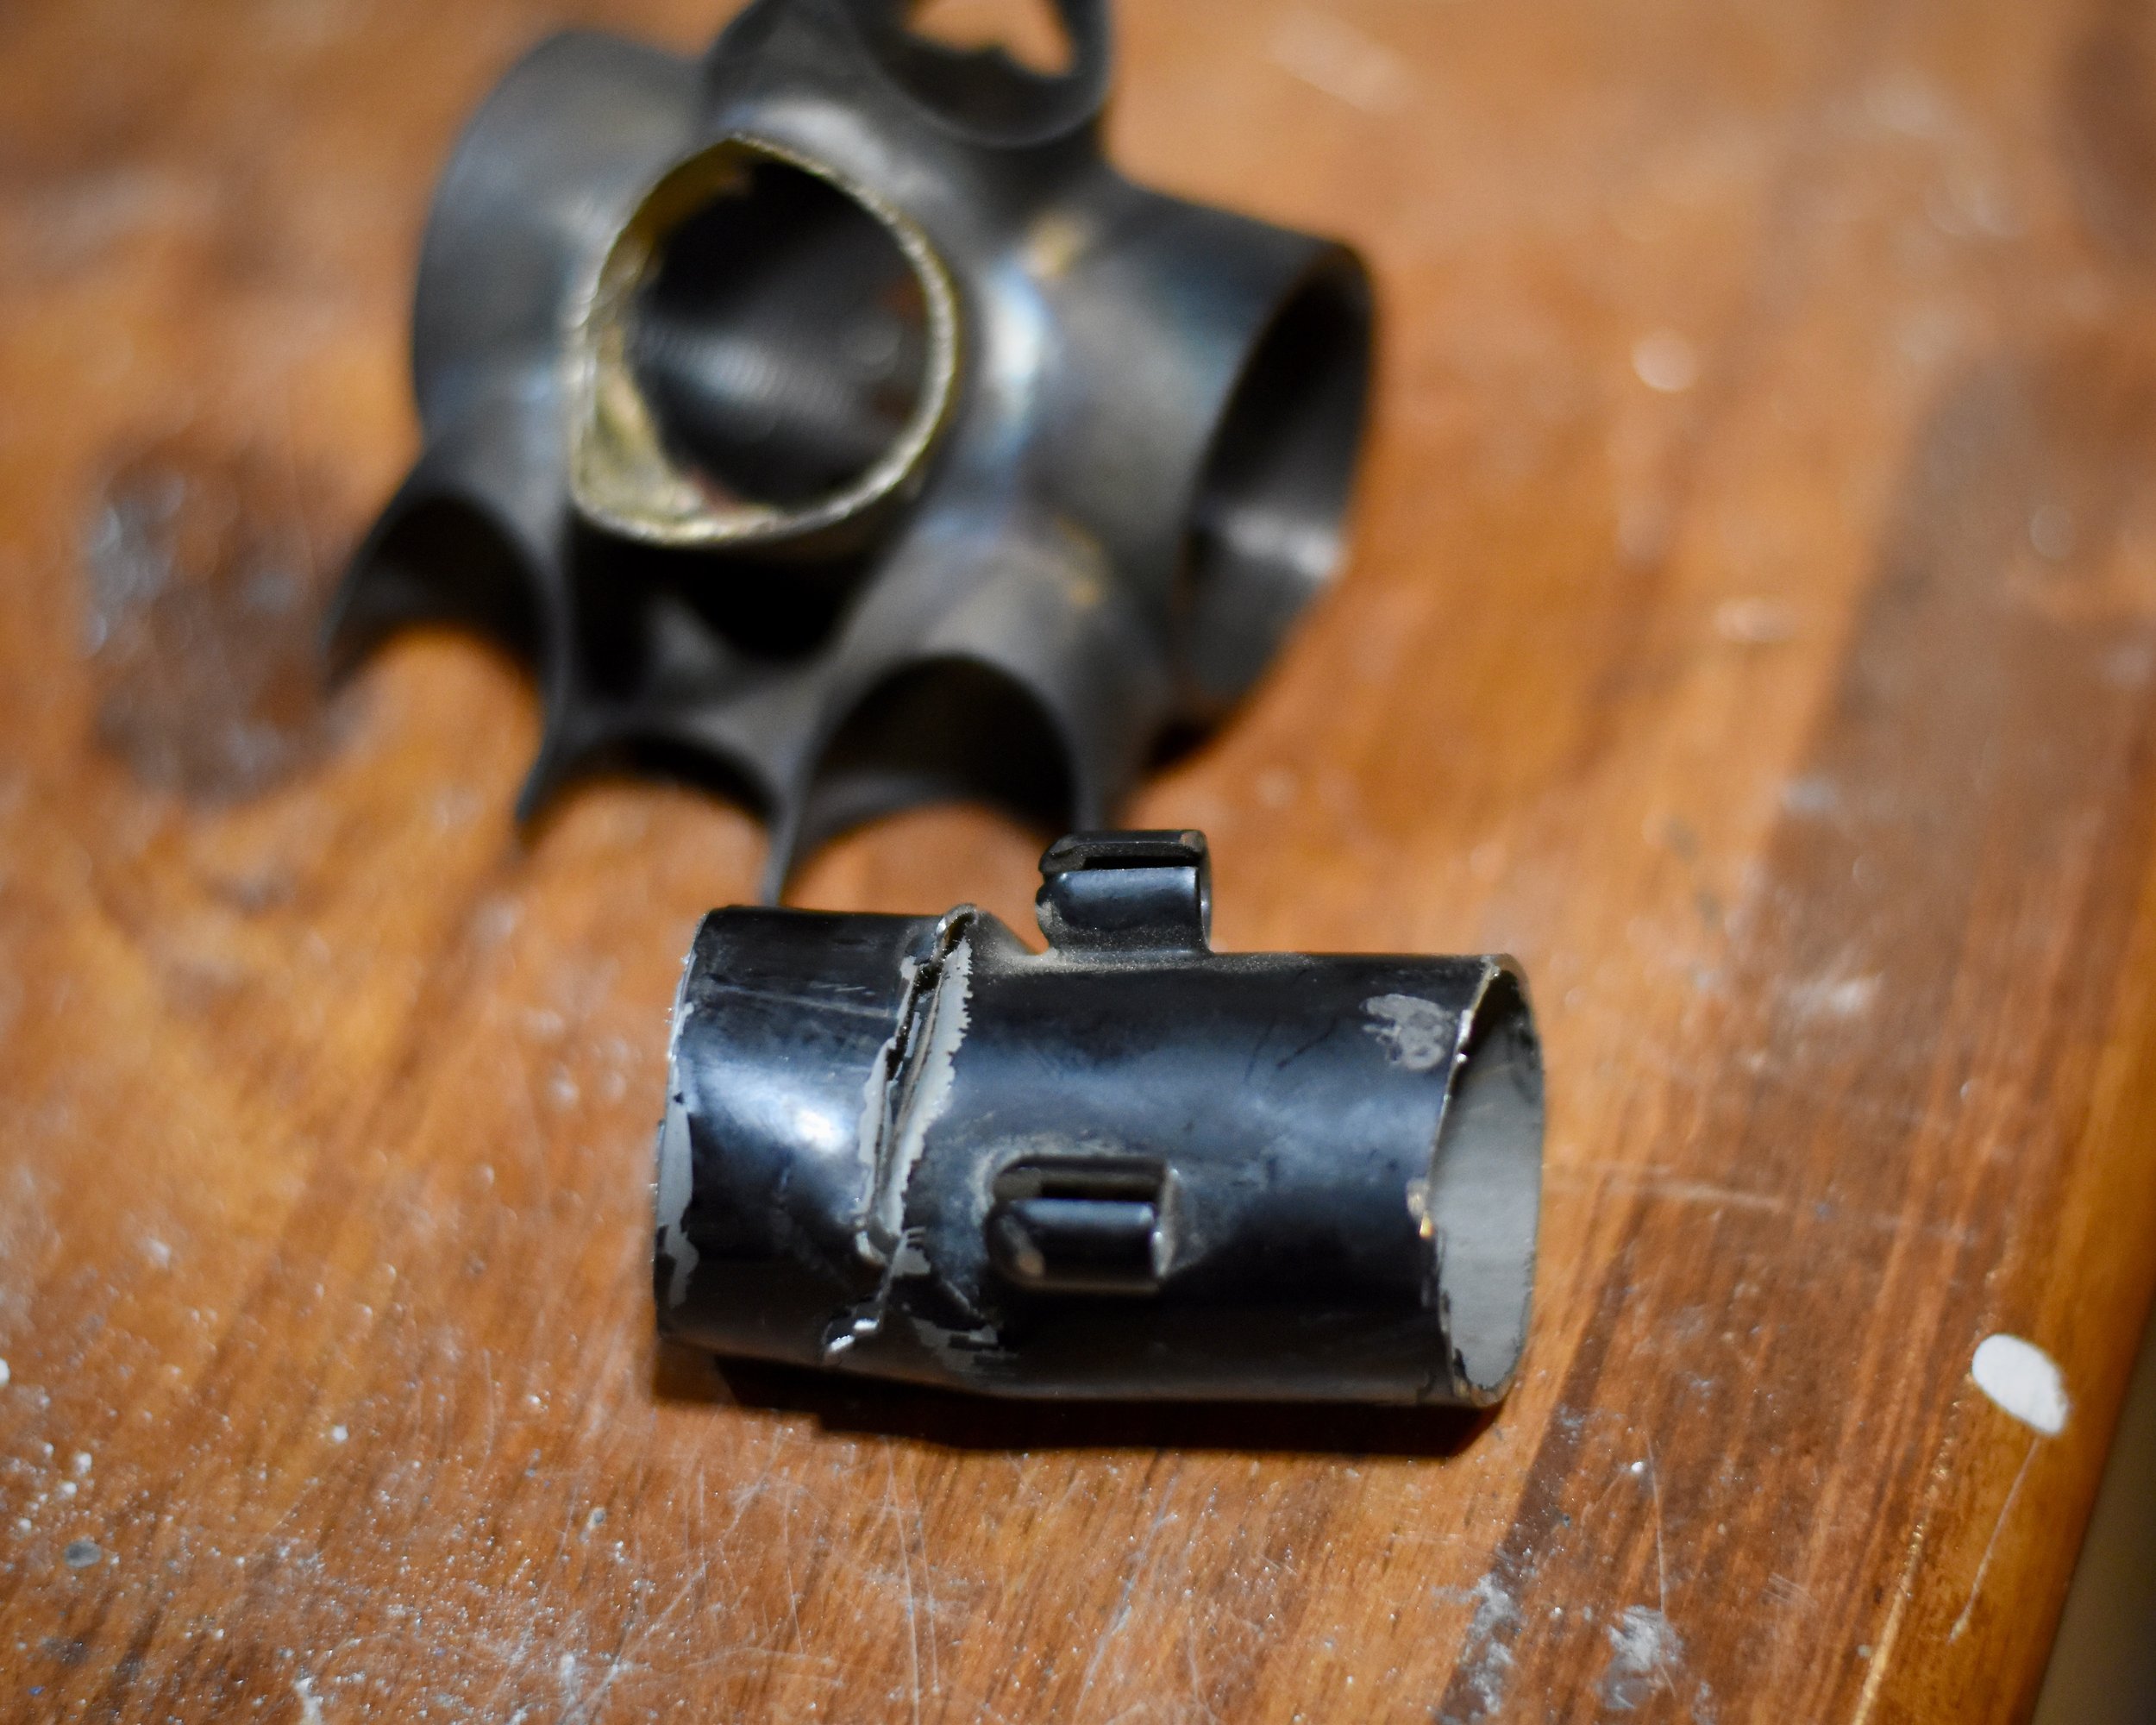
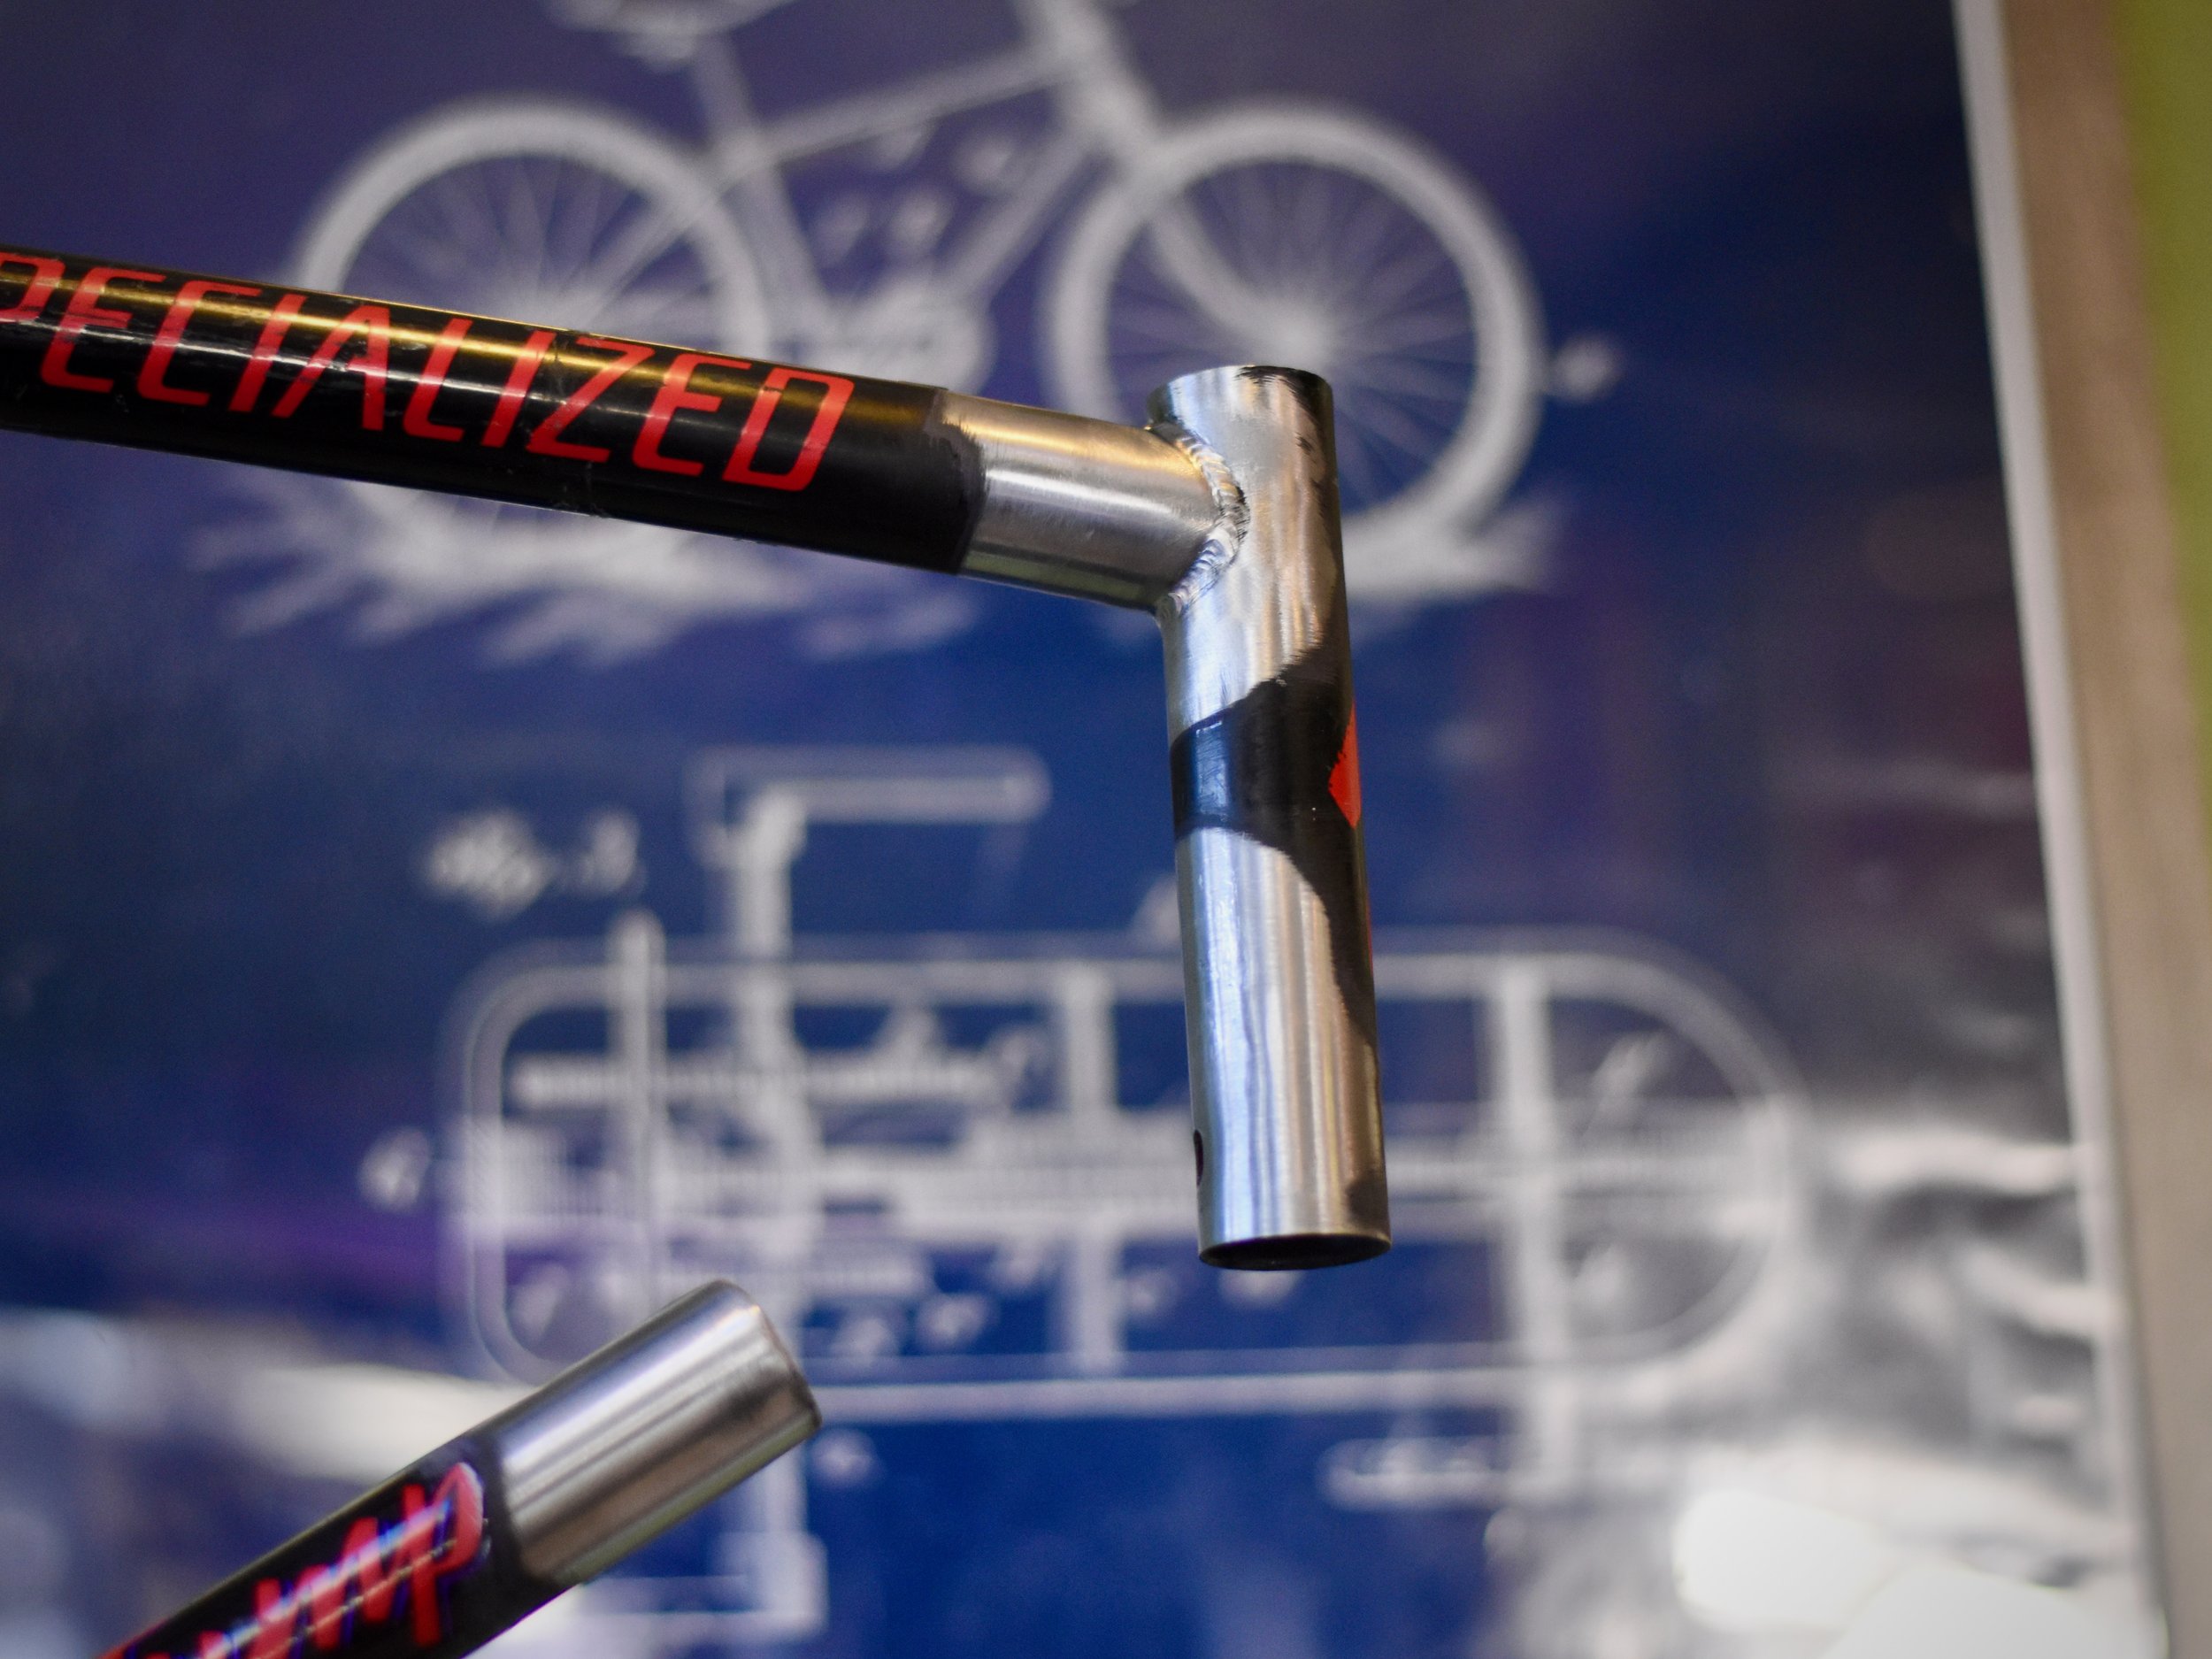
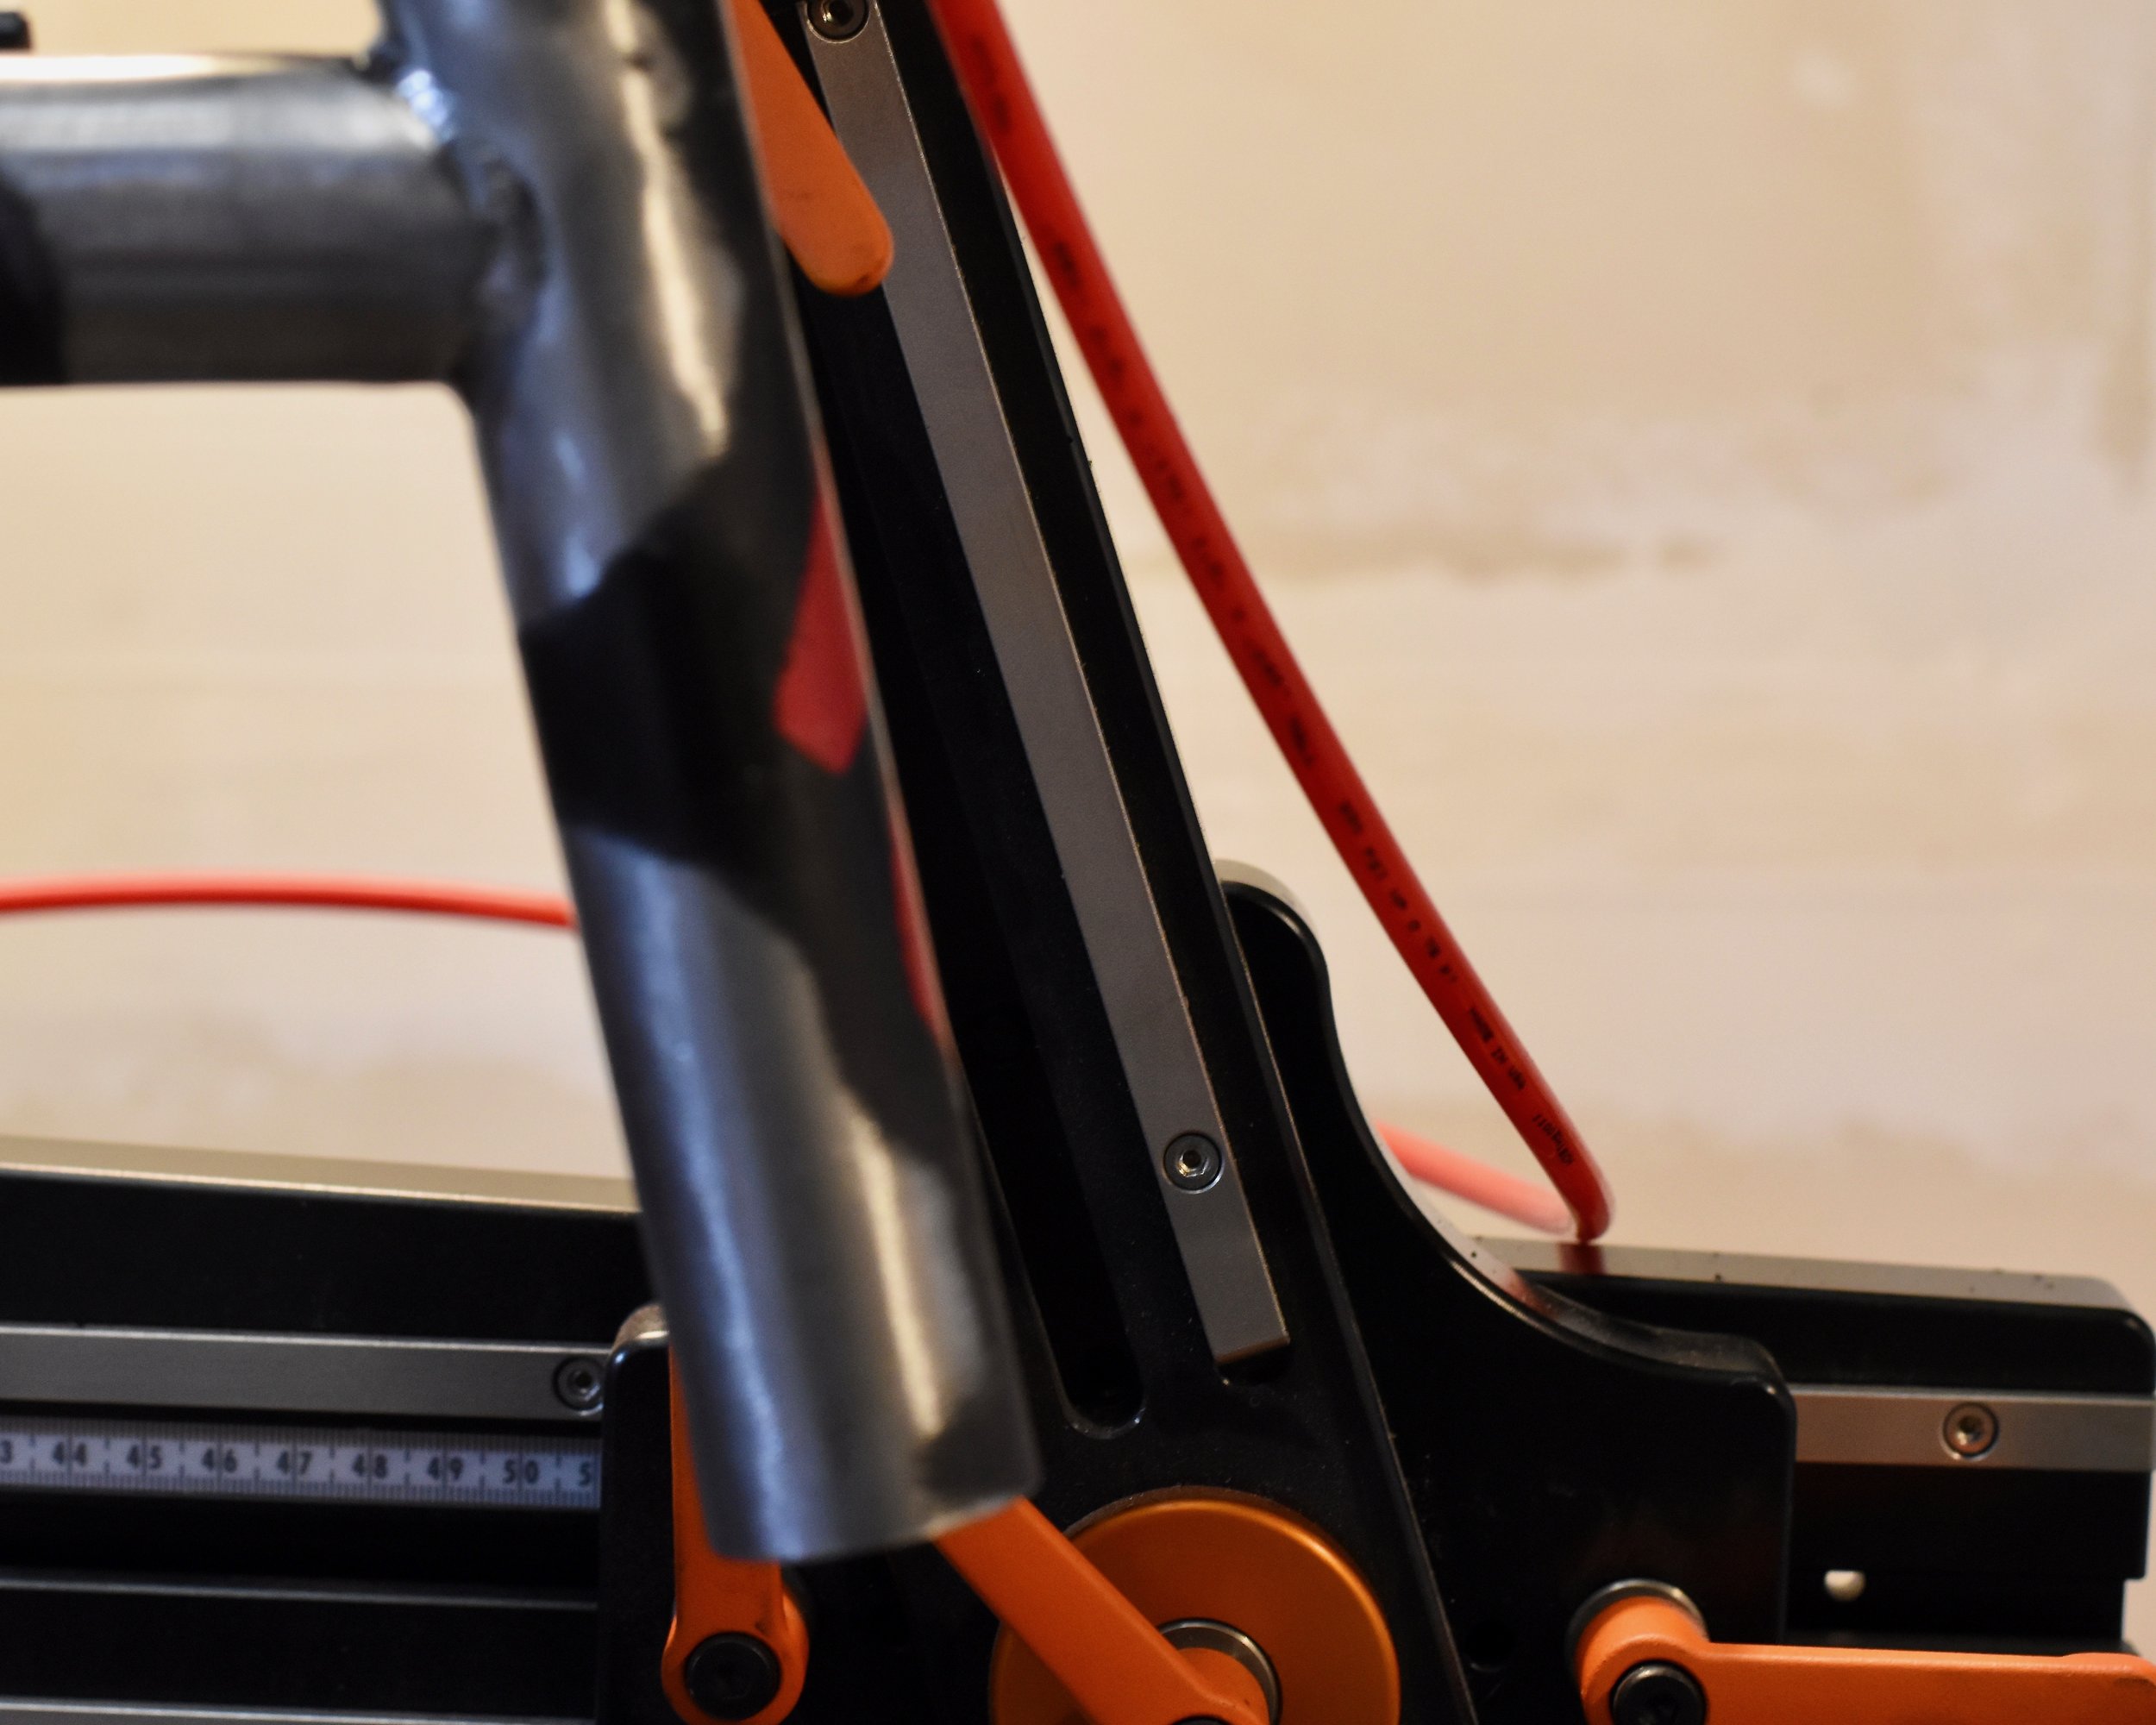
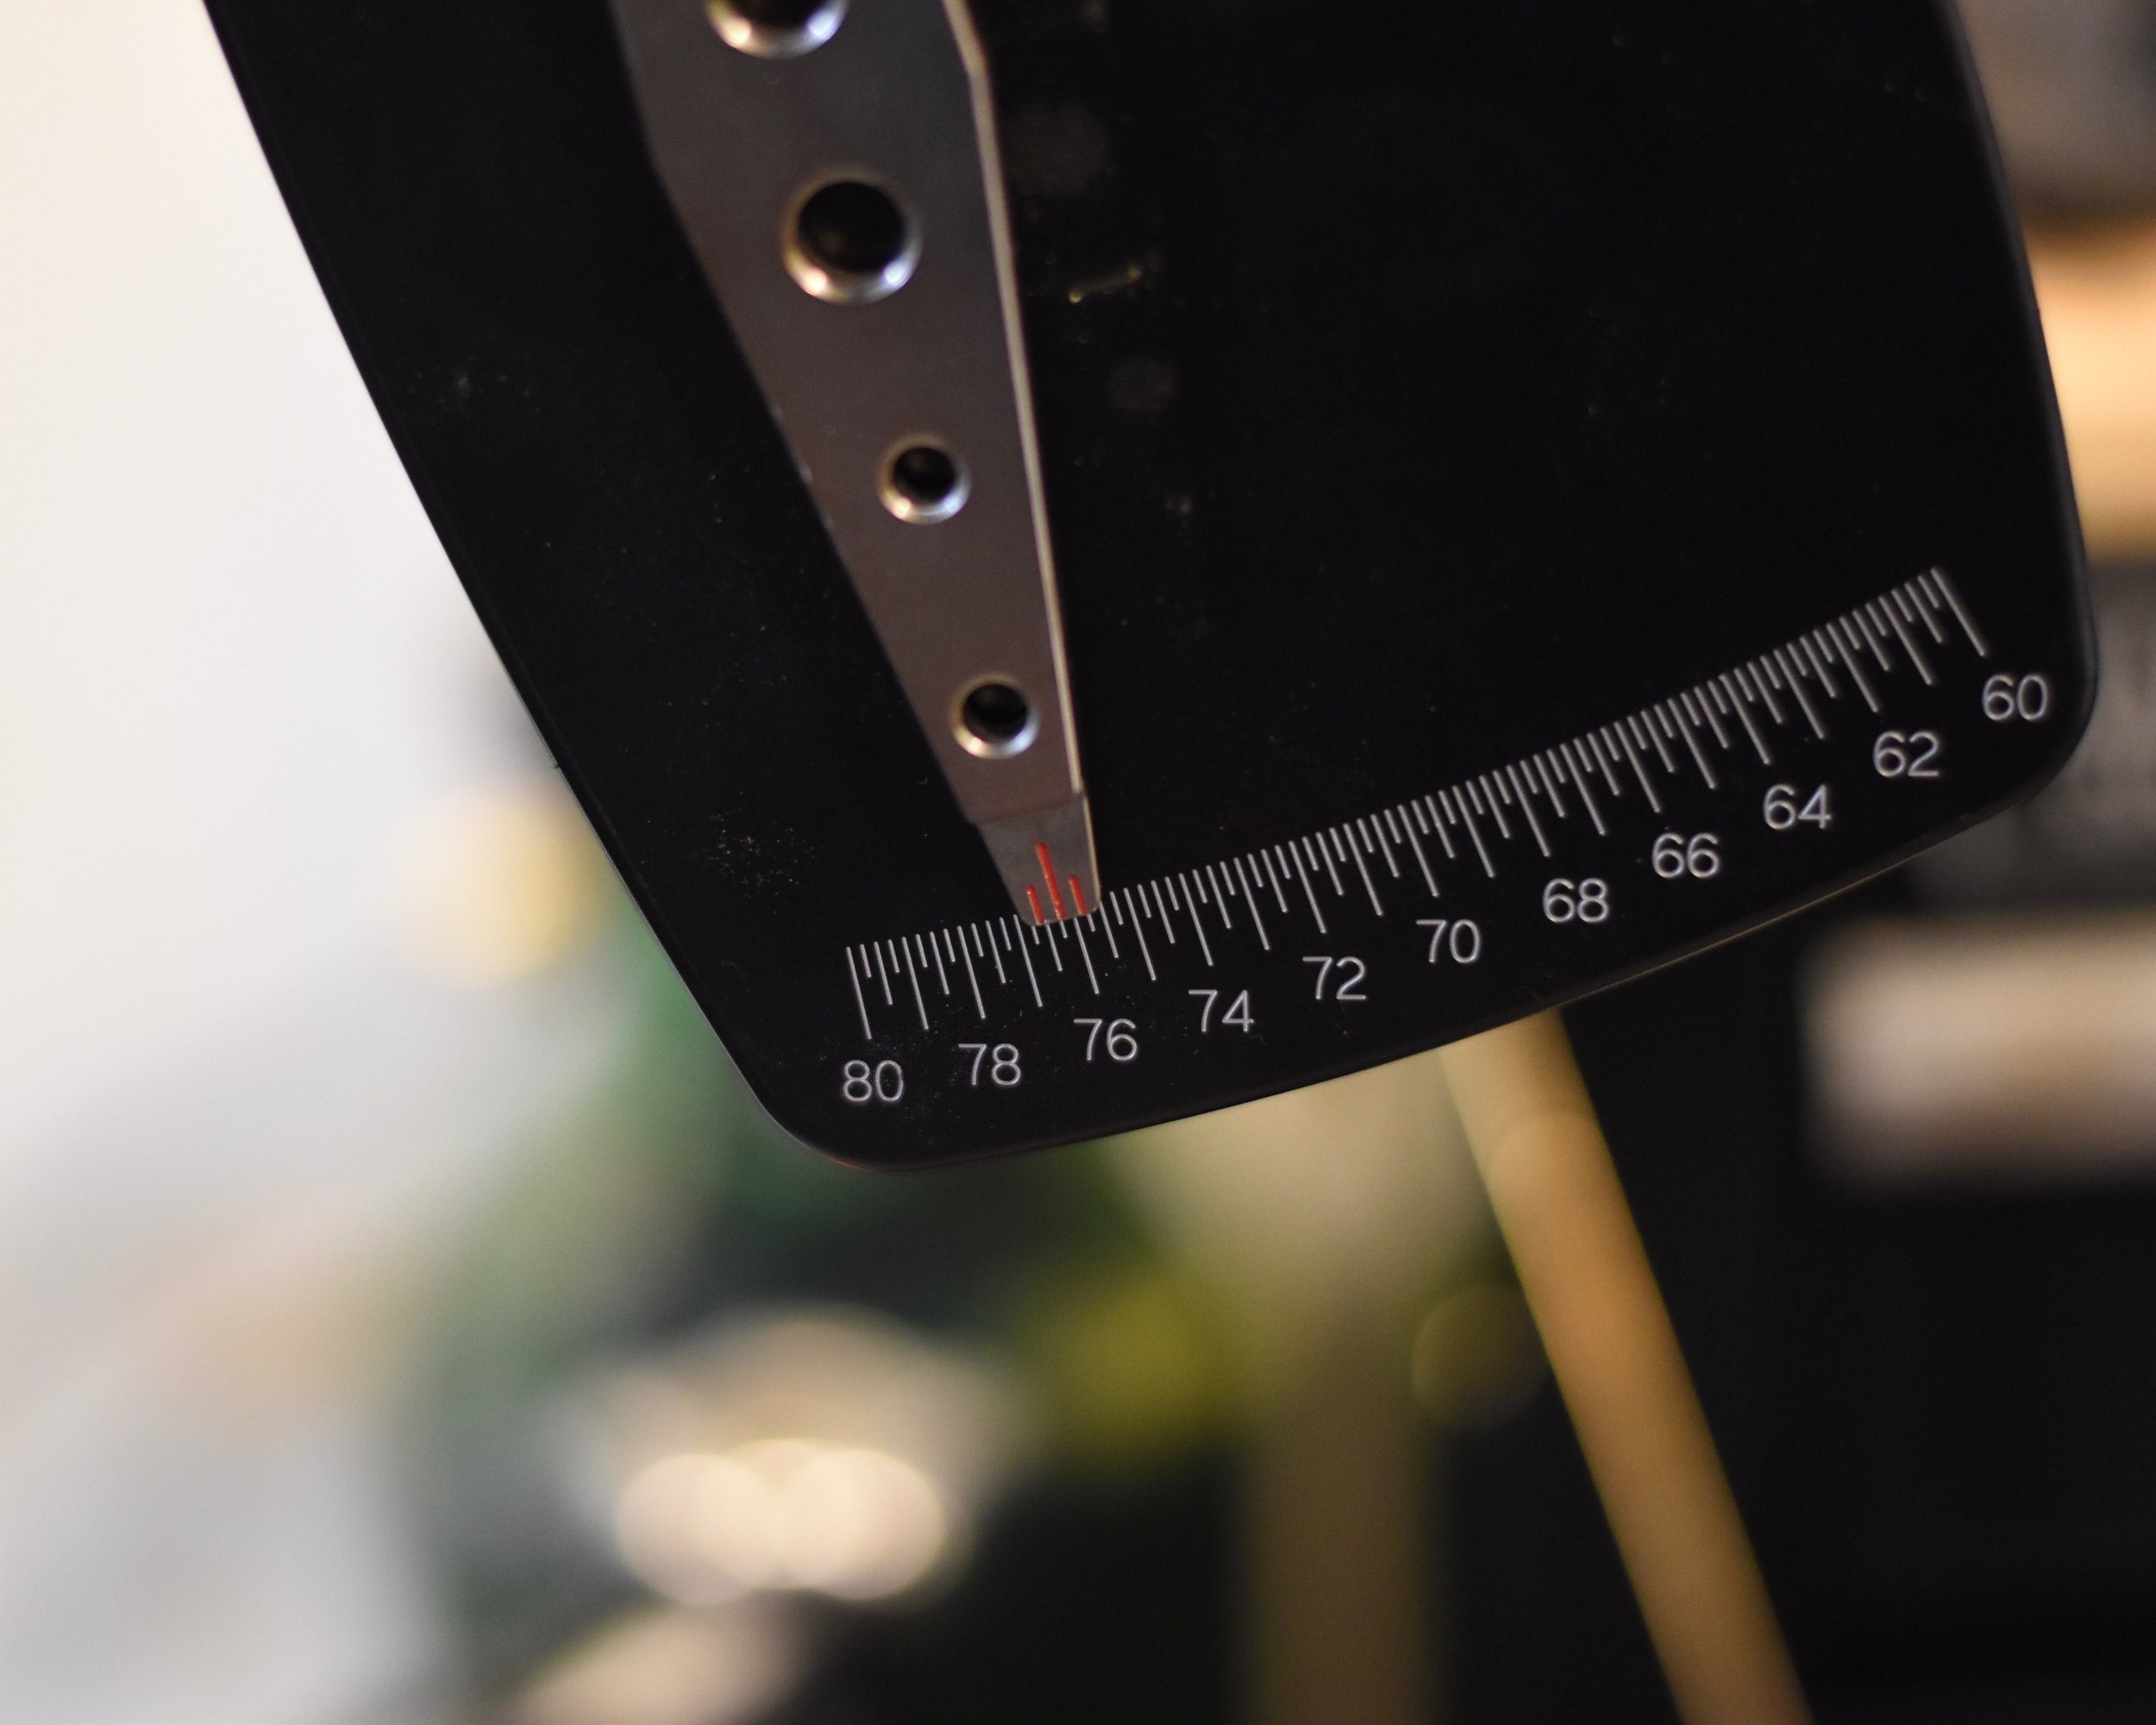

We will spare you the details on the fixture we made to try and brace the top tube for alignment, with the short of it is… it didn’t work. Not that we thought it would, but we had to give it a go. So at this point, it’s on to plan B. Cut out the top tube and replace it, keeping the original headtube and much of the downtube. Hand fitting the top tube took a while, but wasn’t as bad as making a bespoke support sleeve and hand fitting the new portion of upper downtube.
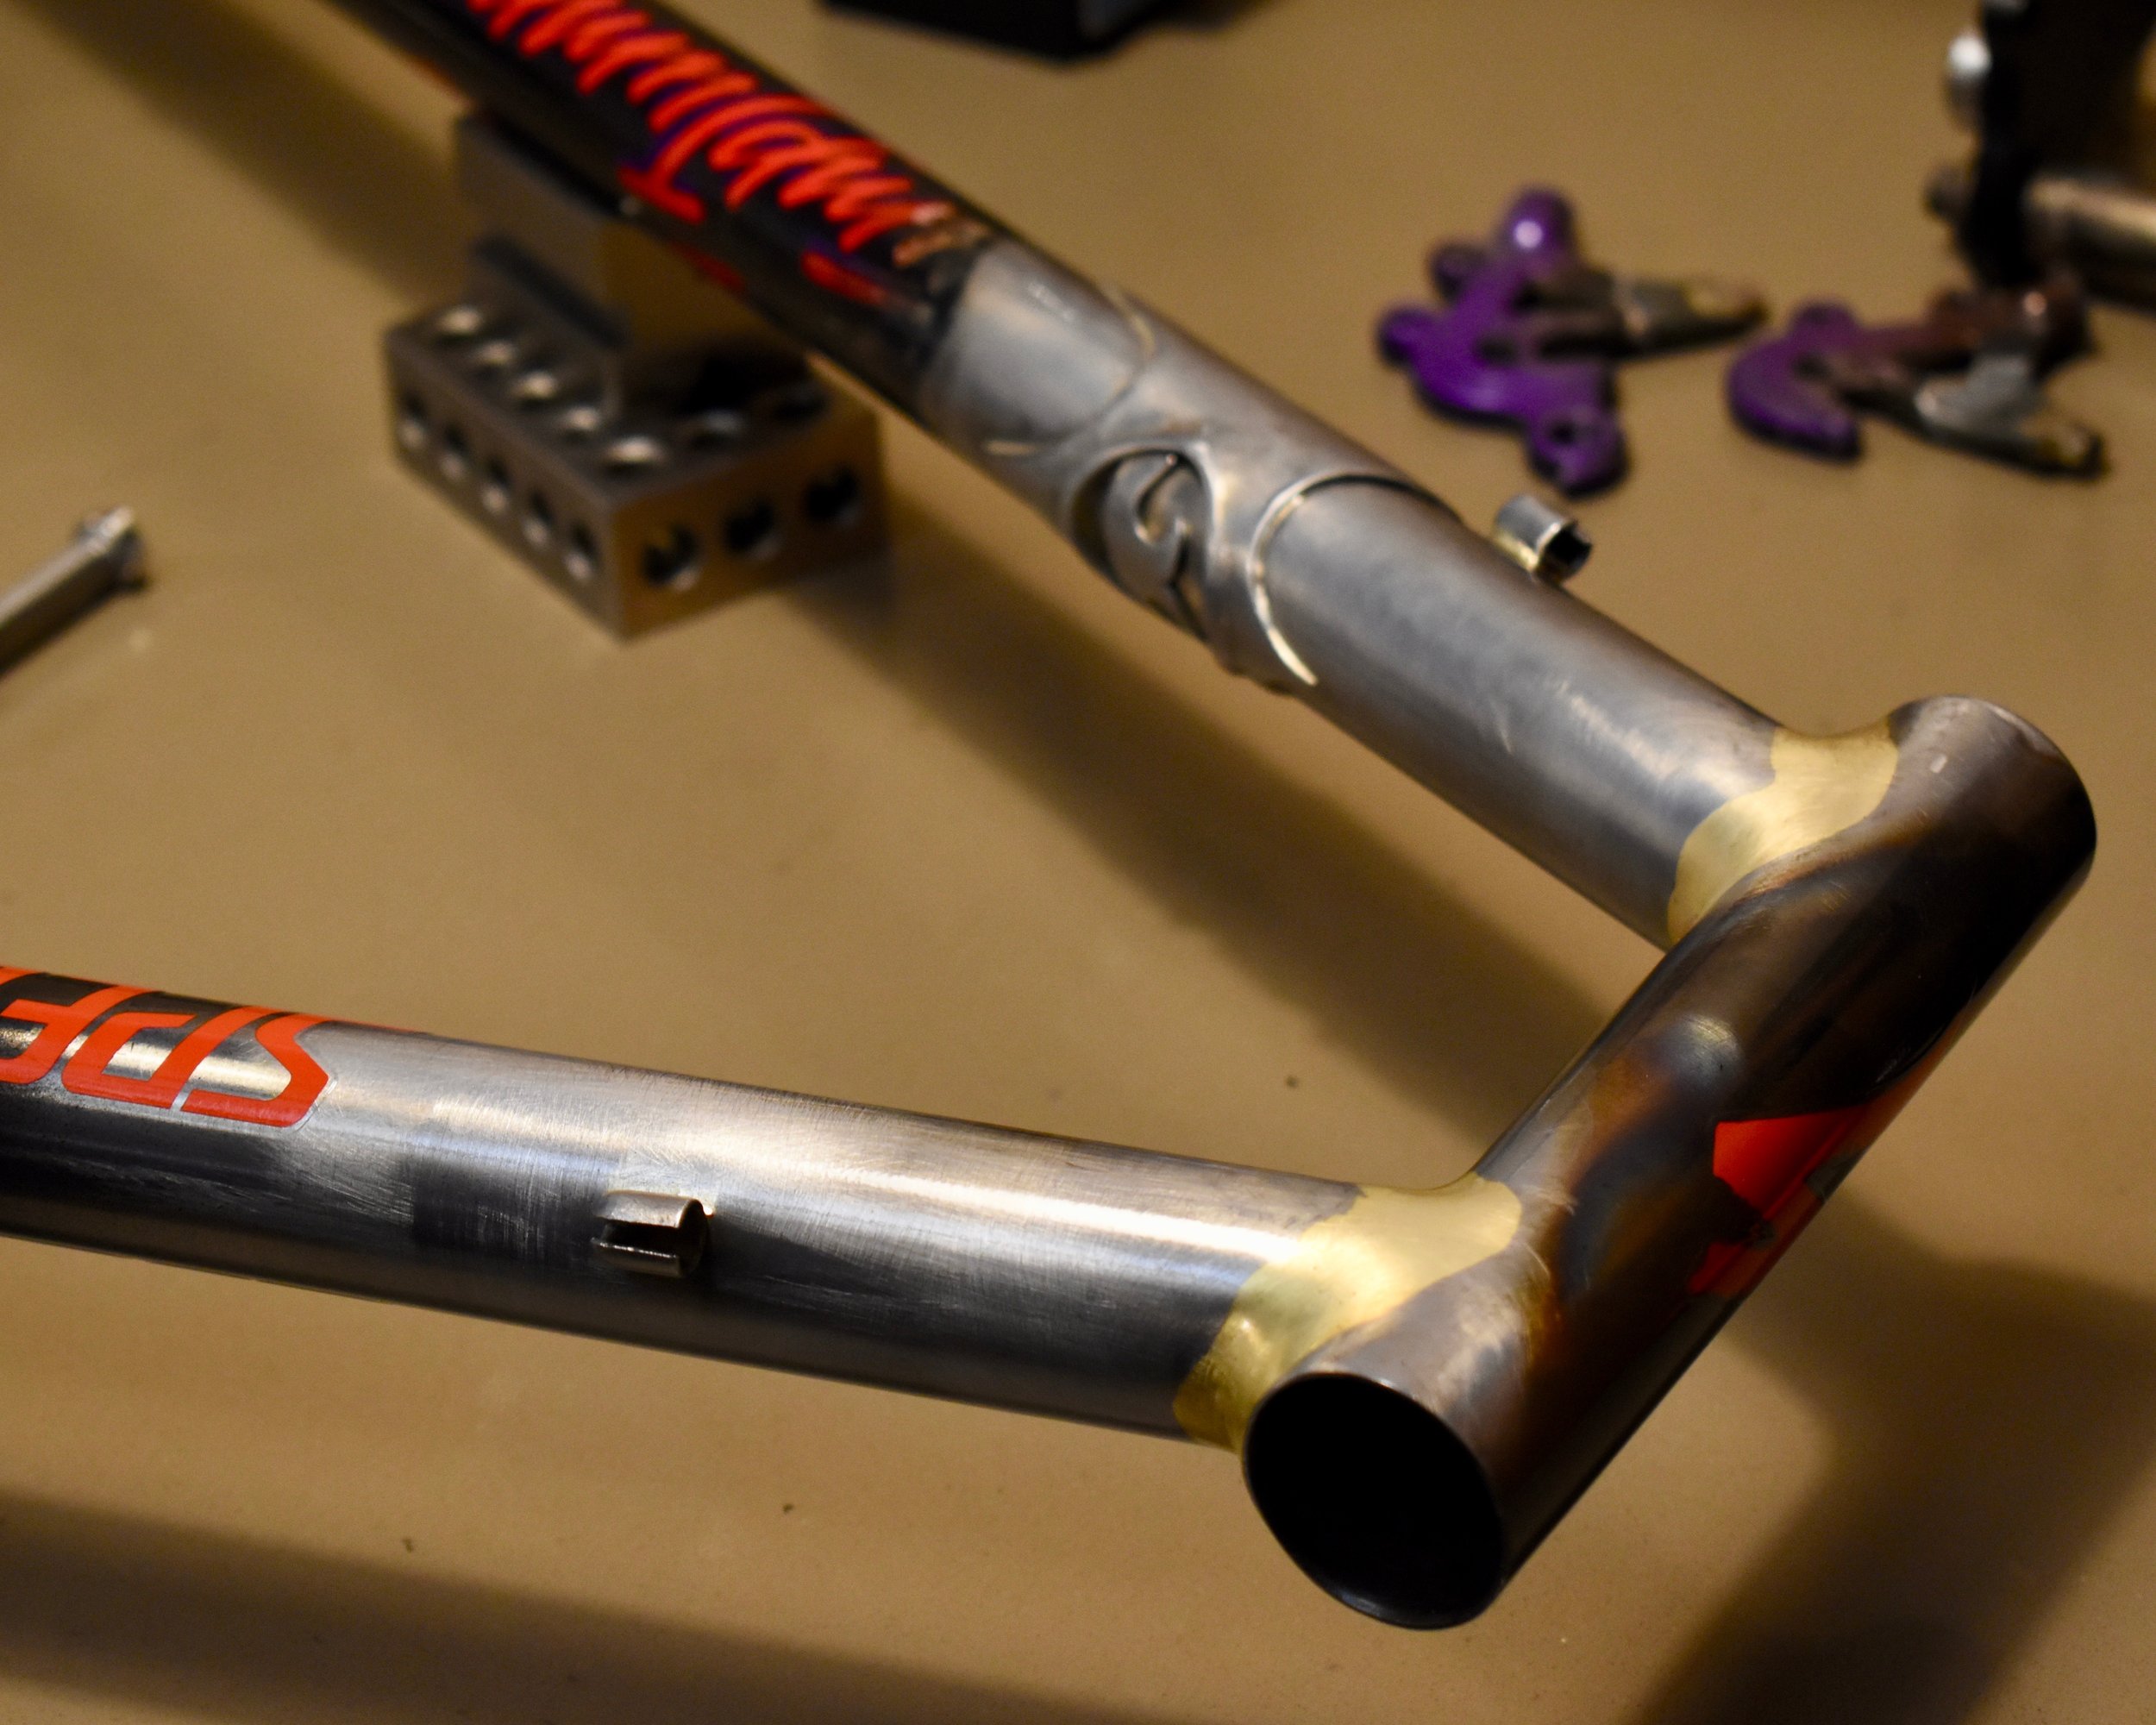
Once everything was fit up, we could stick all of it back together. We silver brazed the joining support sleeve on the downtube, to minimize temperature concerns and ensure the joint was filled all the way through. It was a lot of silver and a decent amount of meticulous temperature work to flow the whole joint, but it was necessary to make sure it was going to be a lifetime repair.
After we added all the cable stops and cleaned things up a little, it was time to do the finishing work! We wanted to keep the feel of the original bike, but make a sort of head-scratching aesthetic that made people wonder what they were looking at. We got replica decals made for the top-tube, and painted it to match the scorched section on the downtube. We finished everything off with a nice protective clear to keep the raw metal from rusting, and put things back together! Paul was thrilled with the outcome and we were happy to keep the bike journeying underneath him. In fact, we think we improved it a bit. Sometimes a repaired bike can be more beautiful than in its original form.


Custom Commuter Pizza Rack
Sometimes you get a hankering to bring home a pizza while riding your bike. Have you ever tried to keep a large pizza under one arm while leaving a hand free for all of your braking and shifting needs? It can be fun if you are living on the edge, but theres something nice about strapping that pizza to the front of your bike and leaving the treacherous riding to the wild kids.
The growing popularity of Uber eats and DoorDash folks delivering goods on their bicycles mean we have seen an uptick in folks asking for custom racks to carry all of the accoutrements for those who dare to deliver by bike! We recently built a custom pizza rack that looks as tasty with a pie strapped to it as it does just all naked and by its lonesome.
Centurion Lemans Bottom Bracket Lug
We took in an interesting challenge last week. A very tall gentleman named Norm brought us his beloved Japanese built Centurion with a broken bottom bracket shell. He wasn’t ready to say goodbye to old trusty because it has been difficult throughout his life to find a frame that fits him well. Tall folks and small folks will feel the sting of this sentiment all too familiar.
Norm asked us to keep it on a tight budget, and he wanted it to be strong enough to get him through one more decade of hammering on it. We decided because replacing the lug was out of the question, so adding a fillet and fabricating some gussets would get the job done and hit the price range he needed to. We left some of the finishing work for Norm to do on his own, but we were pretty pleased with the outcome.
Classic Trek 620 Frame Repair
It all begins with an idea.
This was a fun and quick frame repair for a gentleman who needed to keep an old companion in working order and had a previous repair that failed him in a mildly catastrophic way. We needed to do a minimally invasive repair for a similarly minimal budget, but we wanted to make sure it was going to last for the next several years without any trouble.
This was an older Trek 620 that had the upper seatstay break at the lug. Our customer had a previous repair done for cheap, but it hadn’t held up much past a year because it wasn’t done as thoroughly as it should have been. In the interest of saving some time and money, we weren’t going to cut out the old repair and replace the whole upper stay, we just decided to reinforce the upper stays together and braze in some better fillets on the back of the seat stays.
Things turned out great… there wasn’t much room in the budget for a ton of touch up or aesthetic work, so we tried to keep the repair clean and scorch as little of the original paint as possible. We added a basic stay bridge that looks like it belongs, even though you wouldn’t normally see one where we ended up placing it!


