1991 Stumpjumper Frame Salvage
You’ll notice there is a big gap between the last “recent” project and this one… we had a busy season and neglected to stay on top of the website in favor of staying on top of work in the shop! It’s not a bad problem to have, but I’ll be trying to get some more recent projects up on the site soon to show some love to the internet at large!
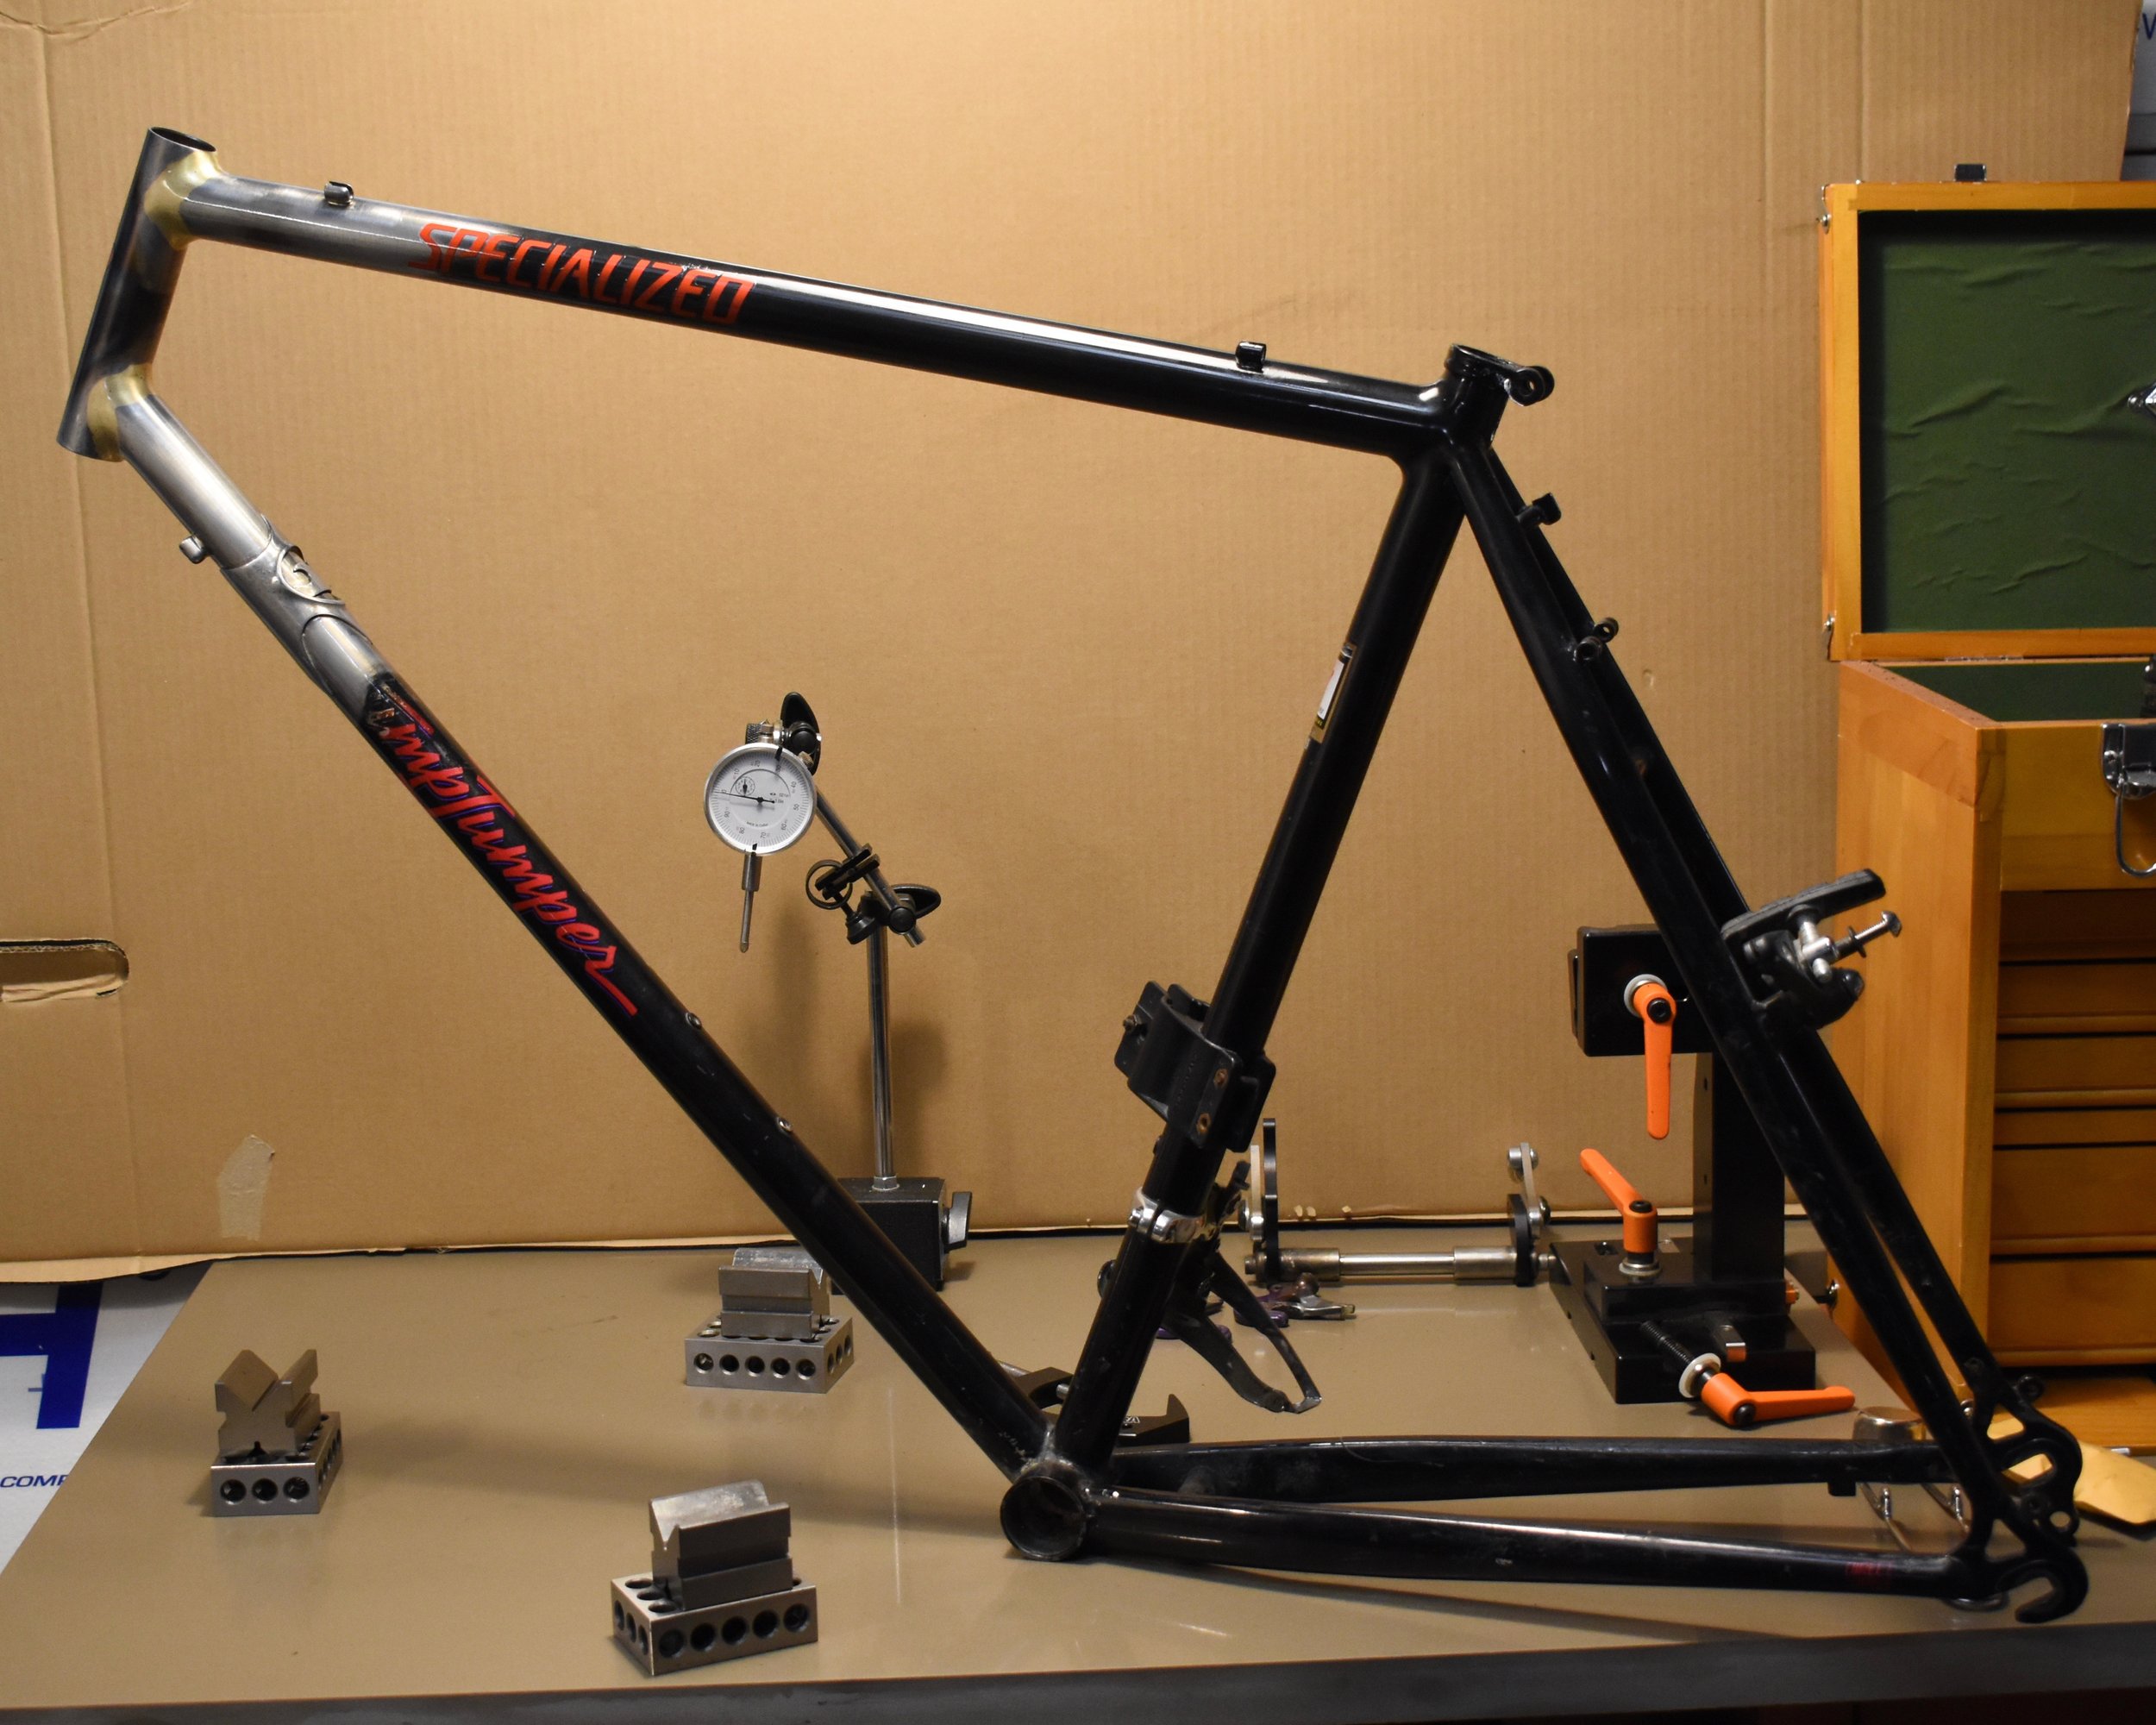
This bike came to us via a man named Paul. He had a nasty front end collision and buckled both of the main tubes of his vintage Specialized Stumpjumper. The only repair we recommend in this scenario is replacement of both the buckled tubes, in the interest of safety, alignment, and permanence. But, Paul had an interesting plea…
He and his wife gifted each other matching bikes as wedding presents when they got married in the early 1990’s. When Paul thought of sending this bike to salvage, his daughter begged him not to do it. Even if he wasn’t attached to it as an heirloom, it seemed like she was… So he wanted to keep the bike as original as possible if he was going to have it repaired. This was to be no small feat for us.
There’s a lot of technique and some magic that goes into attempting this sort of thing, nonetheless pulling it of with good results. Here’s how it ultimately happened:
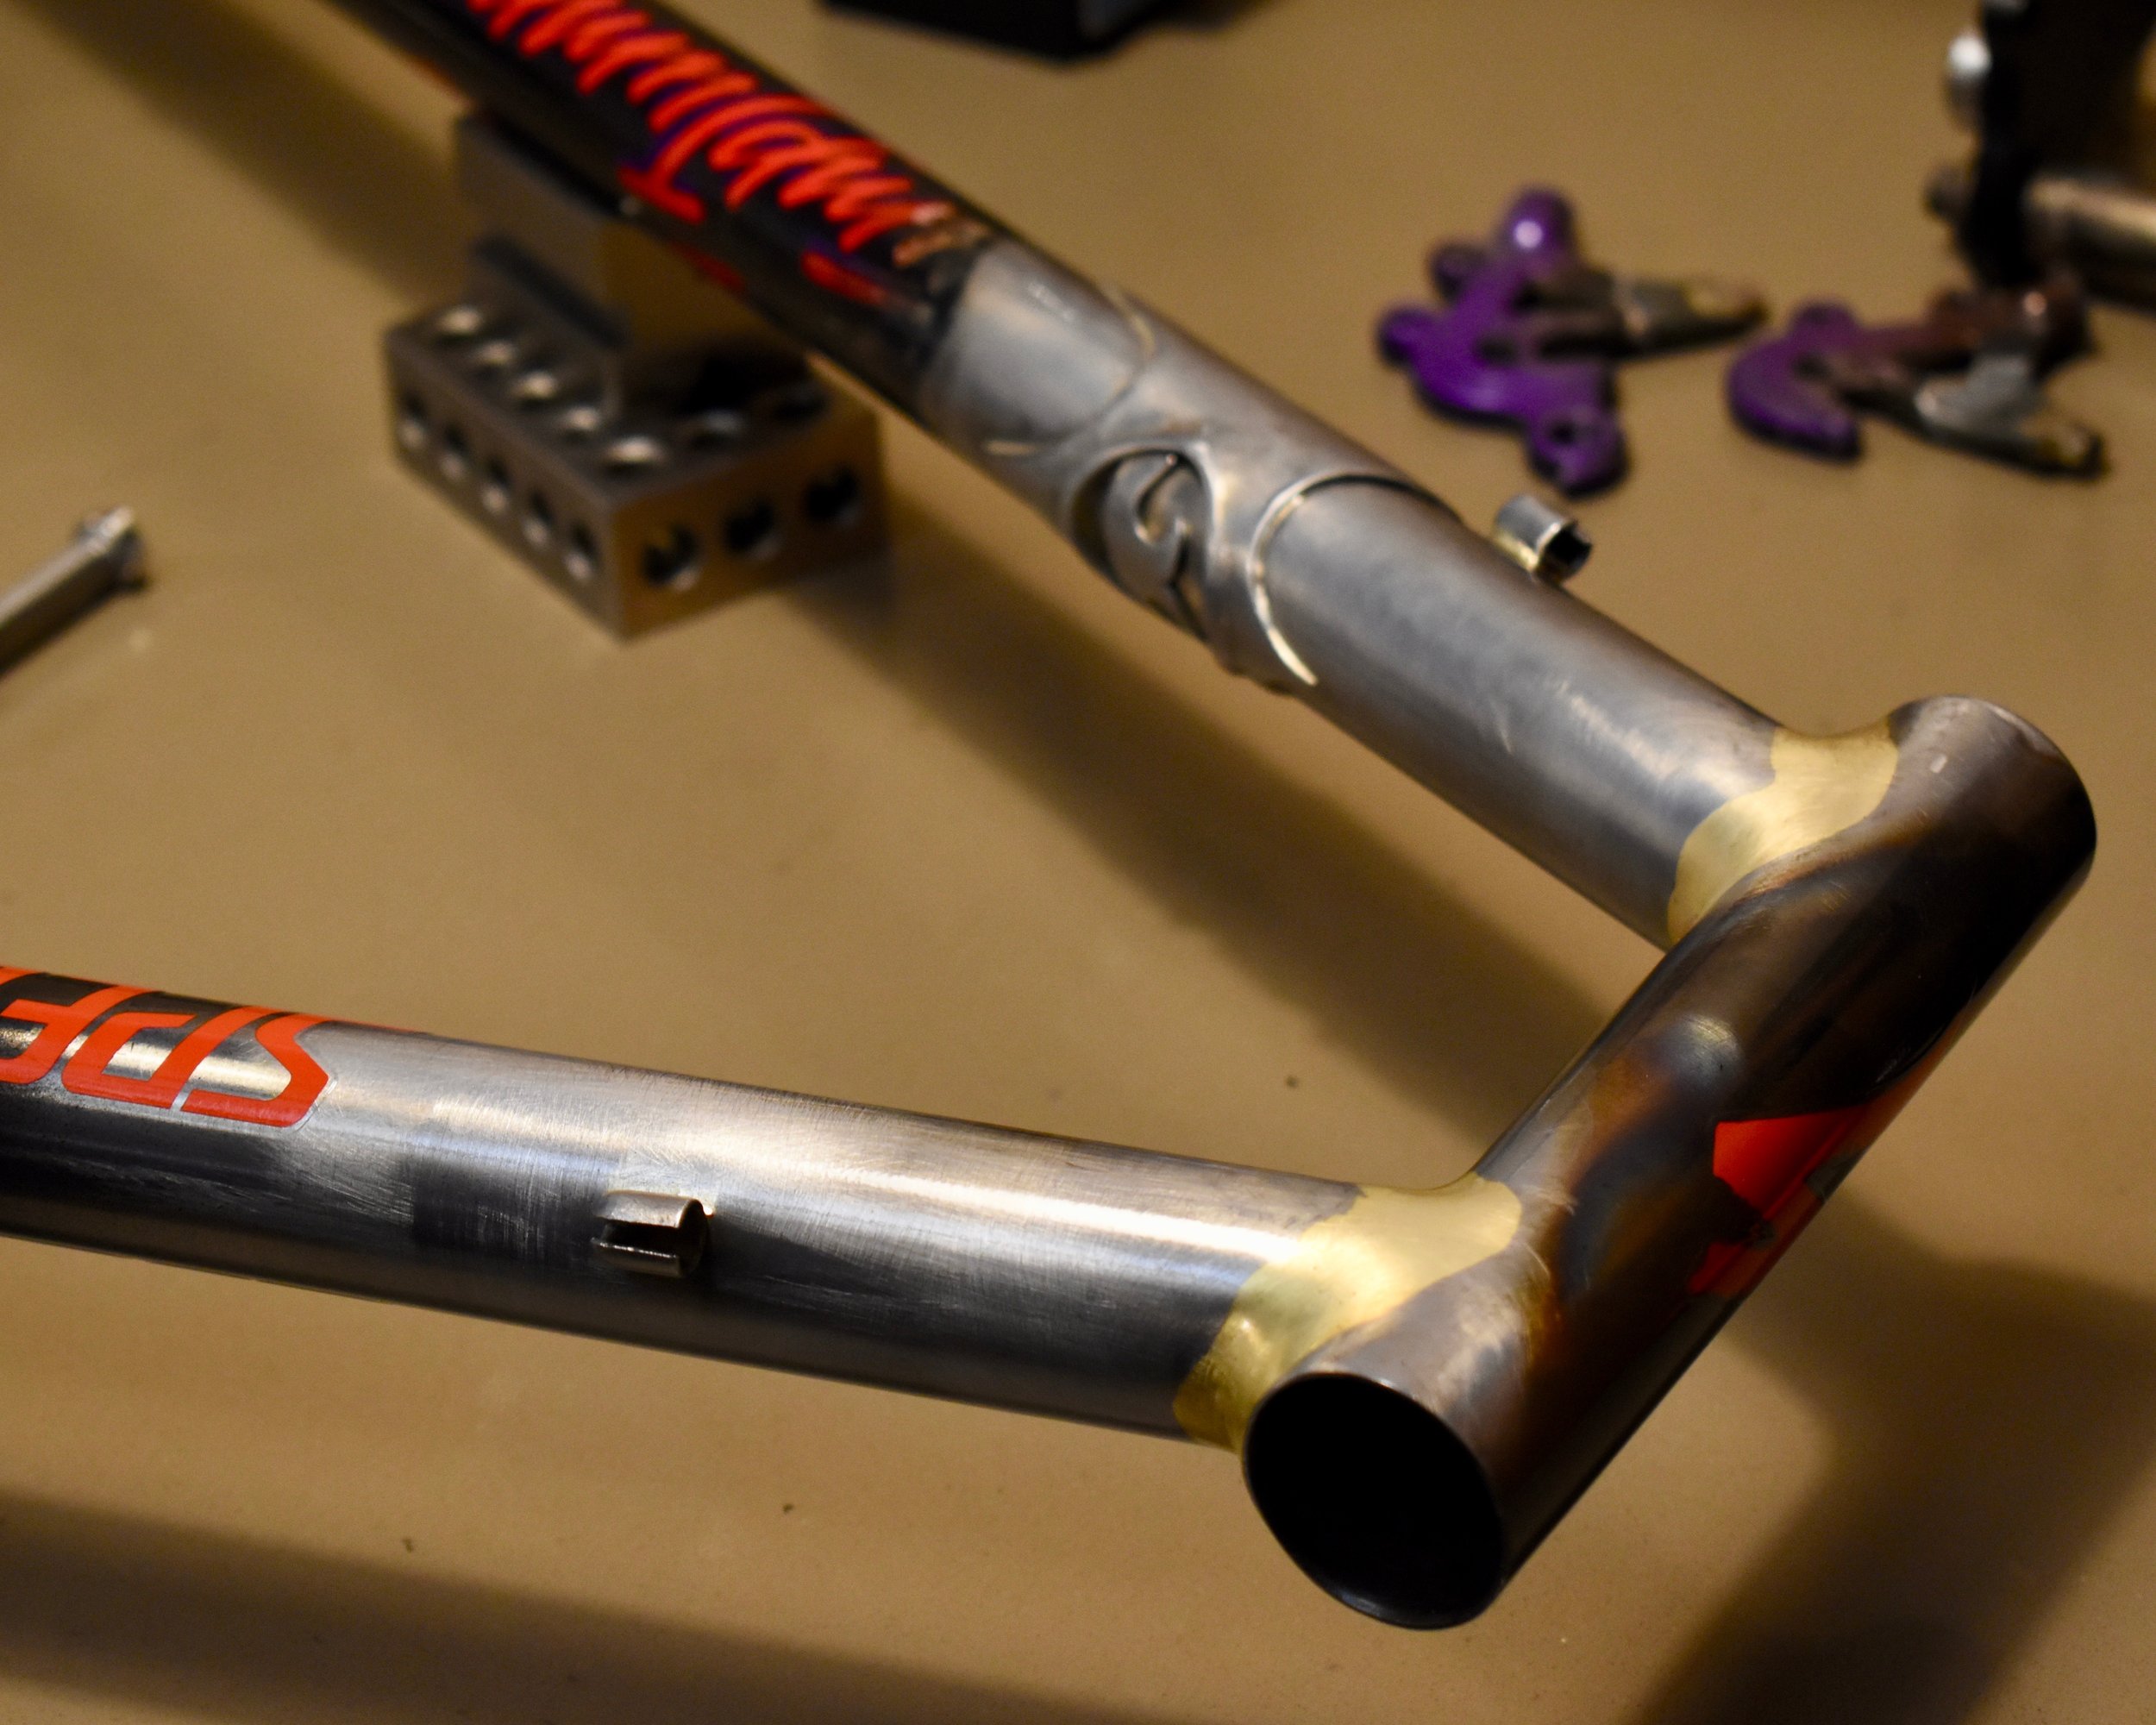
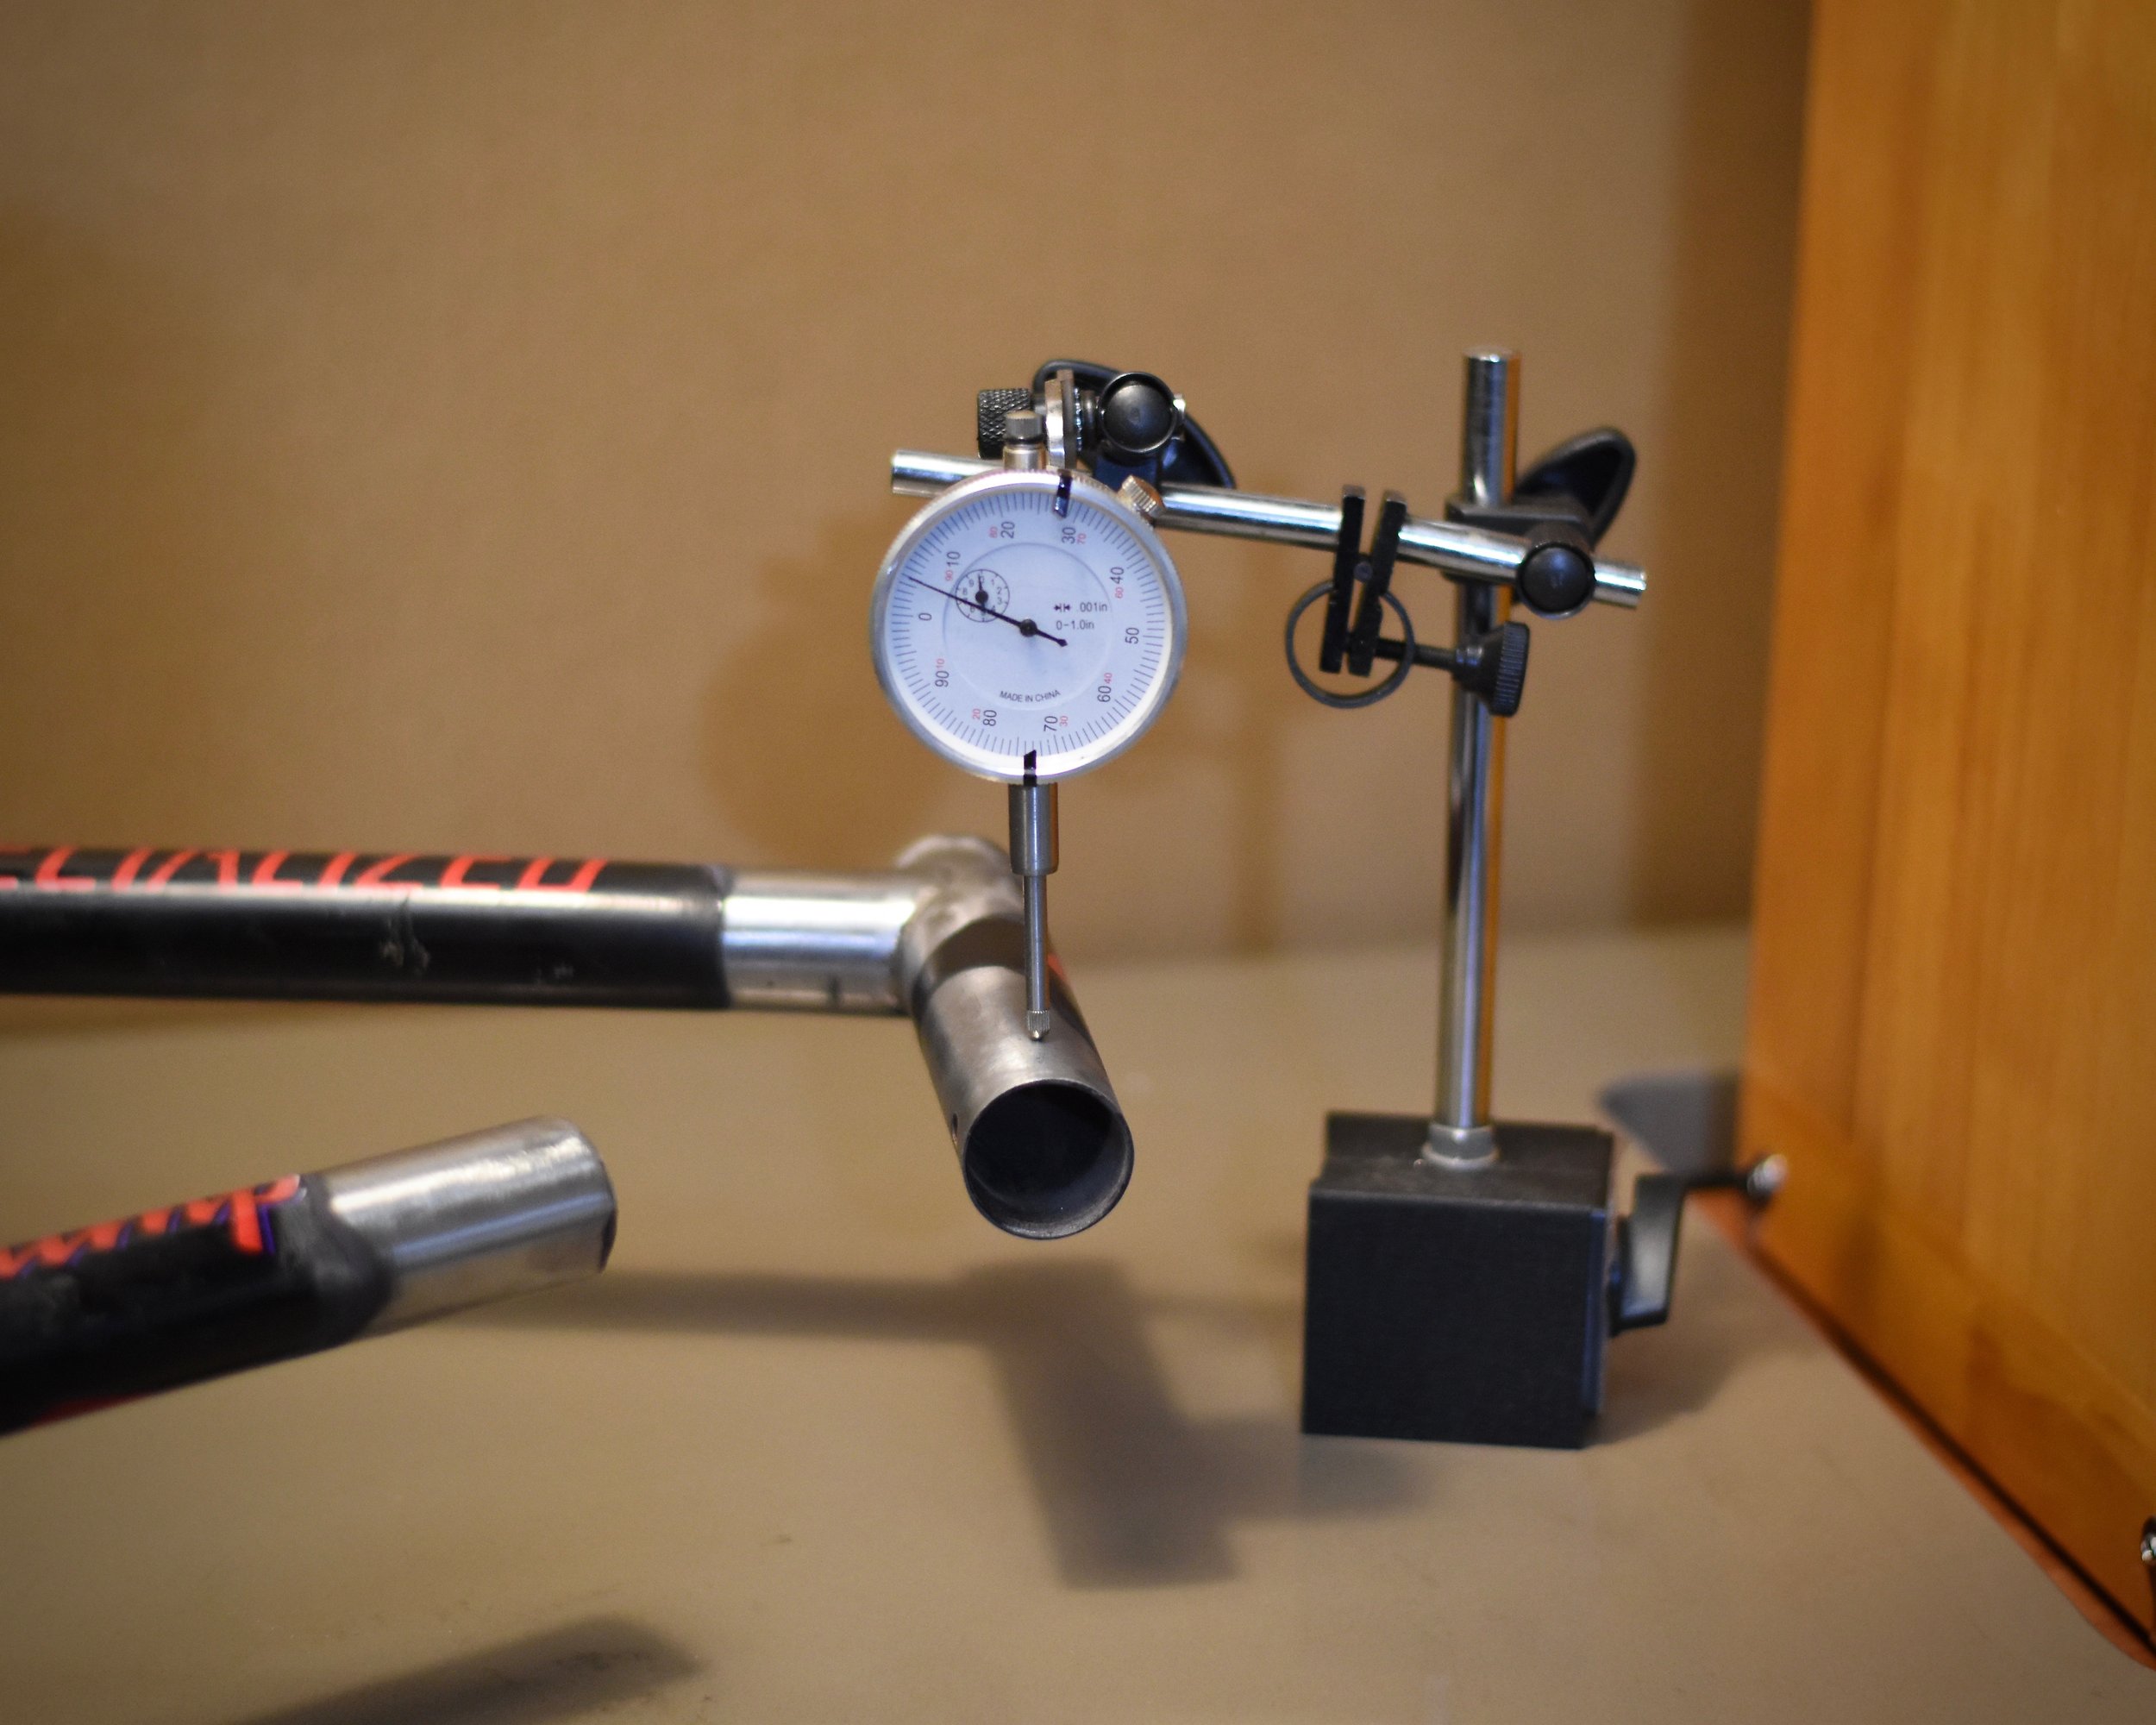
We assessed the situation and were going to try and save the original downtube below the buckle. We thought it might be possible to pull the headtube back to original angular dimensions and bolster the joint by brazing a large brass fillet over the spot that it buckled at, as it was right at the headtube joint.
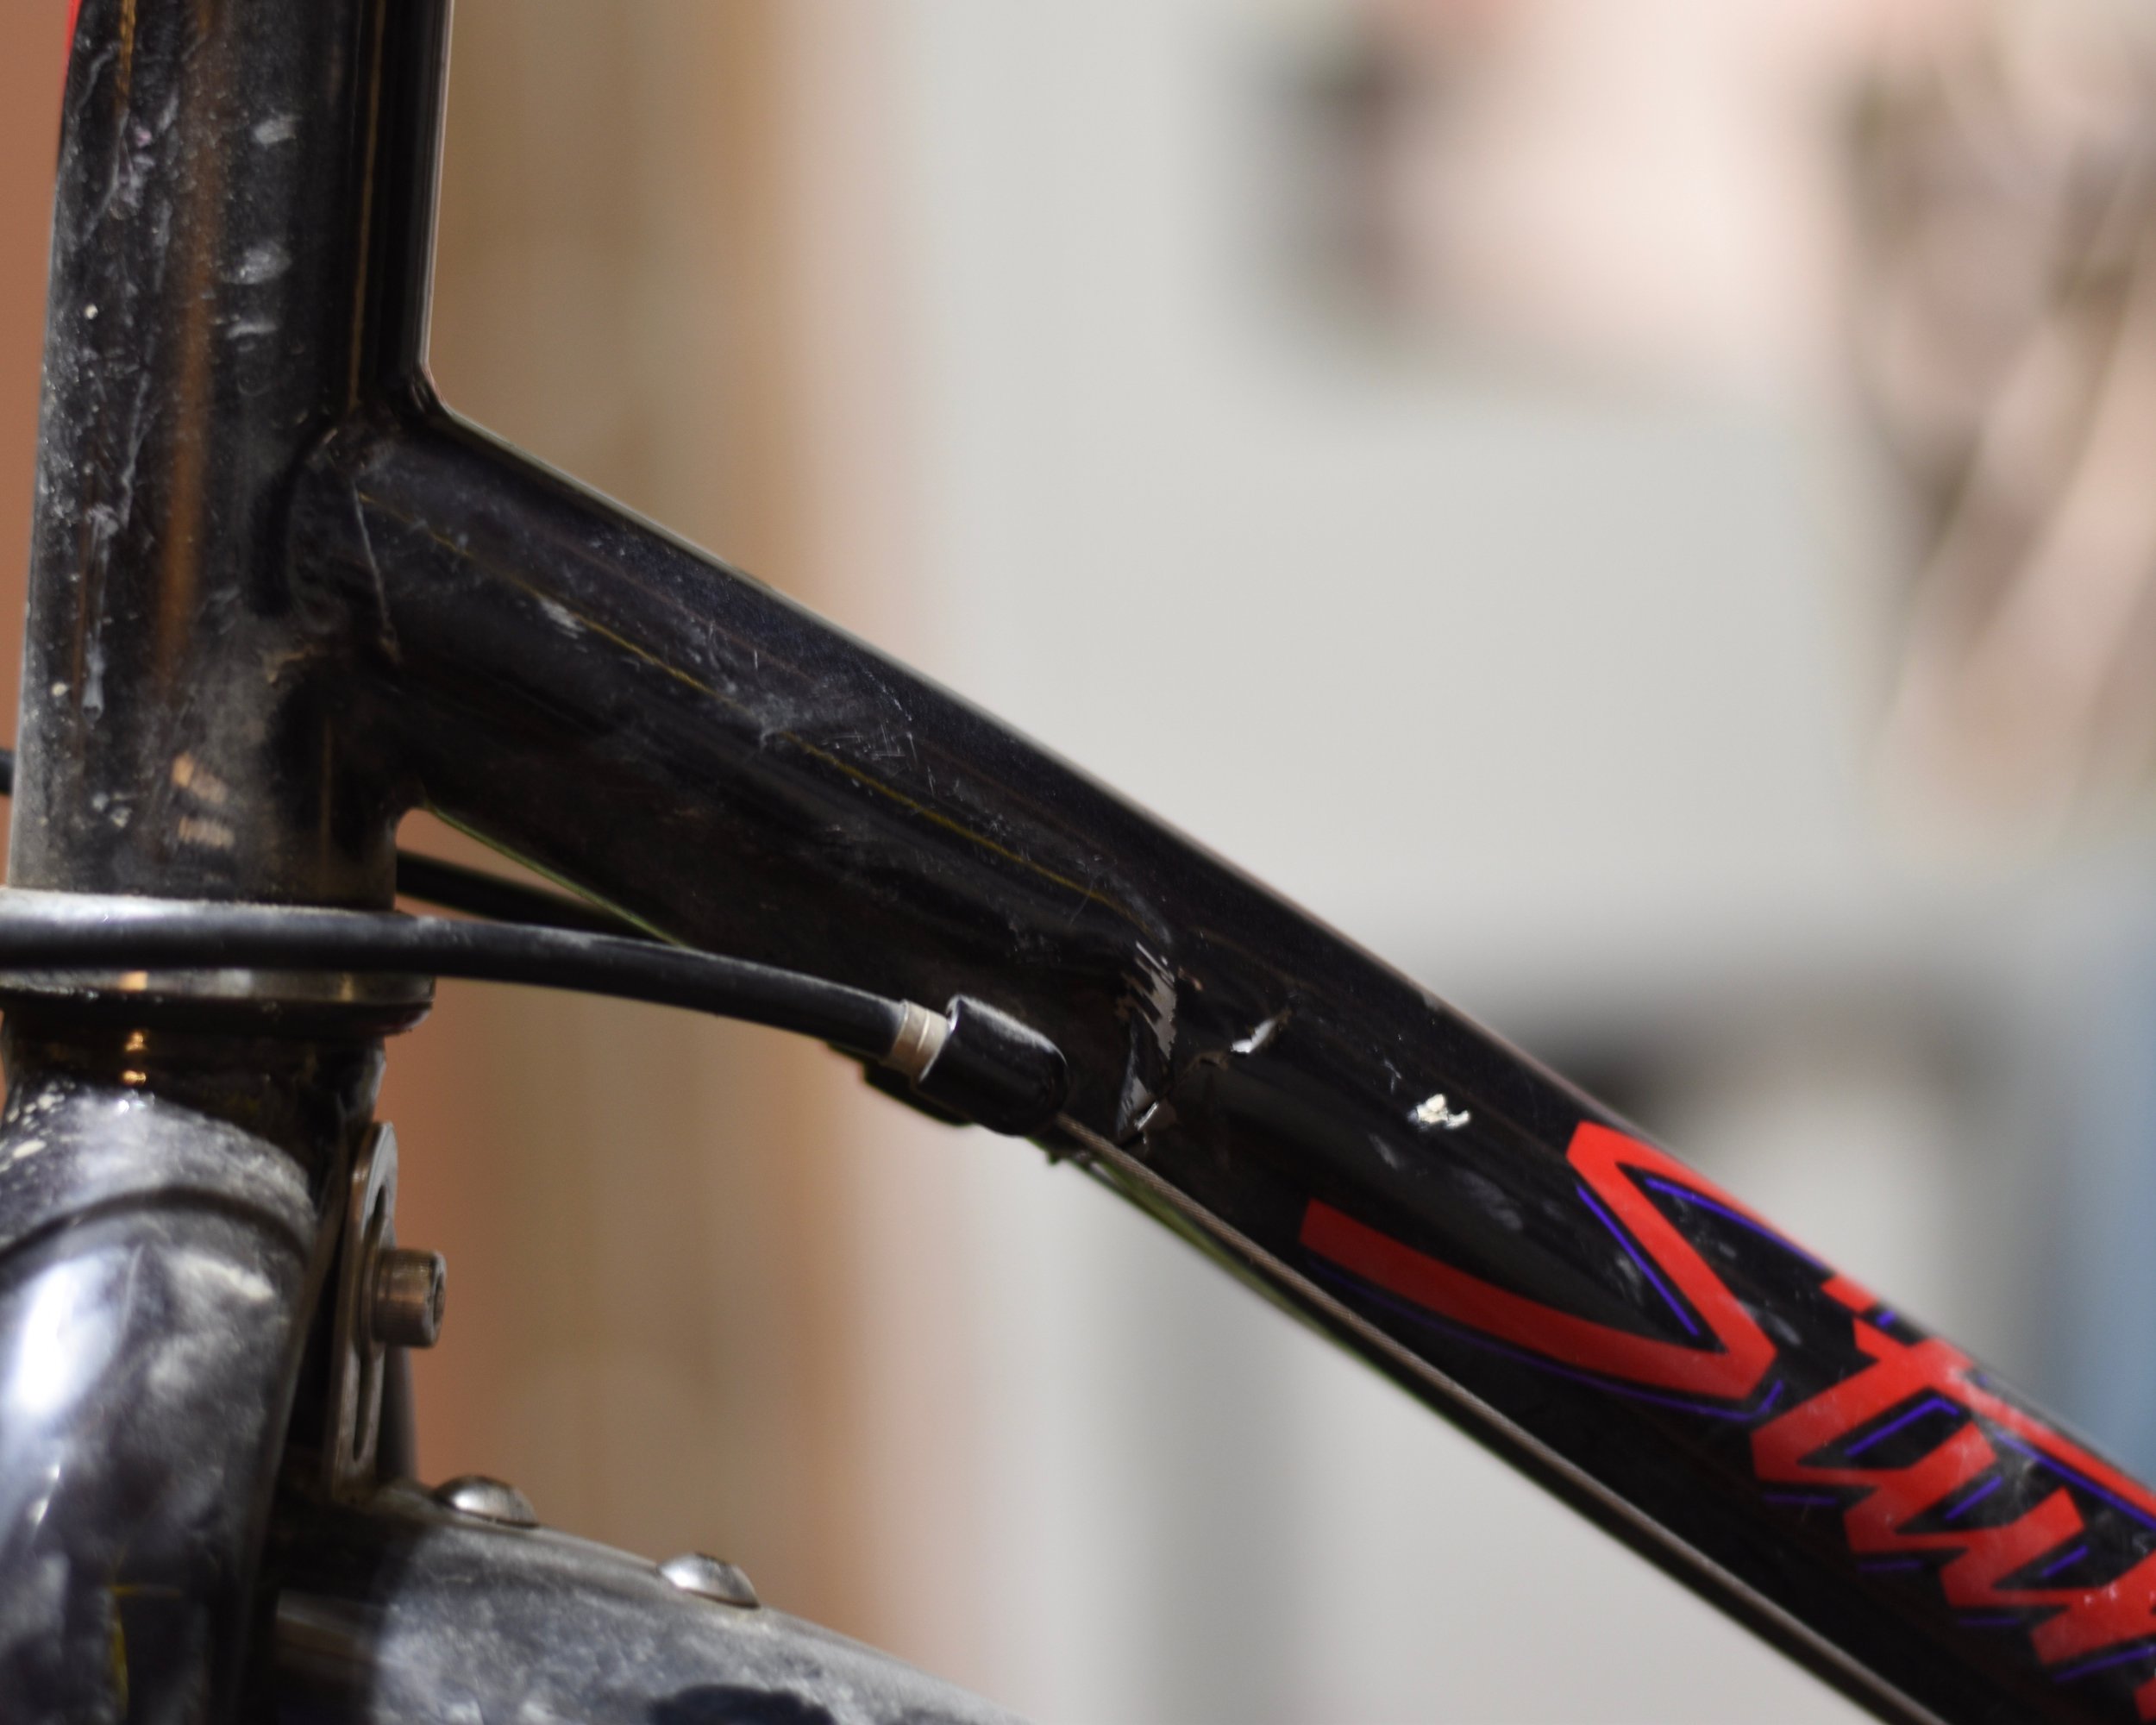
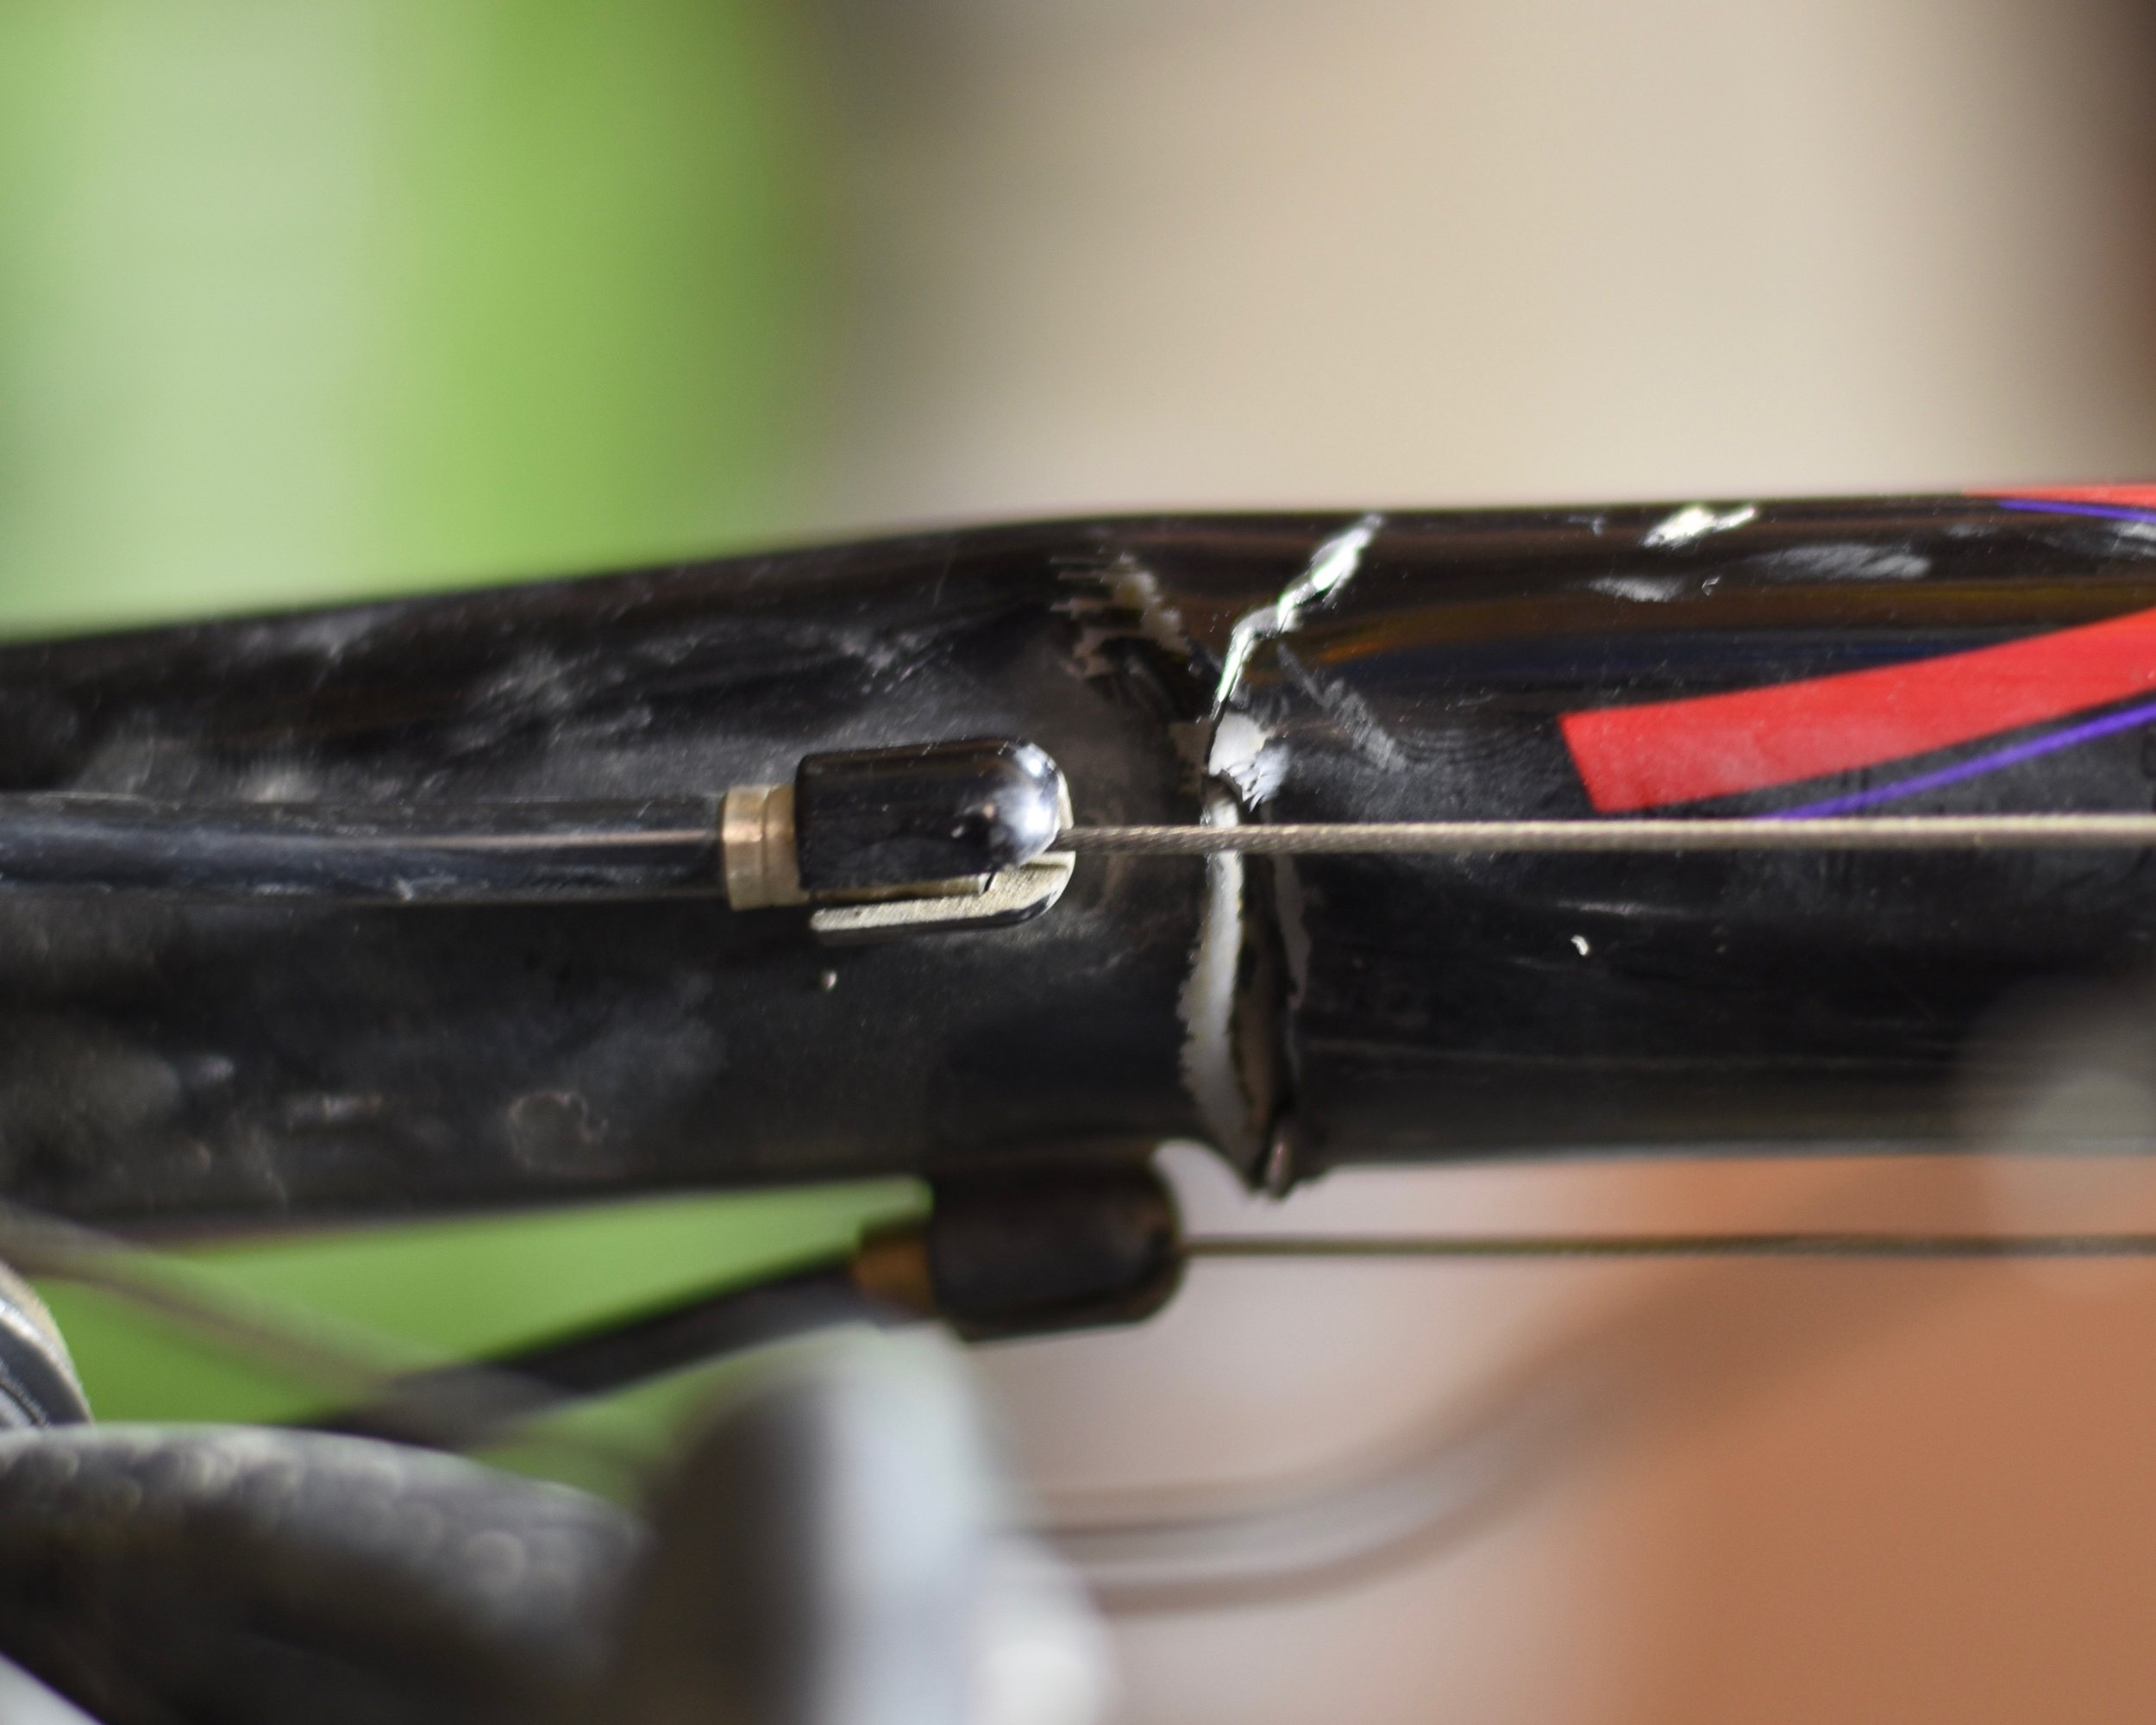
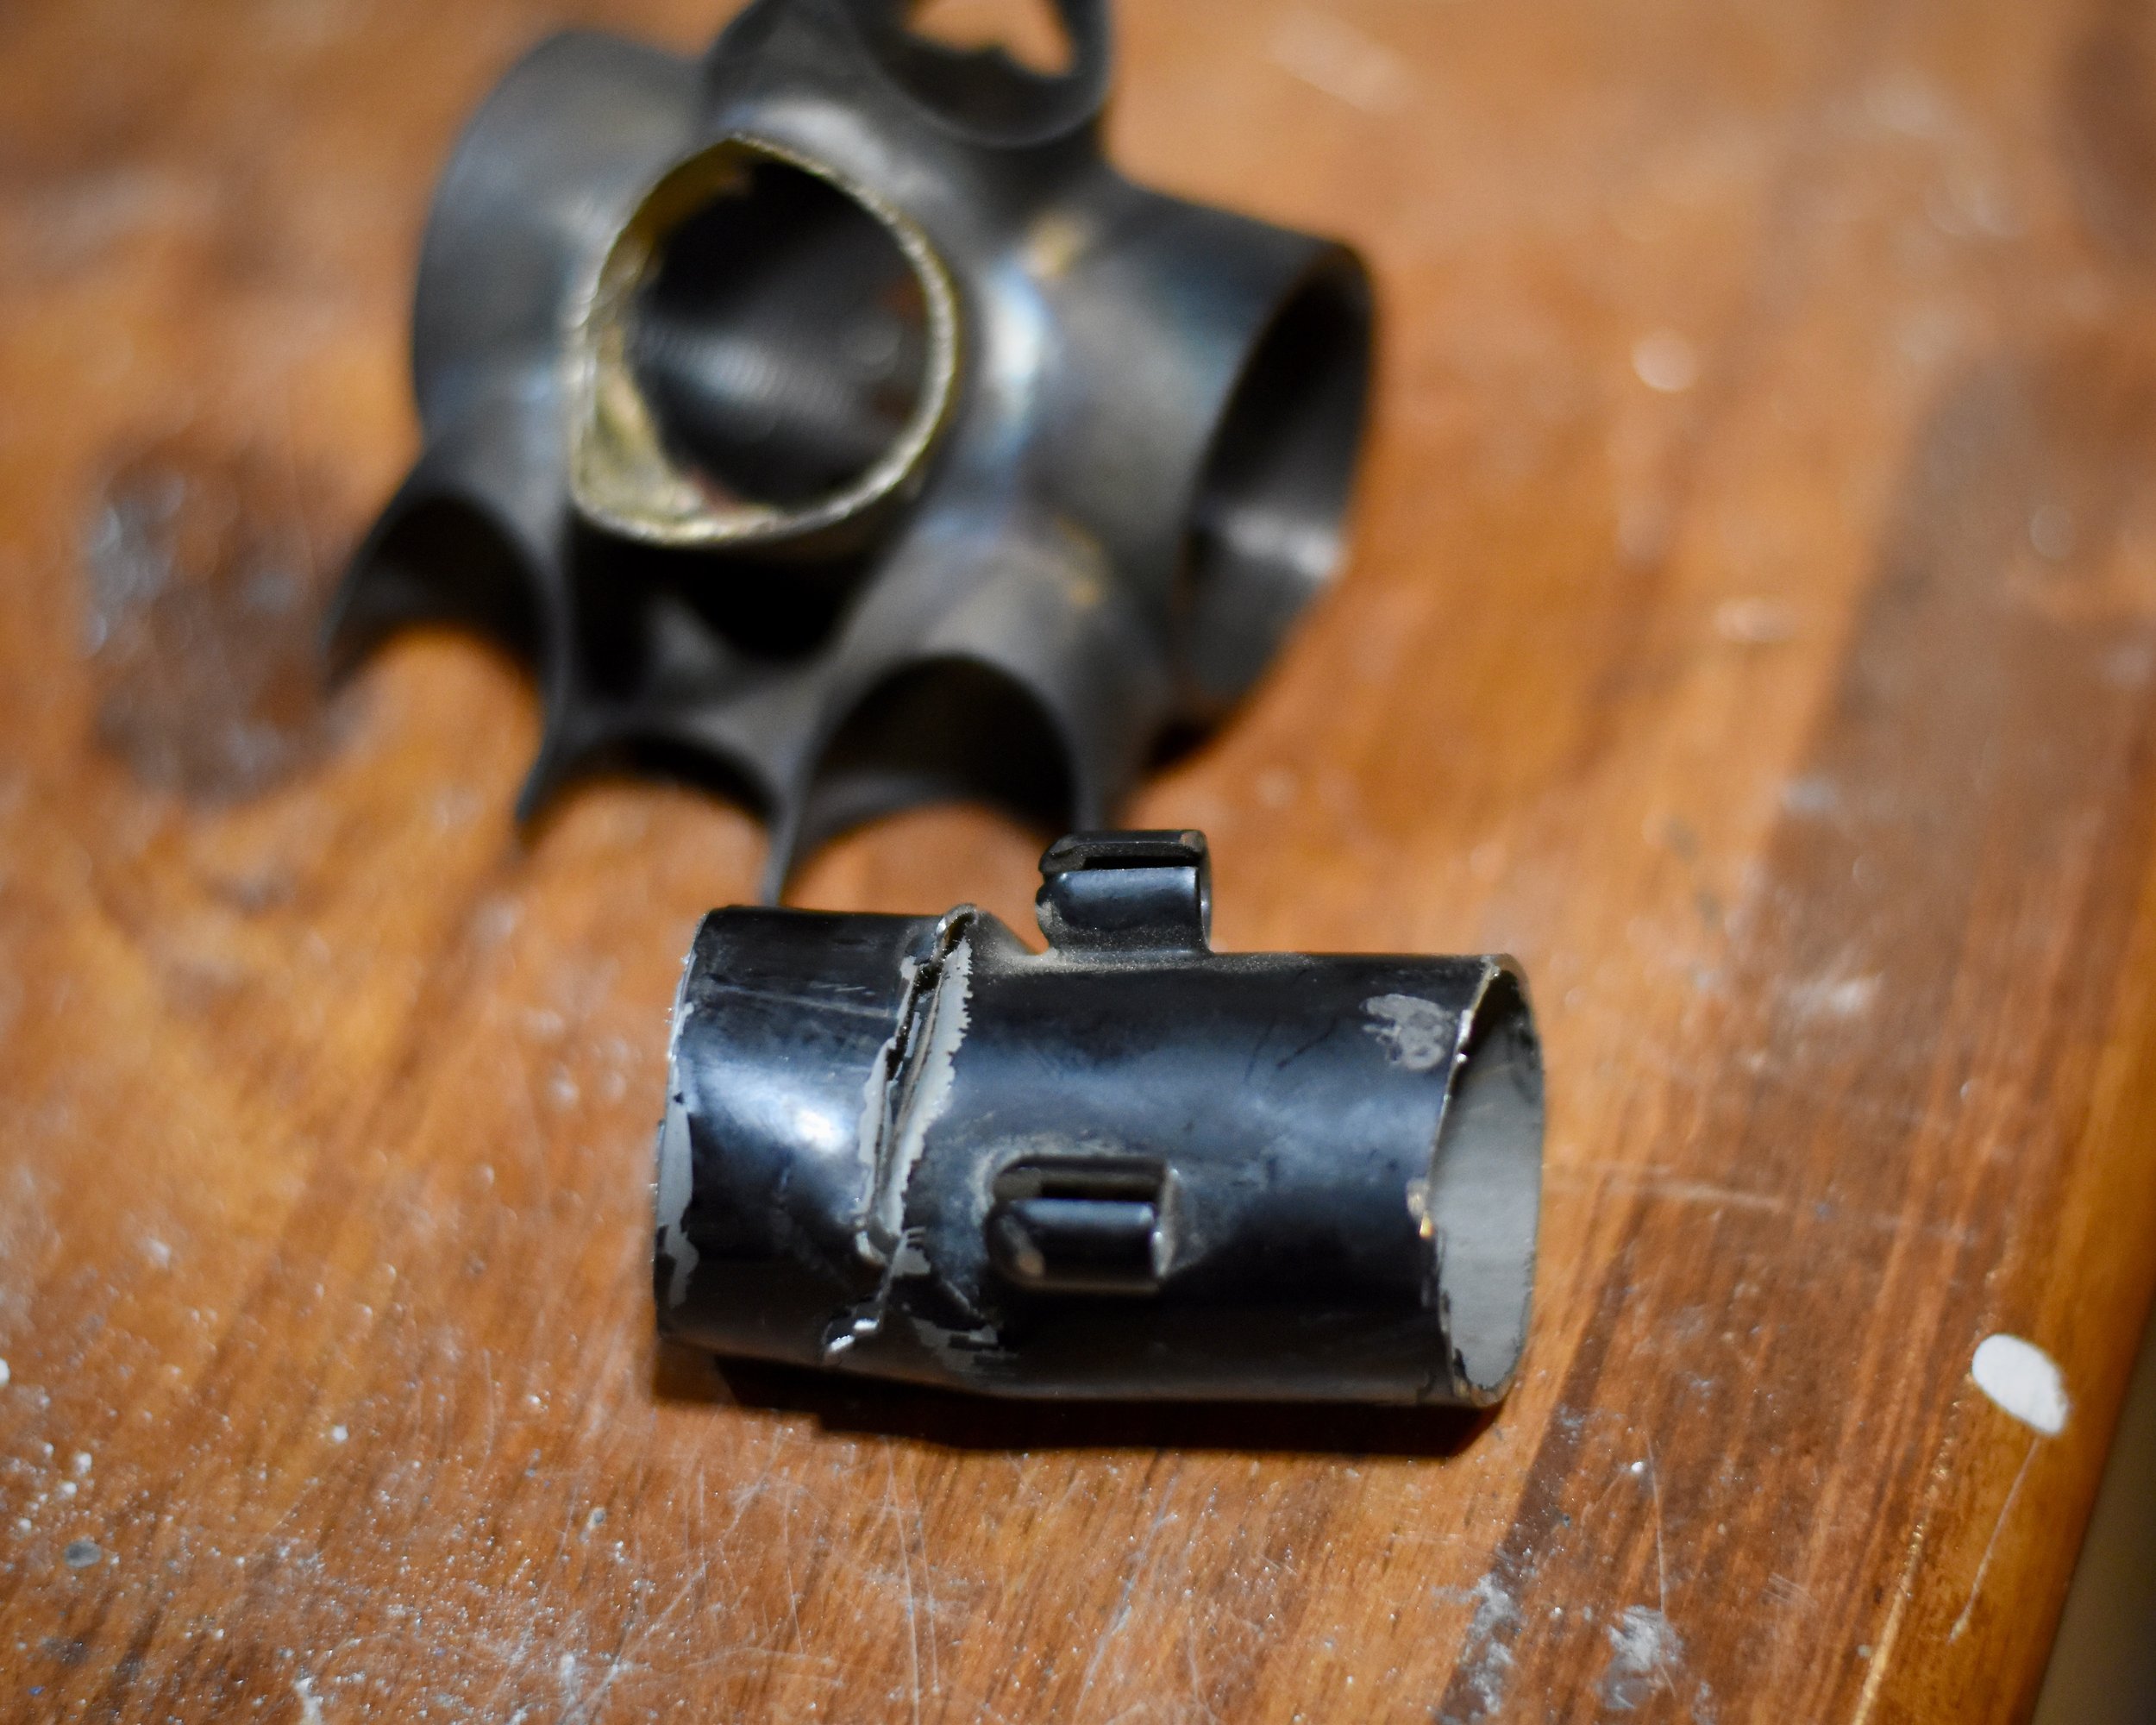
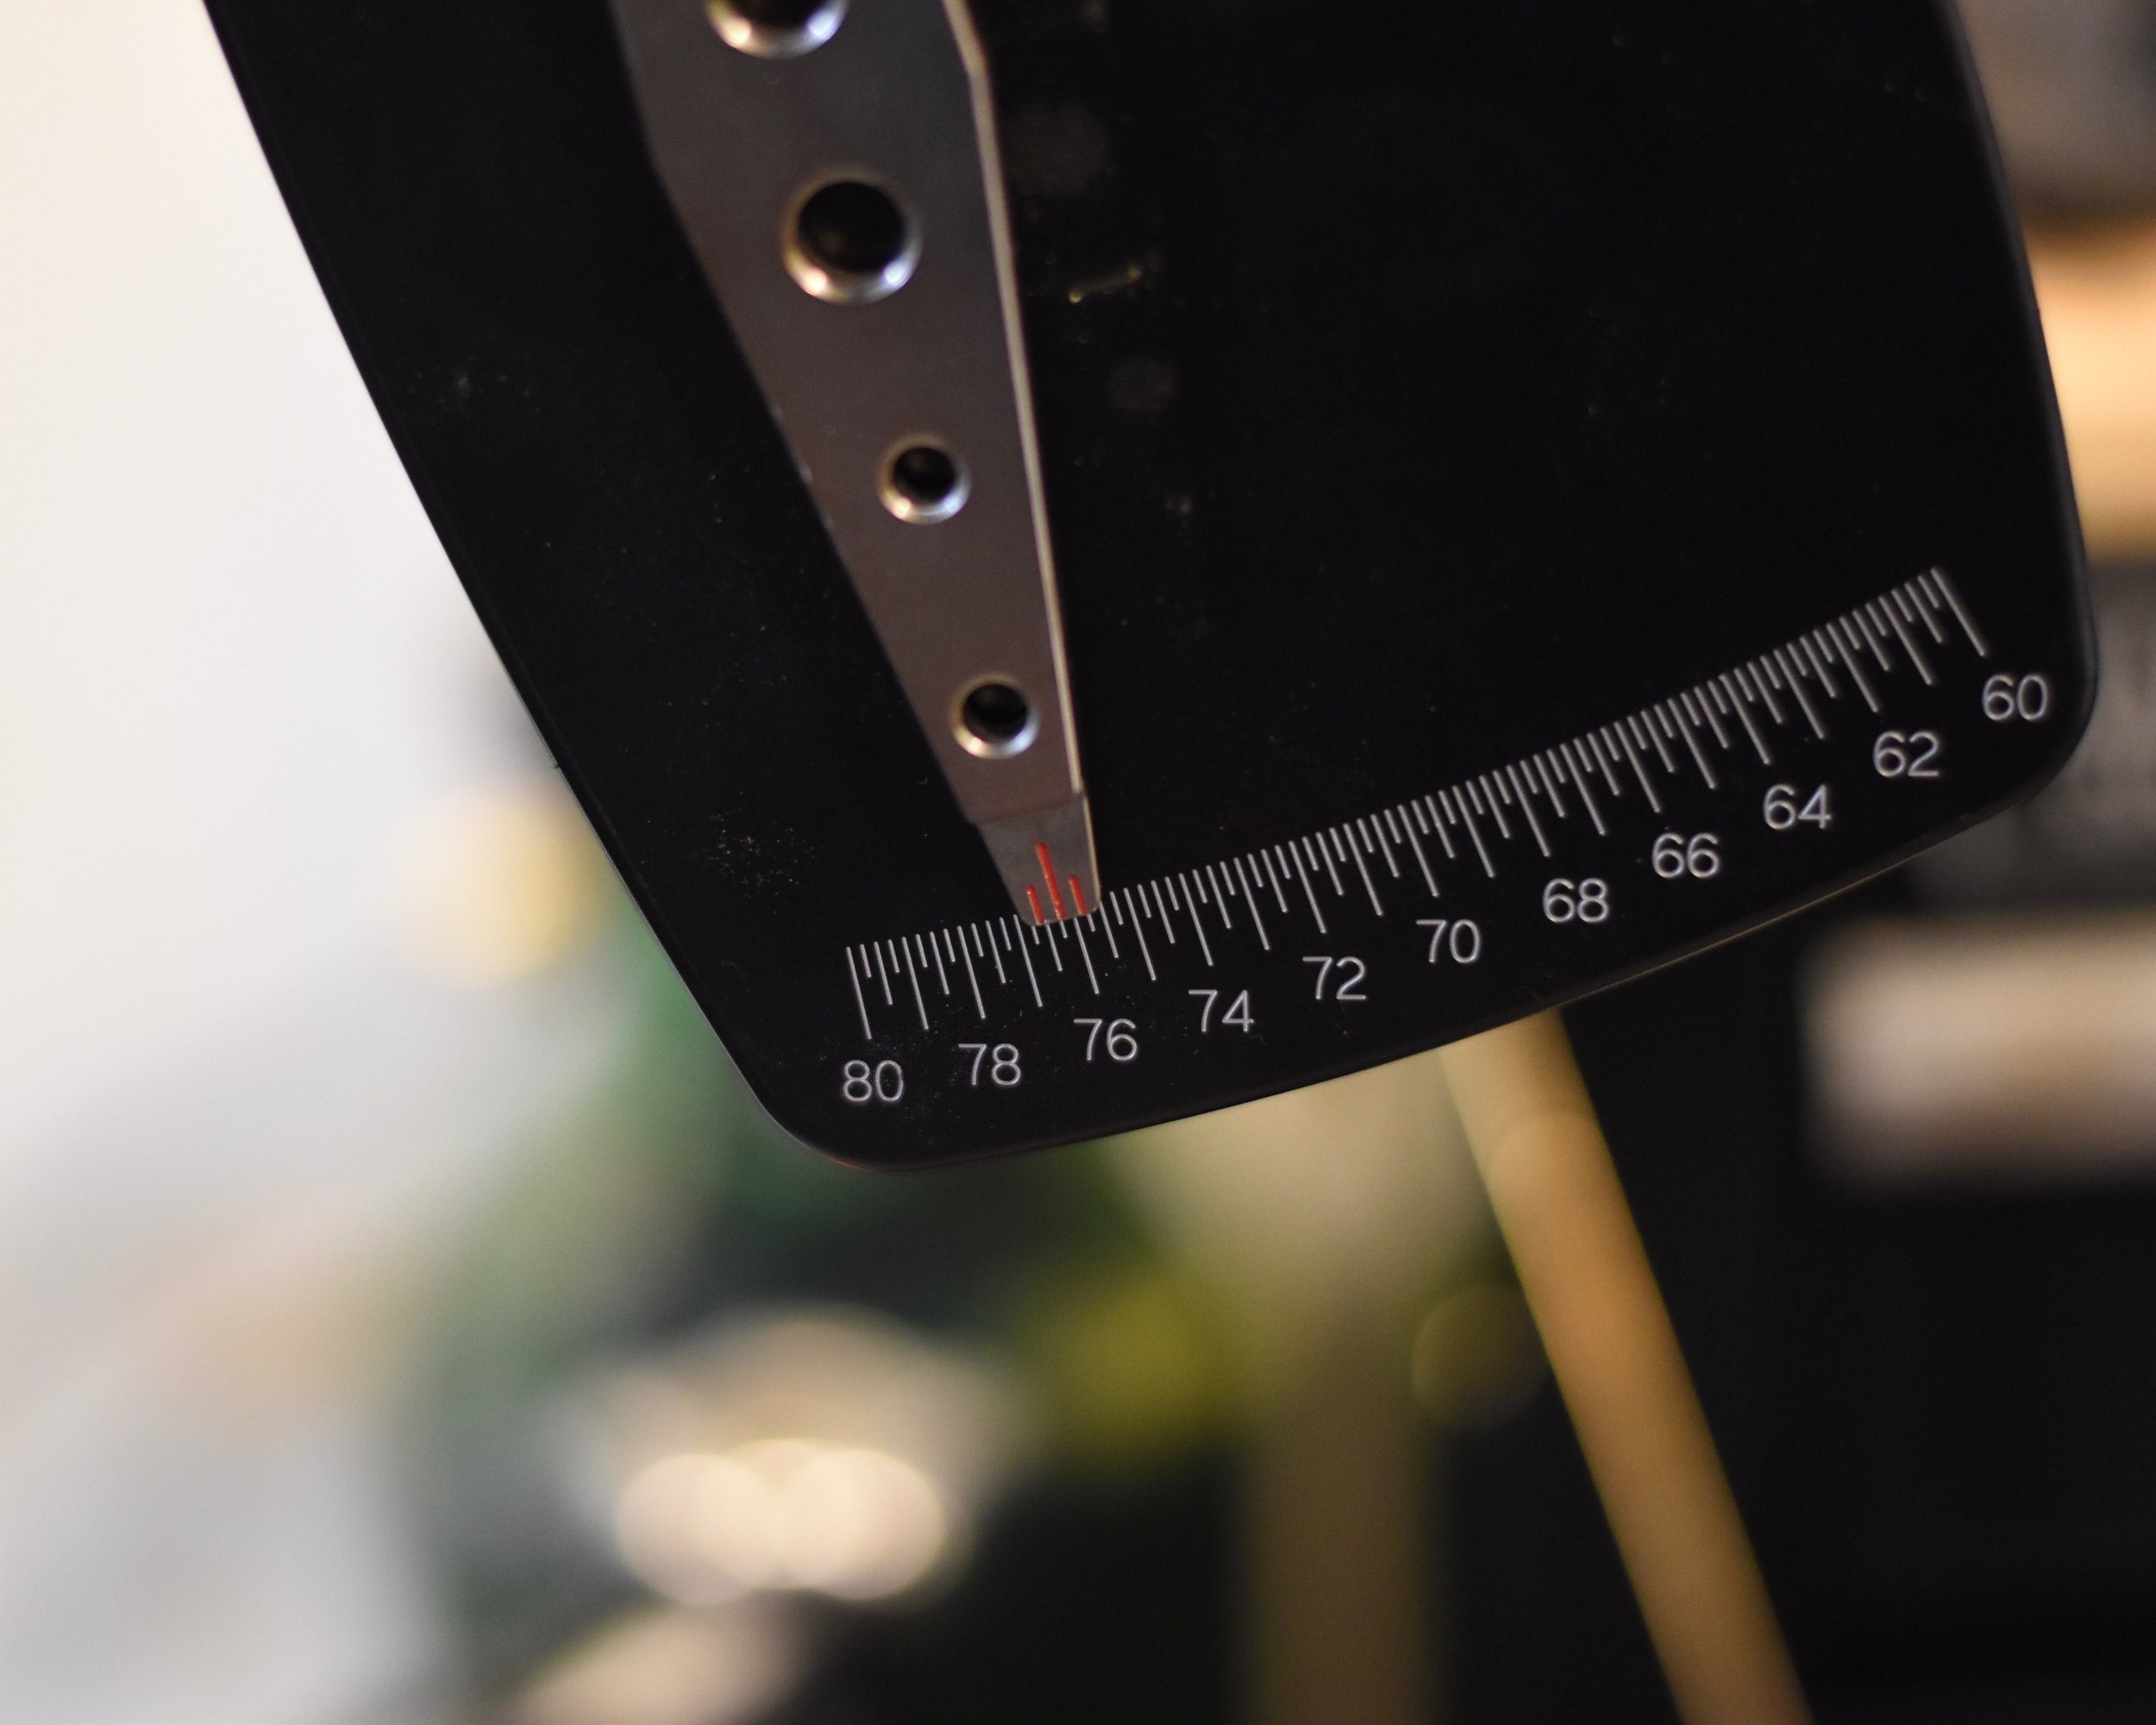
Step one was to cut the buckle out and remove the original weld at the lower headtube joint, then see what we were up against. Turned out he had knocked the headtube back 6 degrees and twisted it by a few millimeters. This may not sound like much, but trust us when we tell you that it’s quite a bit more than you think. Maybe not on a bicycle shaped object from Walmart, but on a high-end, high precision build with some very thin butted Chromoly tubing you have to mind your p’s and q’s.
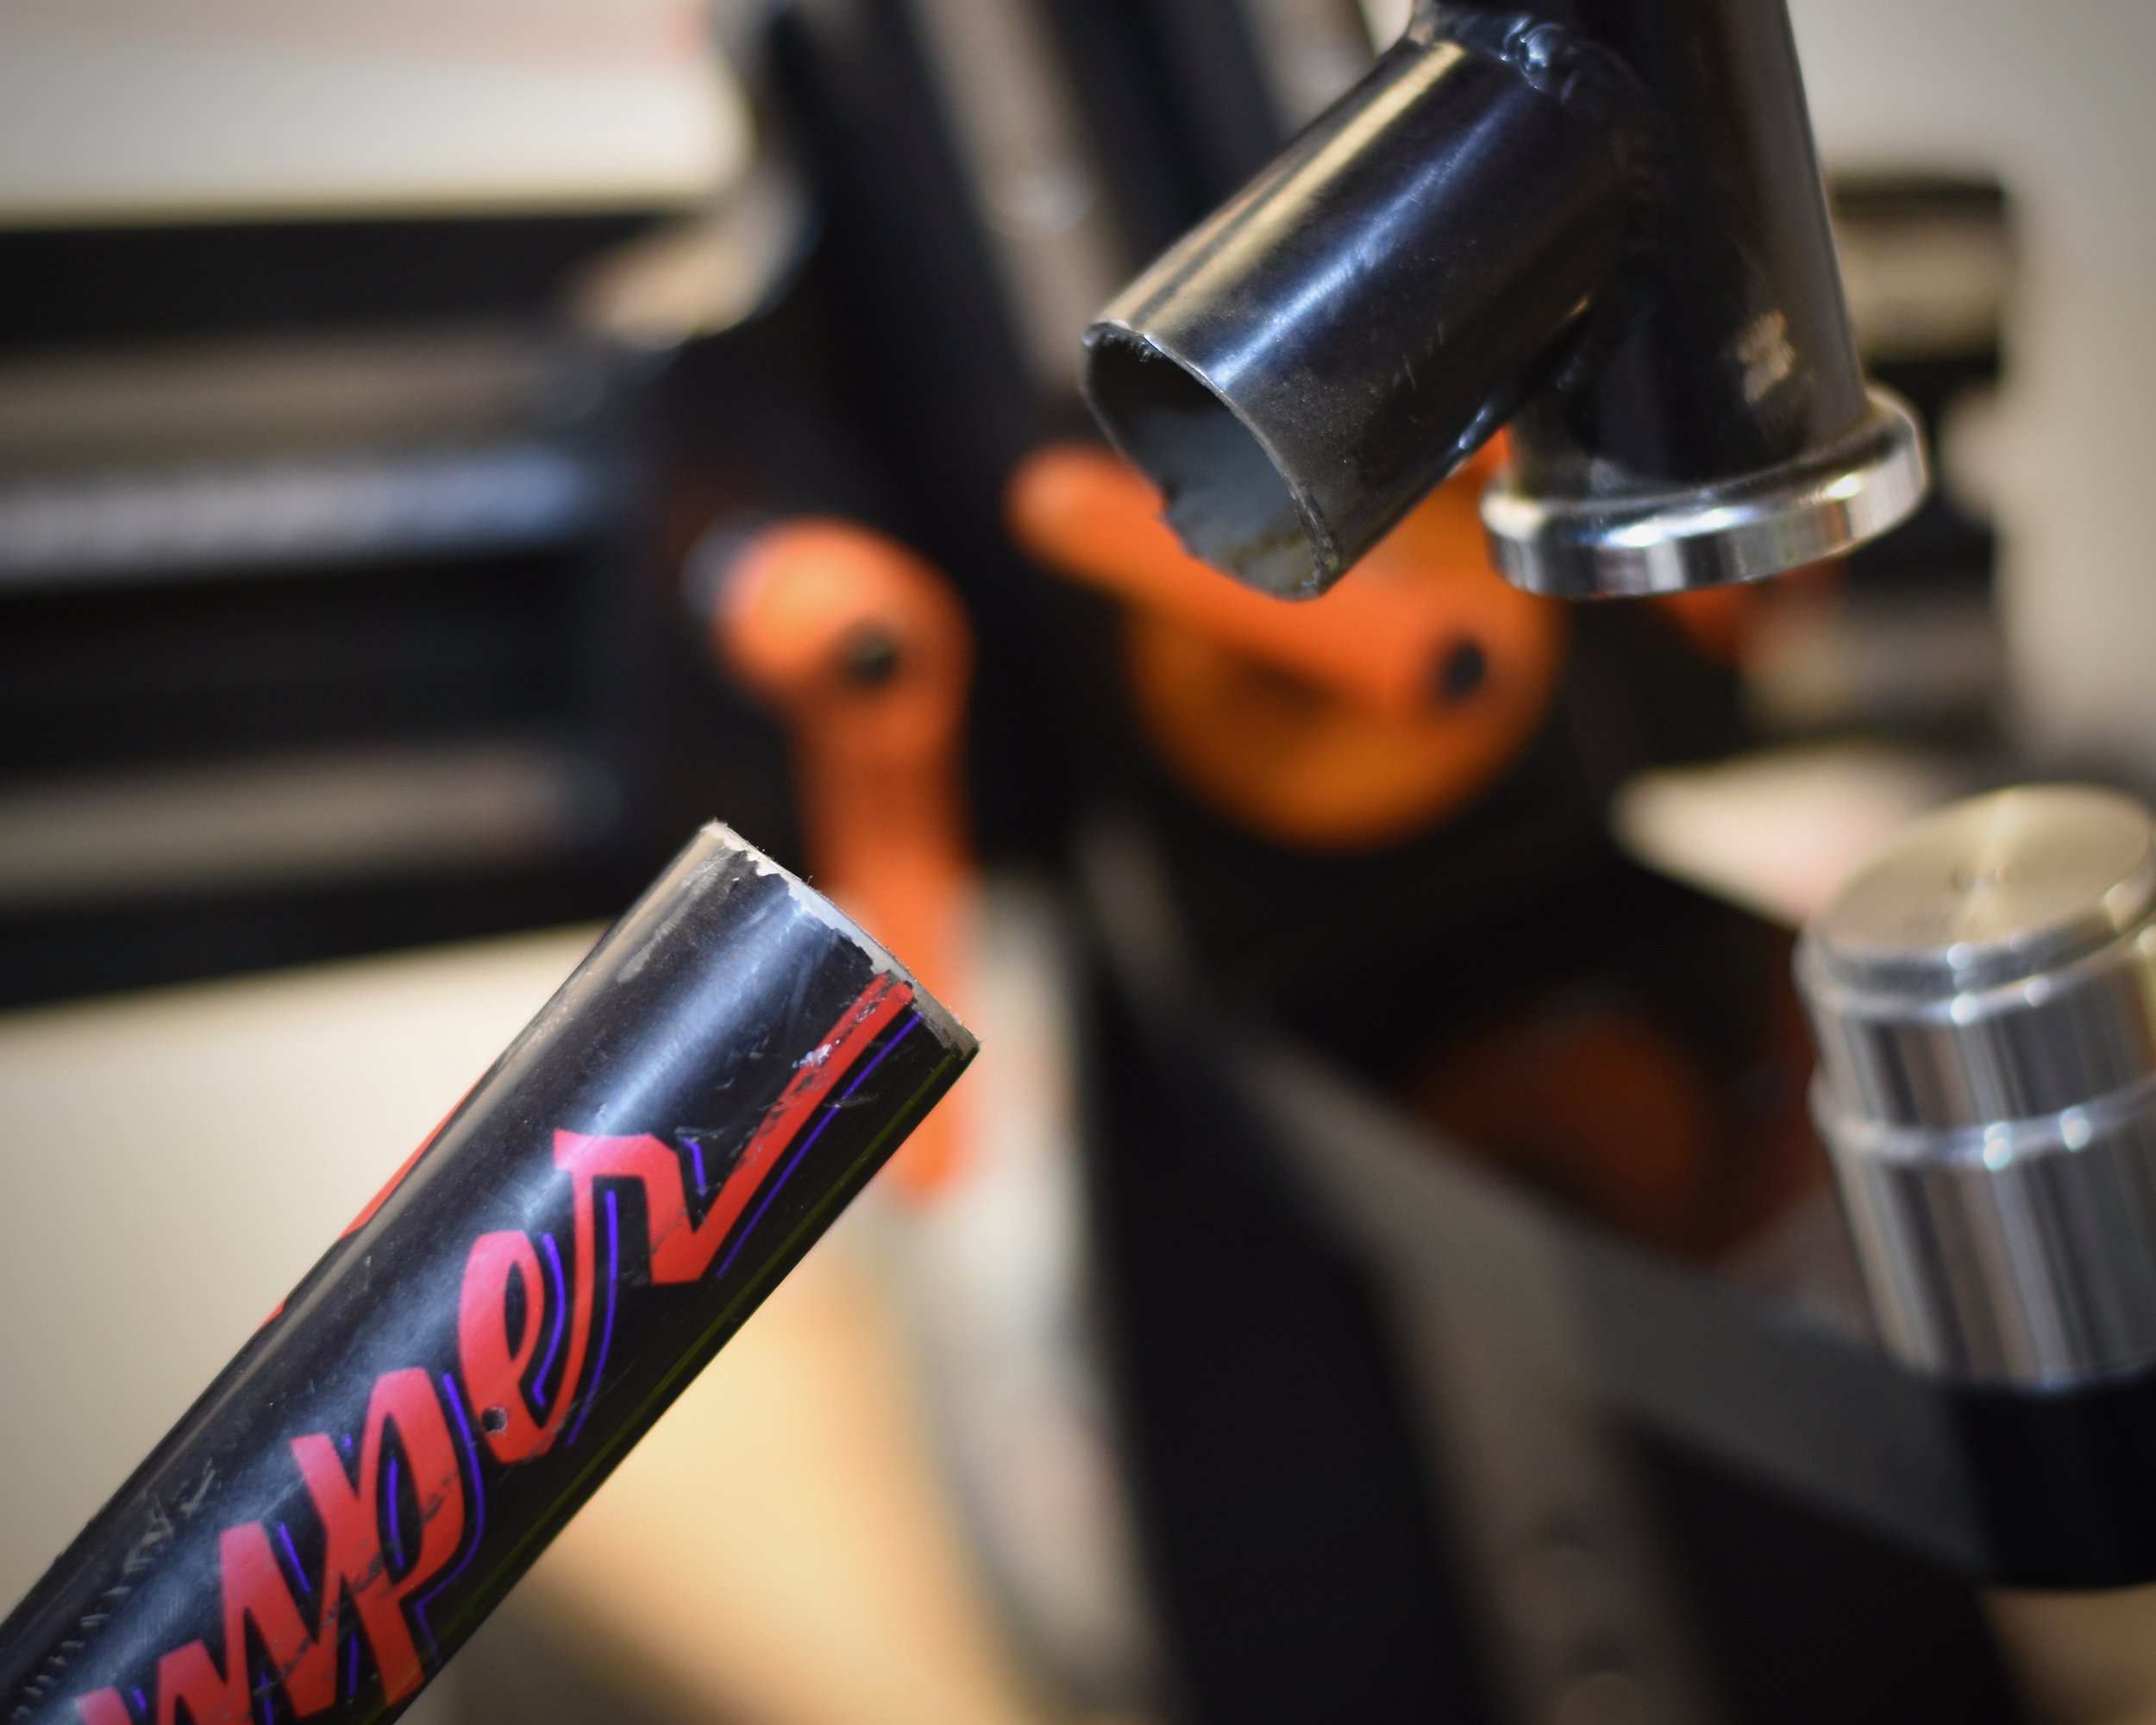
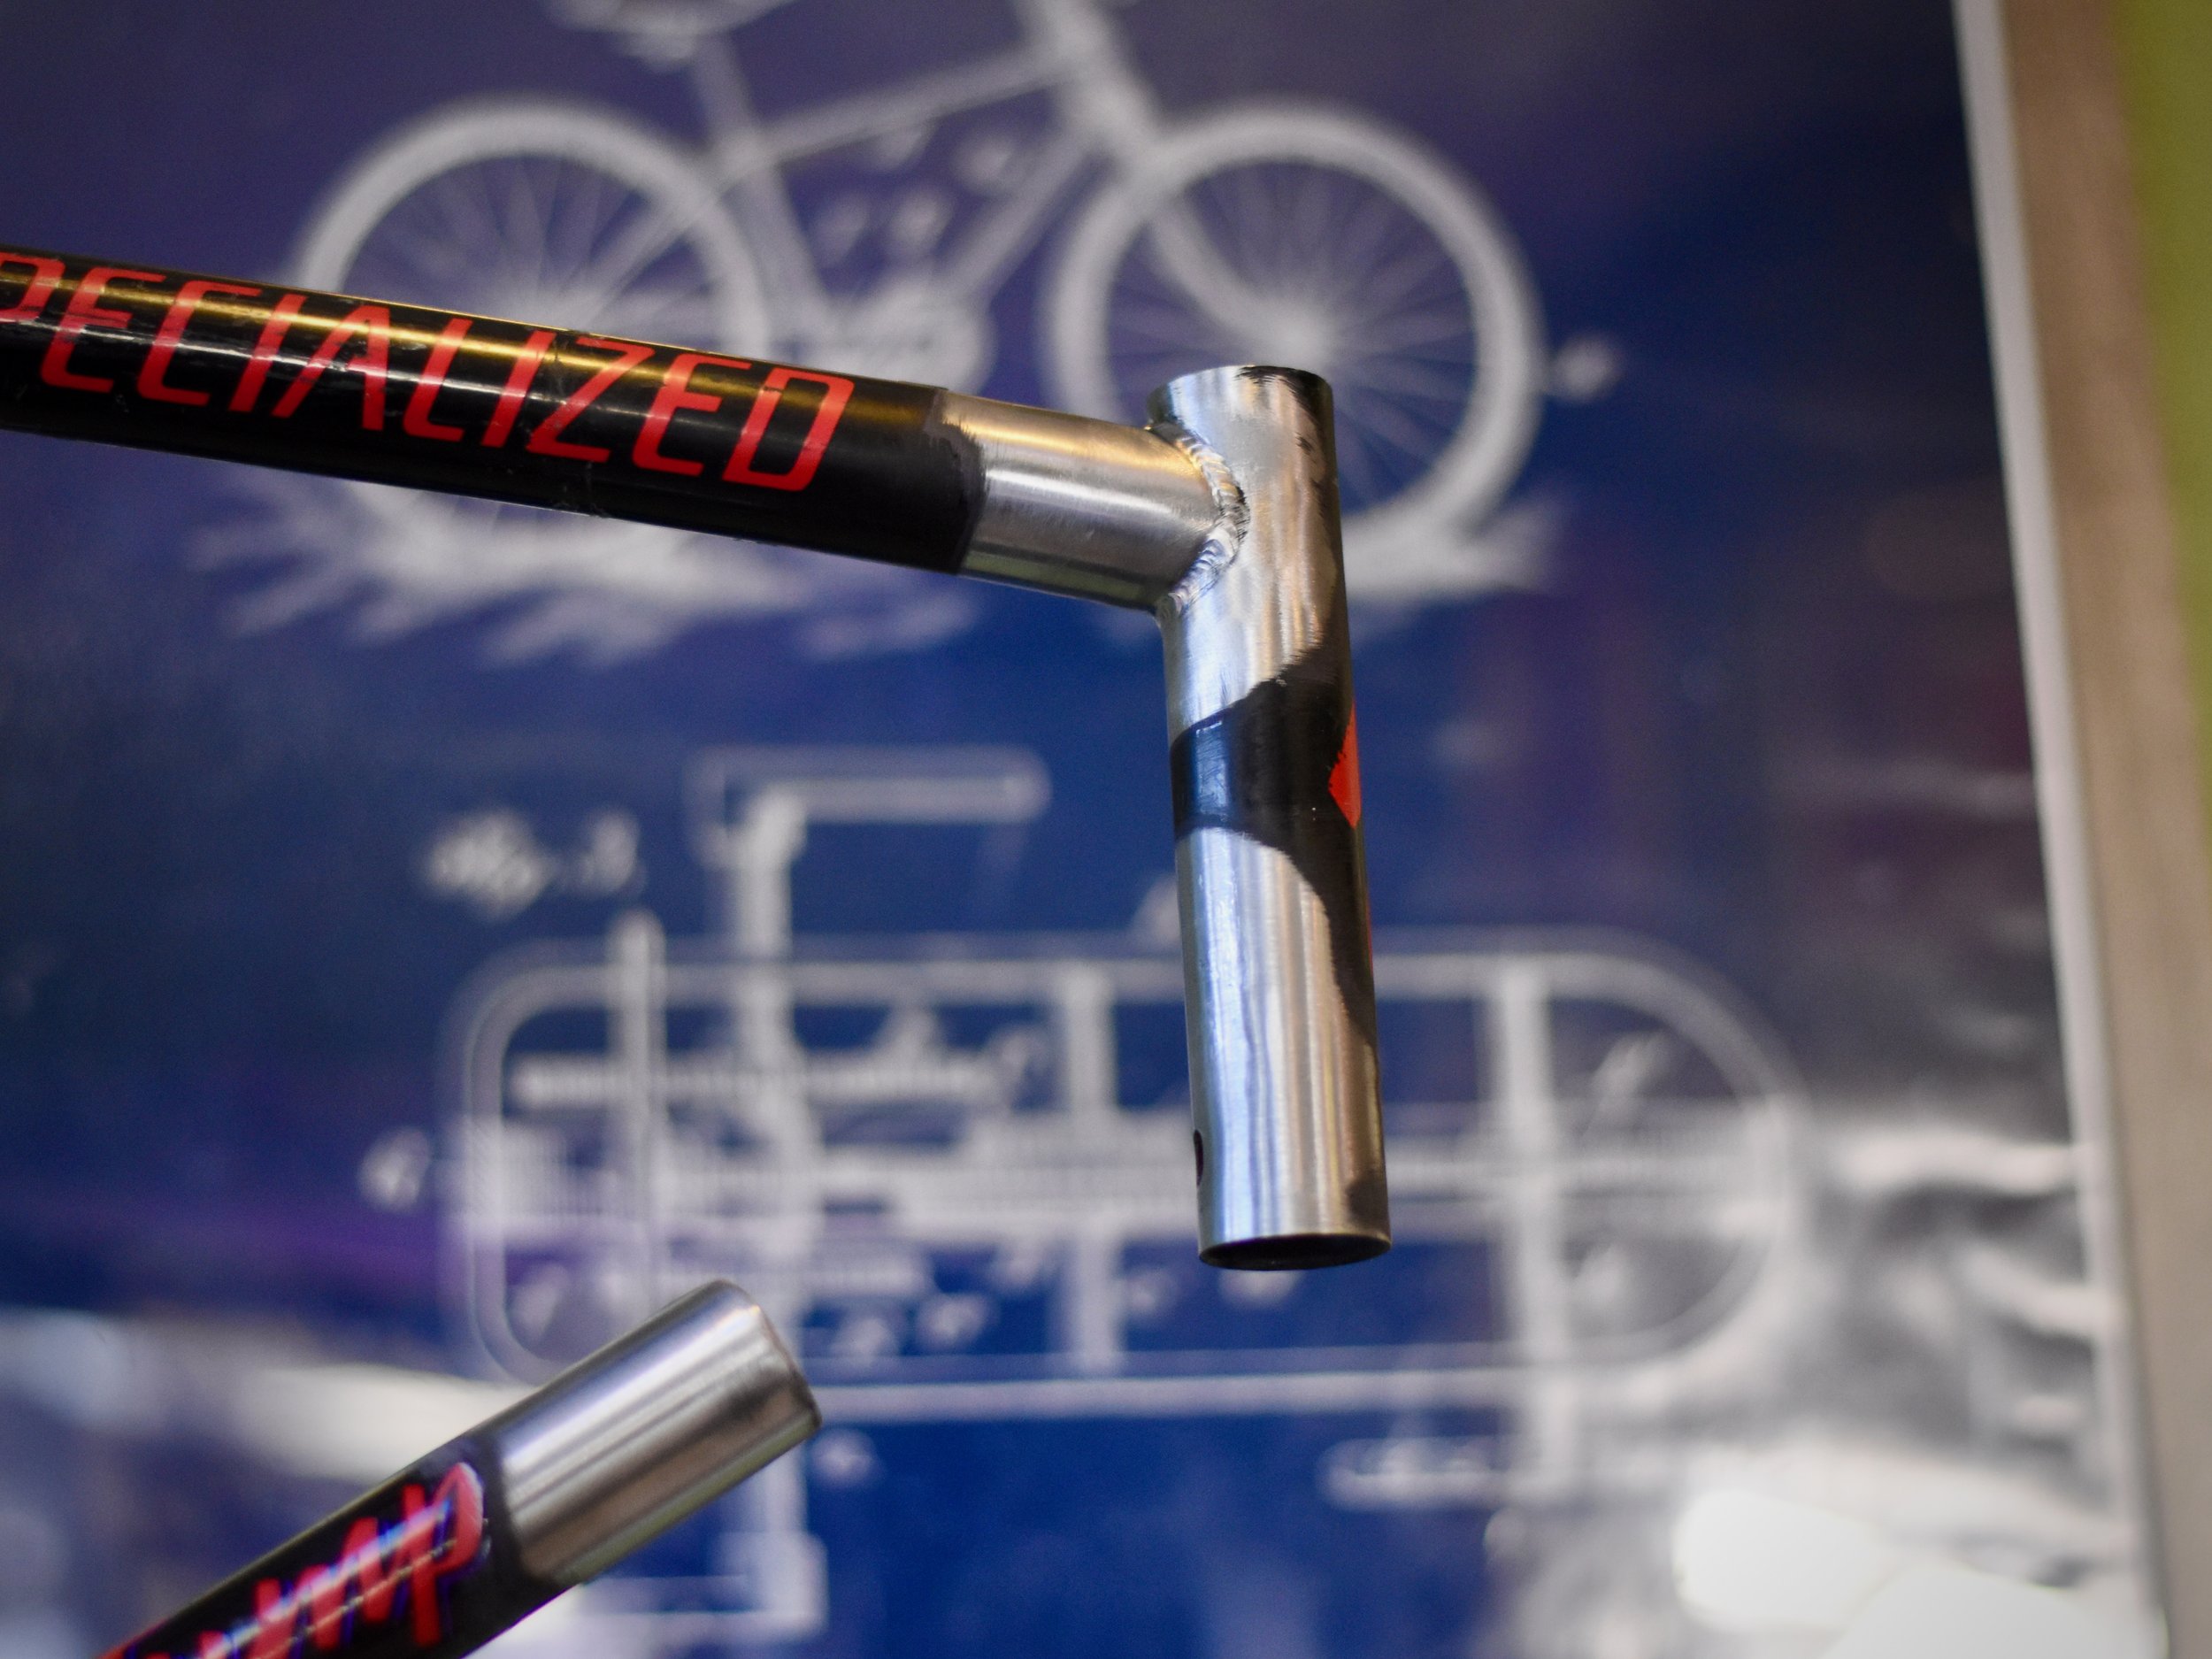

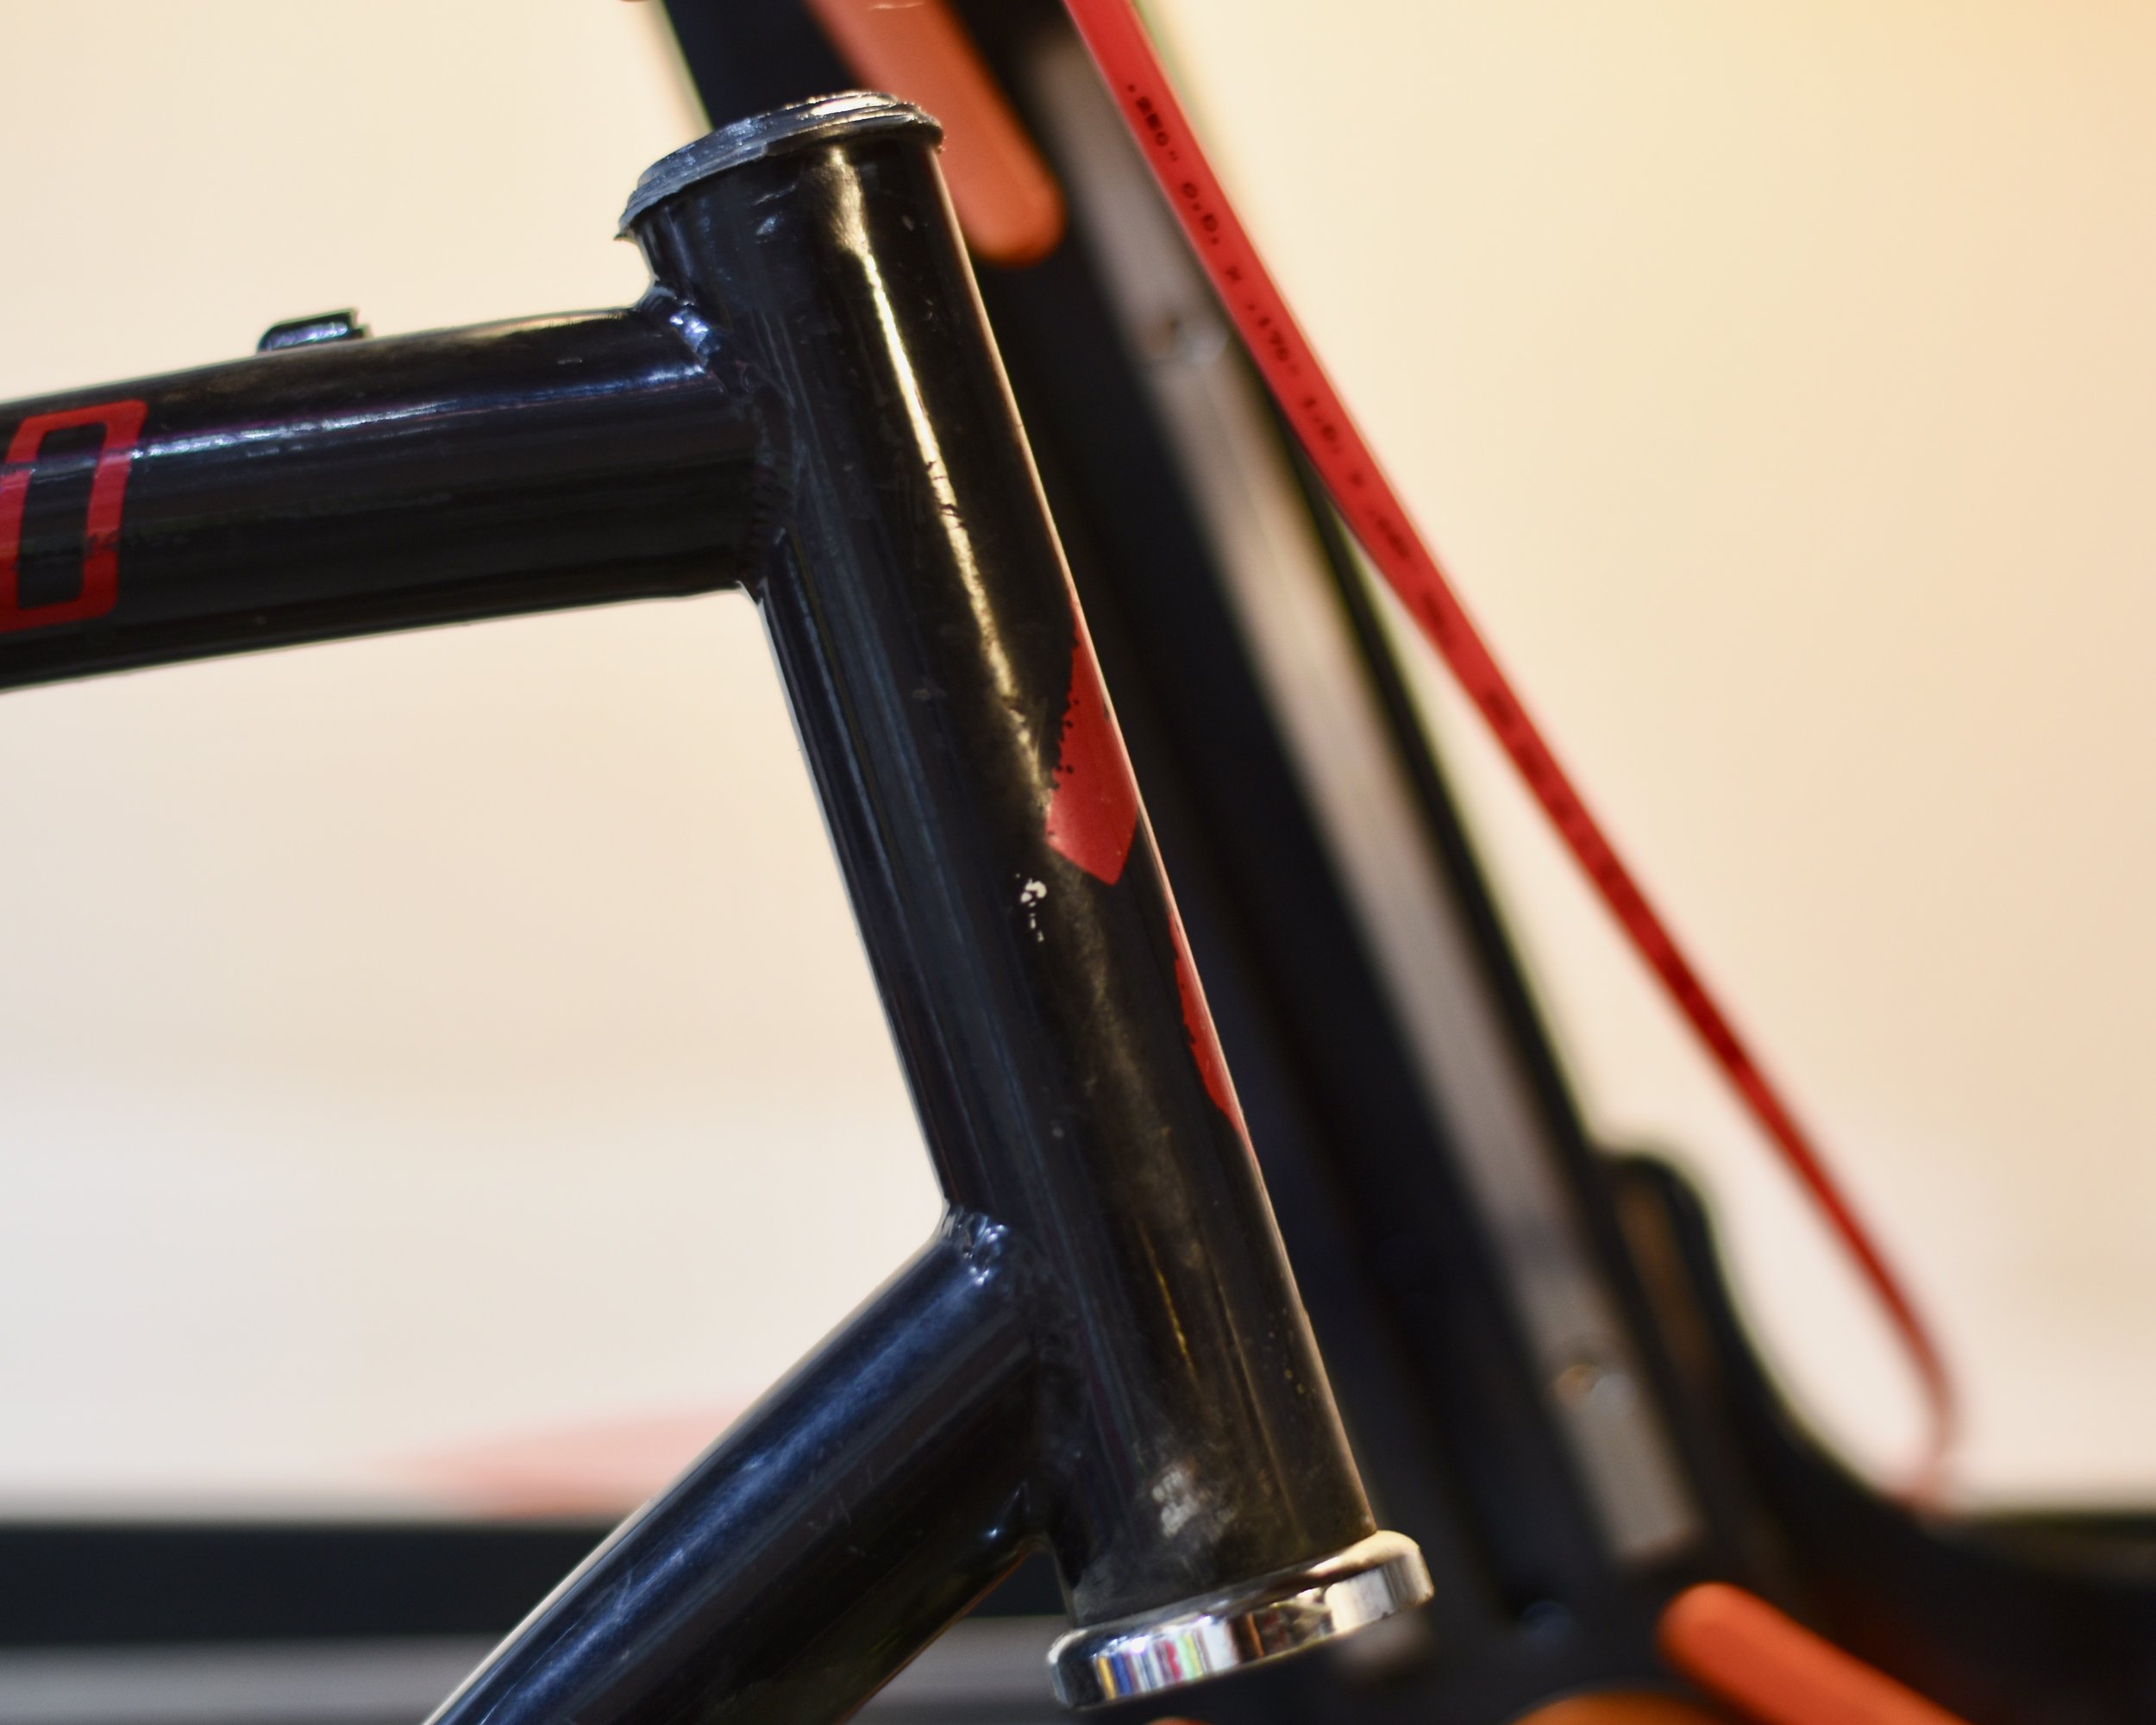
We will spare you the details on the fixture we made to try and brace the top tube for alignment, with the short of it is… it didn’t work. Not that we thought it would, but we had to give it a go. So at this point, it’s on to plan B. Cut out the top tube and replace it, keeping the original headtube and much of the downtube. Hand fitting the top tube took a while, but wasn’t as bad as making a bespoke support sleeve and hand fitting the new portion of upper downtube.


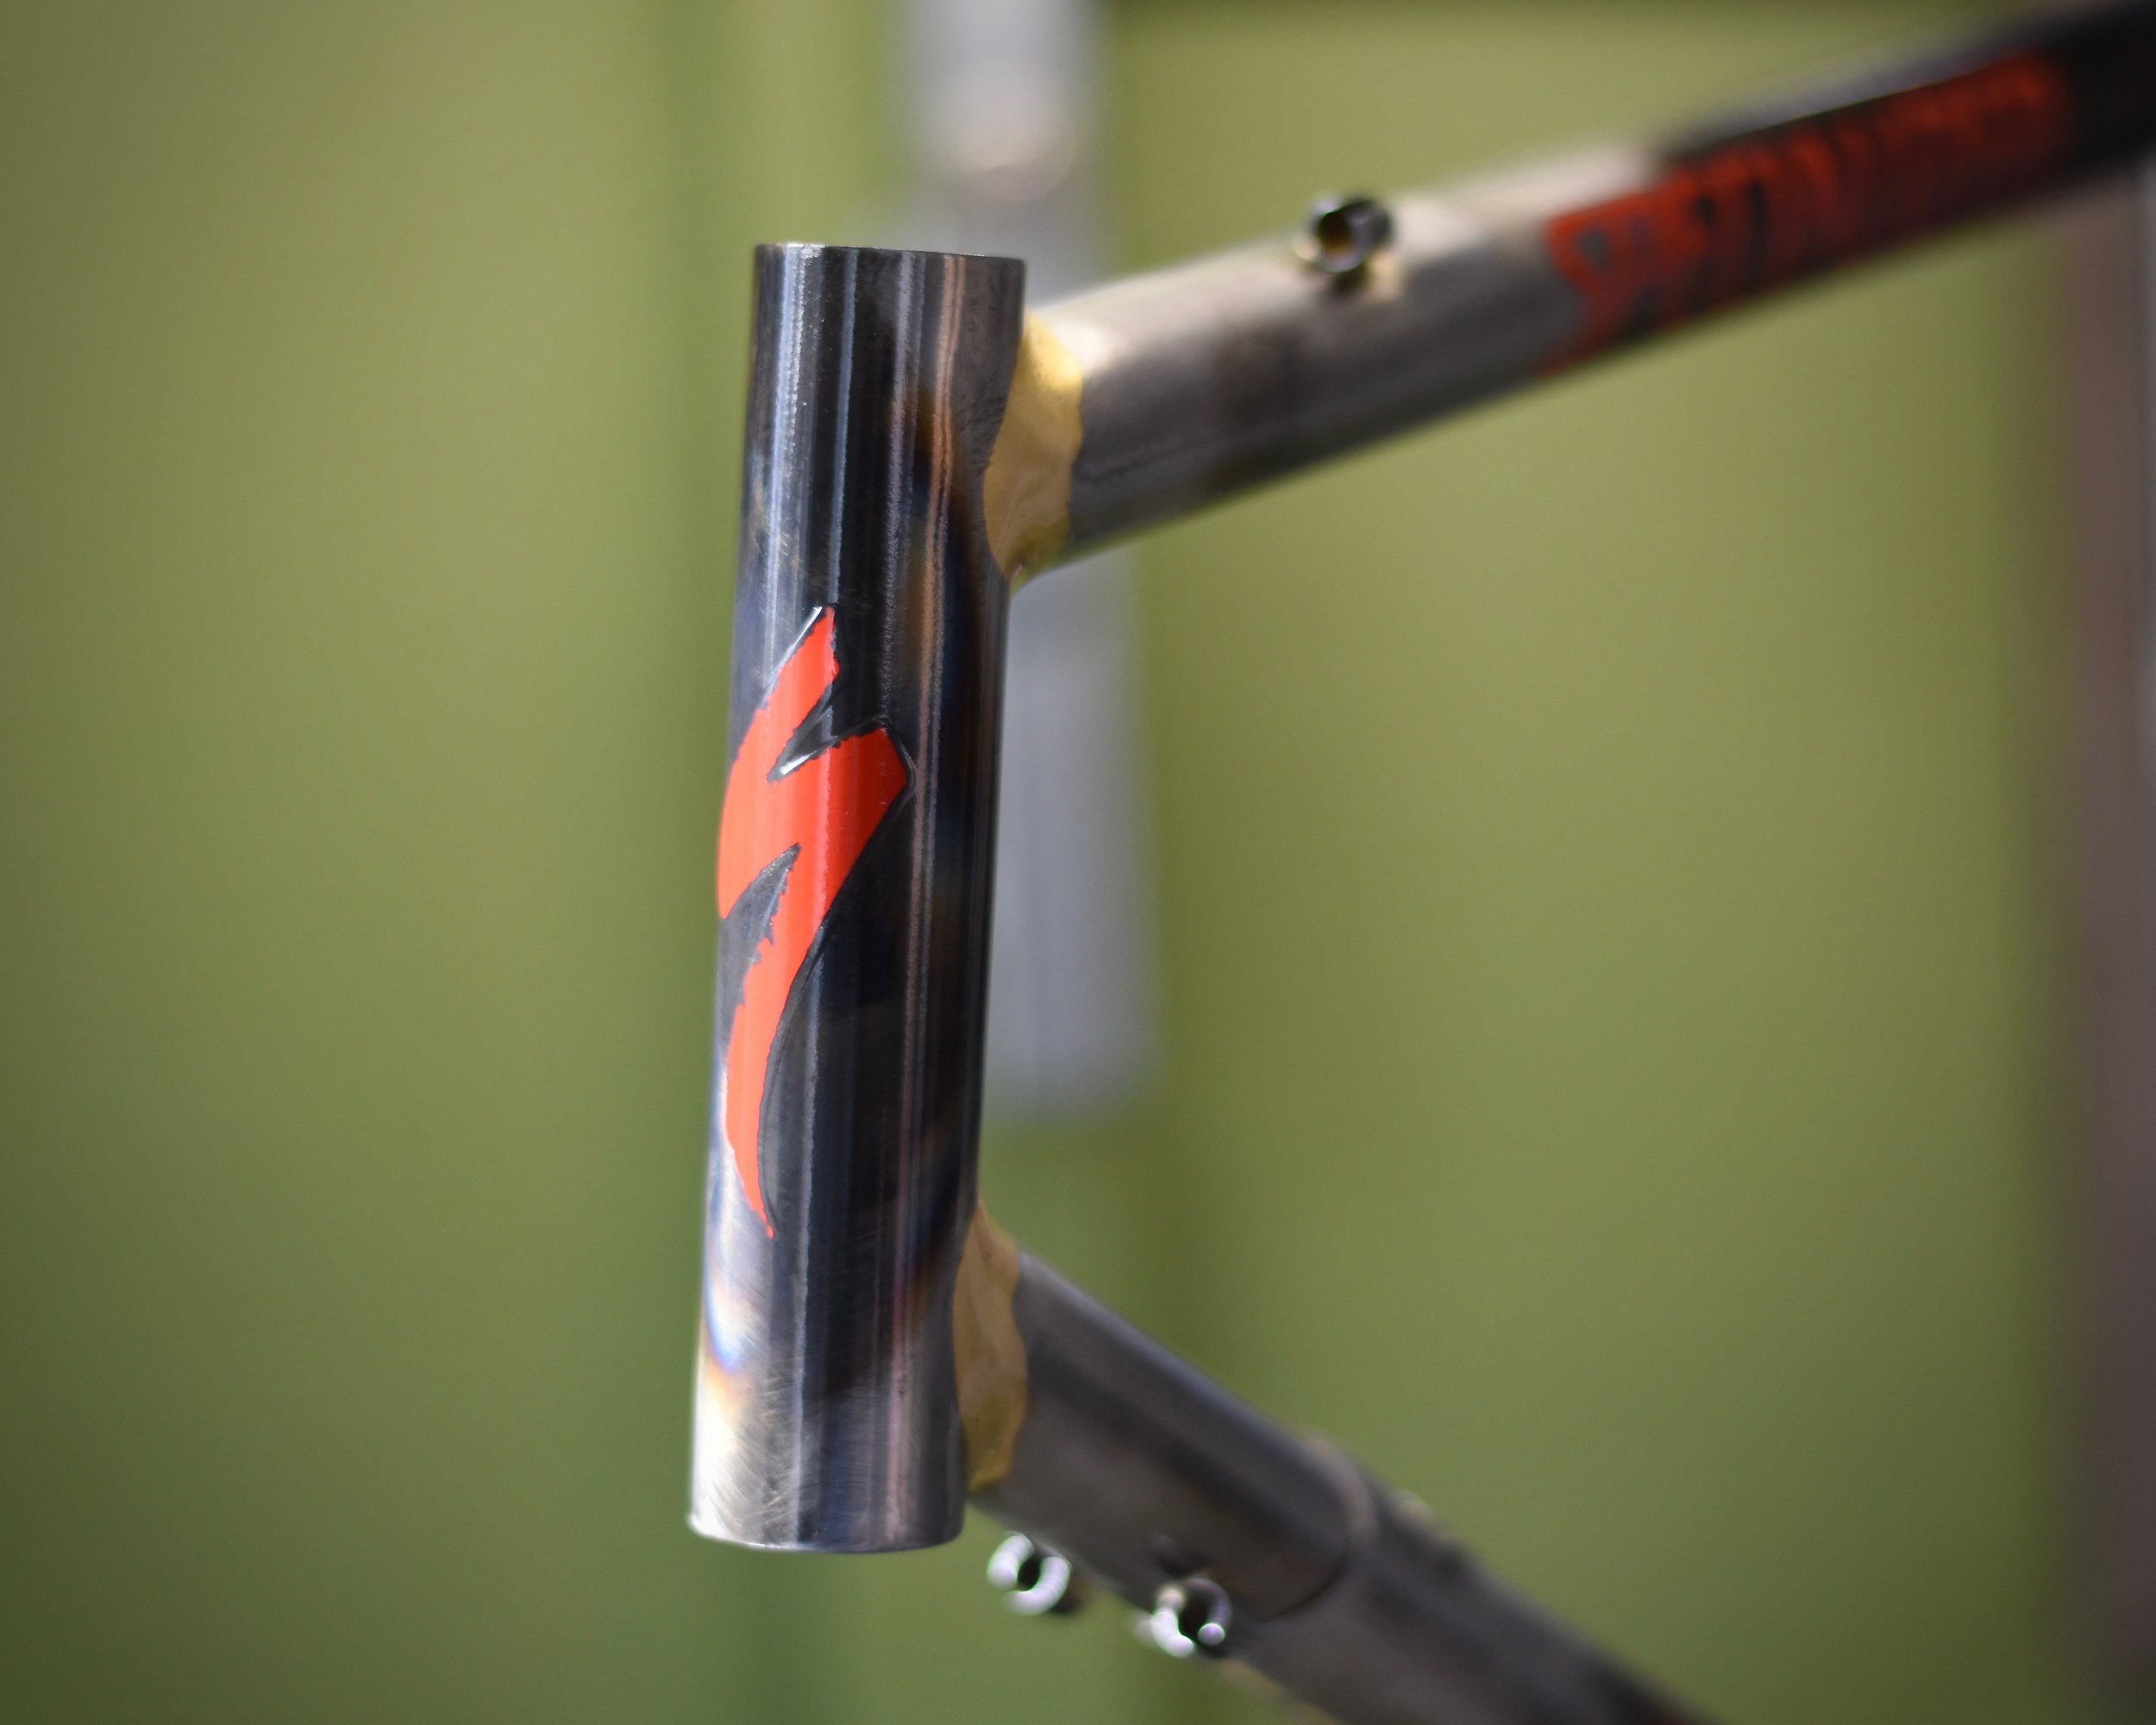
Once everything was fit up, we could stick all of it back together. We silver brazed the joining support sleeve on the downtube, to minimize temperature concerns and ensure the joint was filled all the way through. It was a lot of silver and a decent amount of meticulous temperature work to flow the whole joint, but it was necessary to make sure it was going to be a lifetime repair.


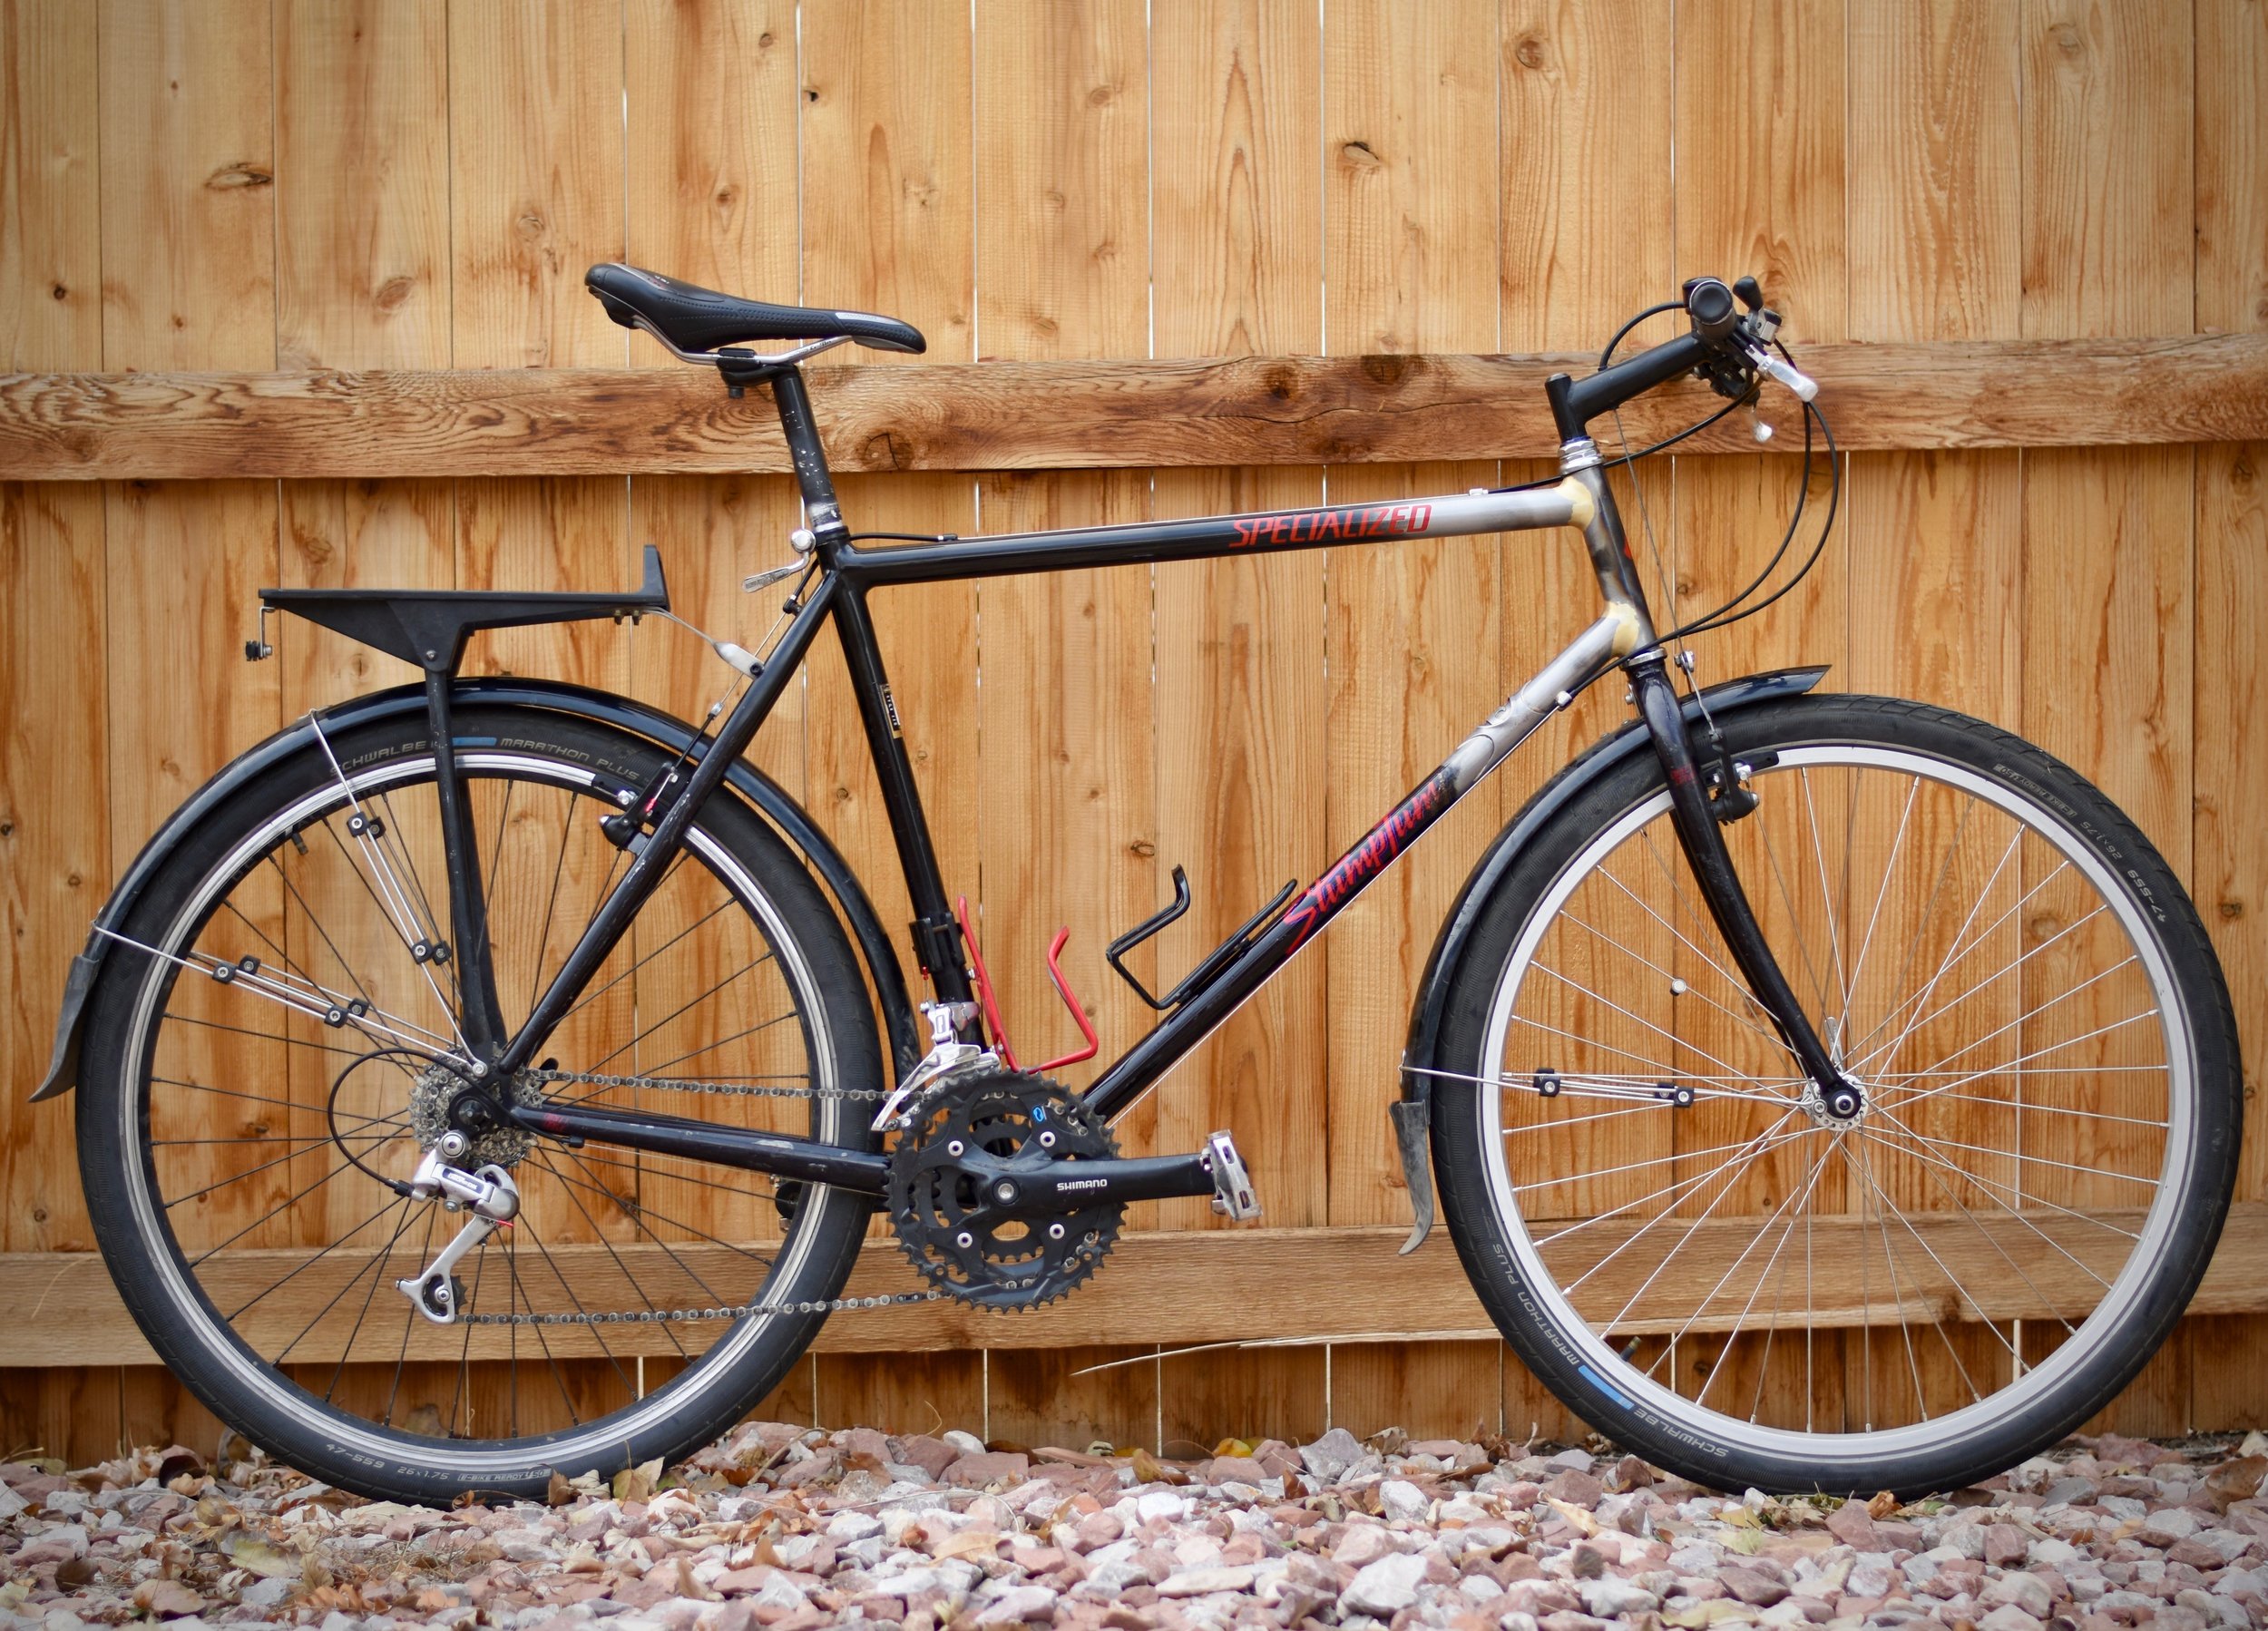
After we added all the cable stops and cleaned things up a little, it was time to do the finishing work! We wanted to keep the feel of the original bike, but make a sort of head-scratching aesthetic that made people wonder what they were looking at. We got replica decals made for the top-tube, and painted it to match the scorched section on the downtube. We finished everything off with a nice protective clear to keep the raw metal from rusting, and put things back together! Paul was thrilled with the outcome and we were happy to keep the bike journeying underneath him. In fact, we think we improved it a bit. Sometimes a repaired bike can be more beautiful than in its original form.